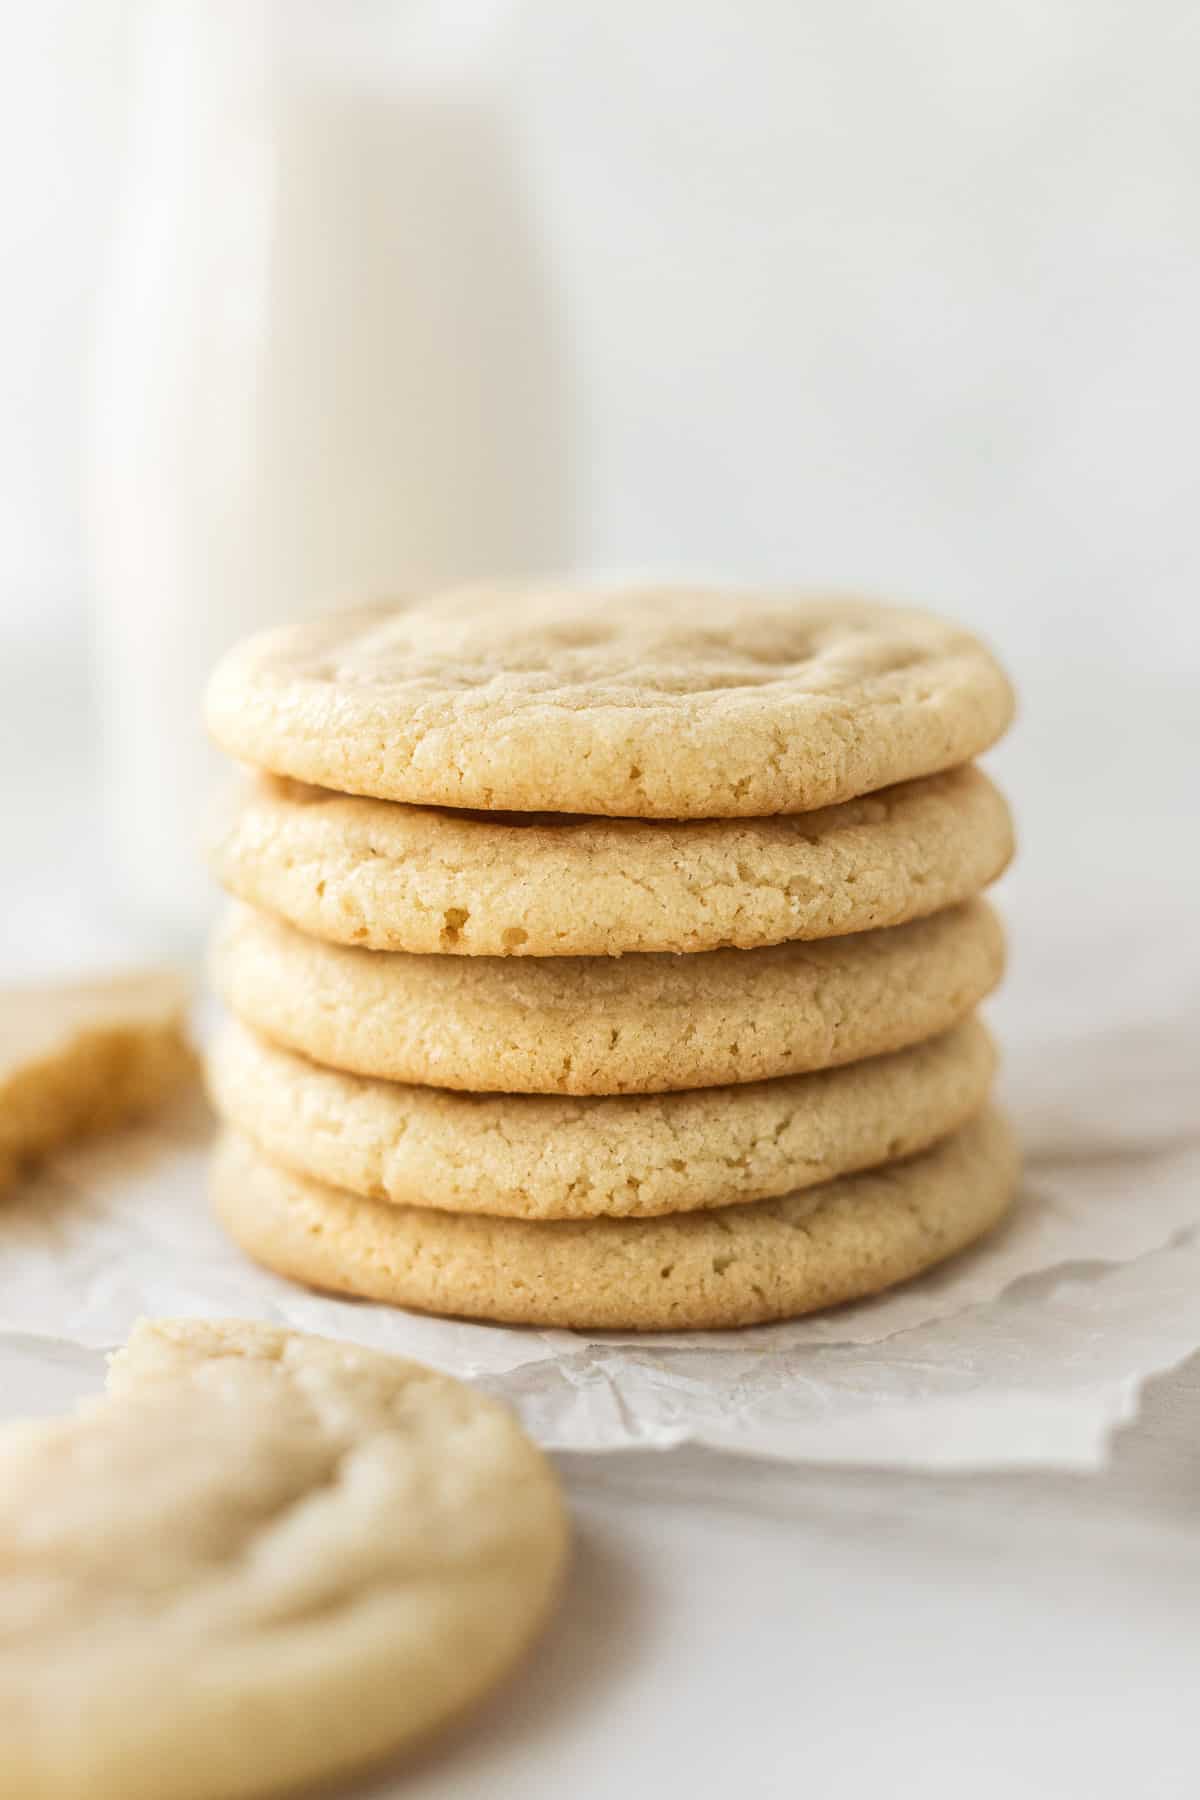
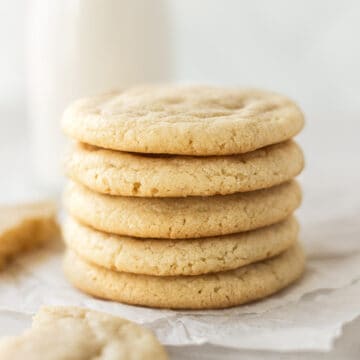
This small-batch sugar cookie recipe gives you 6 perfectly soft & chewy cookies! They are so easy to make and perfect if you don't want a ton of leftover cookies.
Jump to:
I love cookies so much. There is truly nothing in this world that brings me more joy than a freshly baked cookie. I make a batch, eat 1 or 2, and put the rest in my freezer to enjoy at a later time. And by a later time I mean a few hours later and the following day and then before I know it I've eaten every last cookie.
Enter stage: my savior, small-batch cookies. Now I can make my favorite cookies from scratch, but I don't have the 22 extra cookies that will sit in my freezer, tempting me every time I walk by.
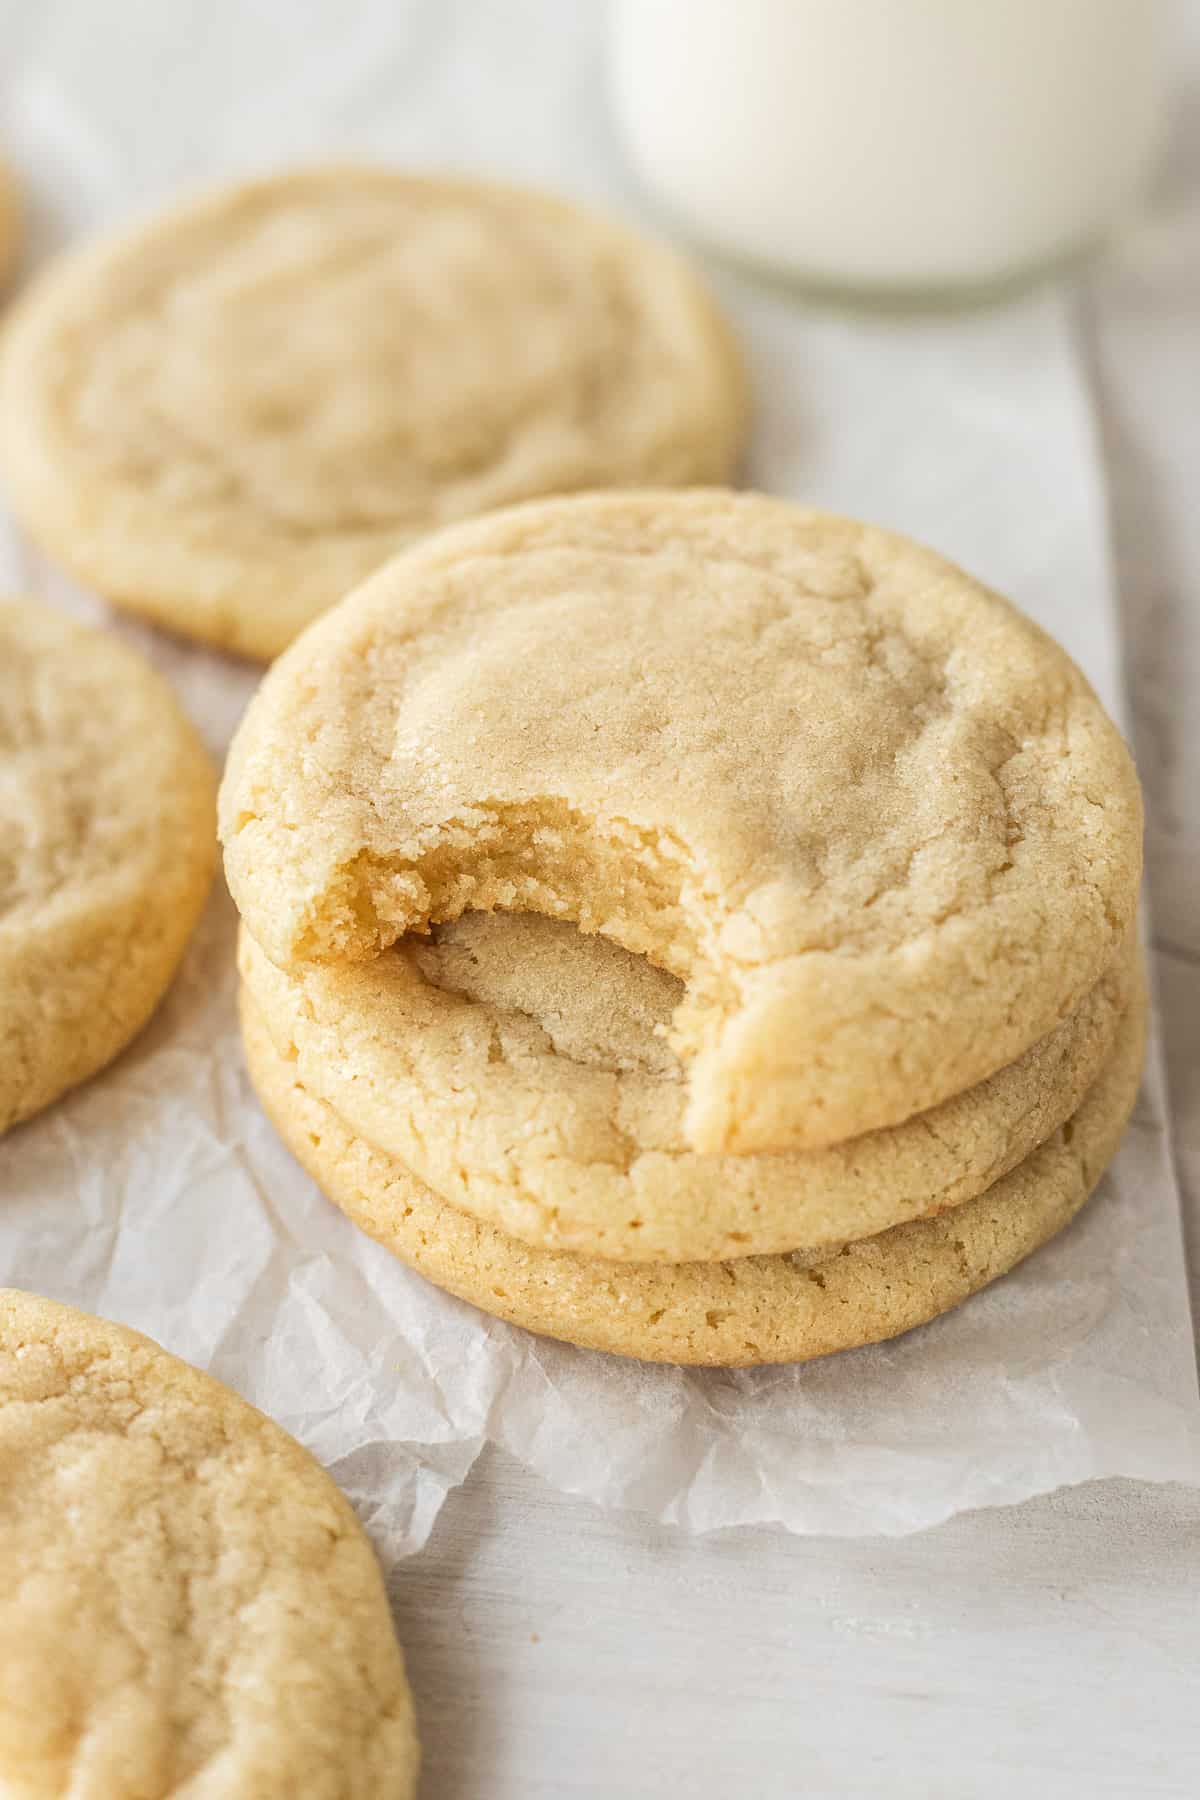
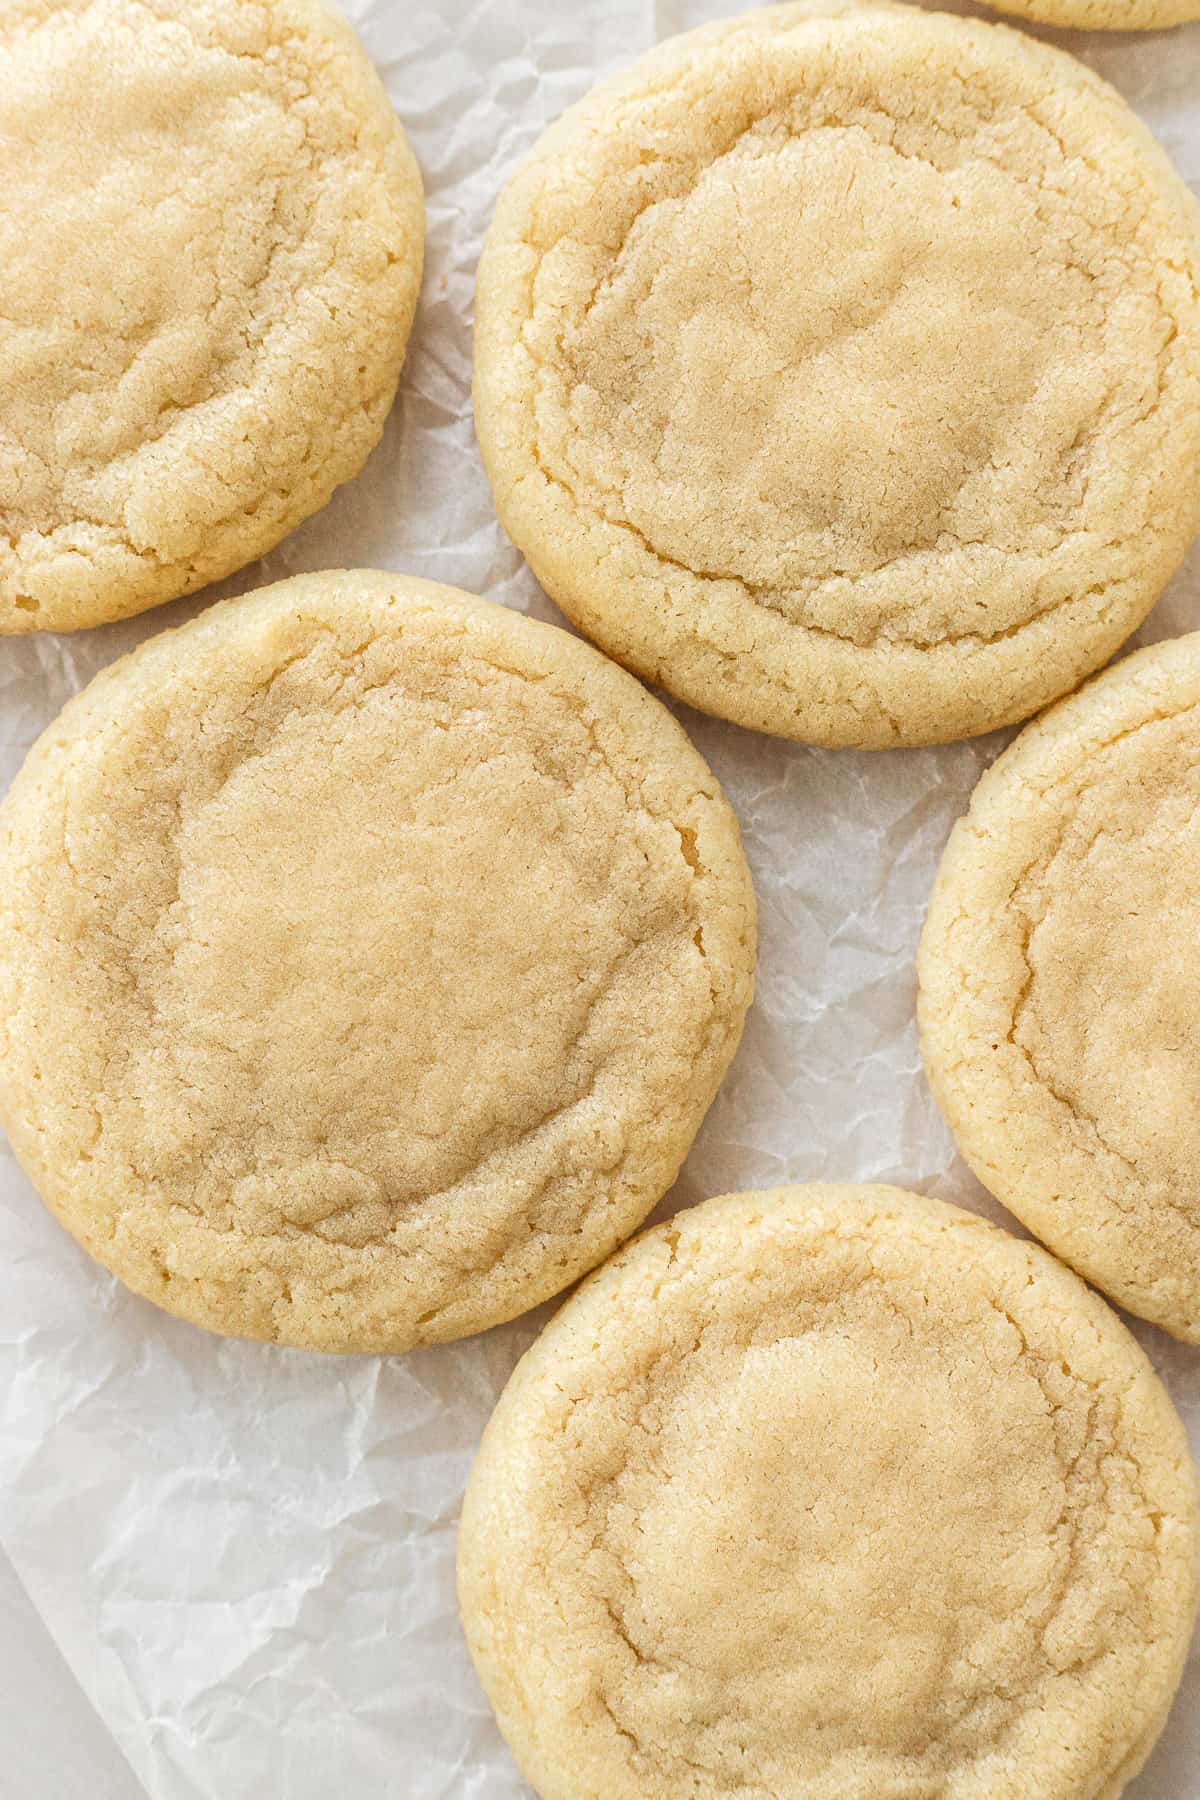
These small-batch sugar cookies are so soft and chewy, easy to make, and they give you 6 perfect cookies to share with a loved one, or eat by yourself (exactly what I would do).
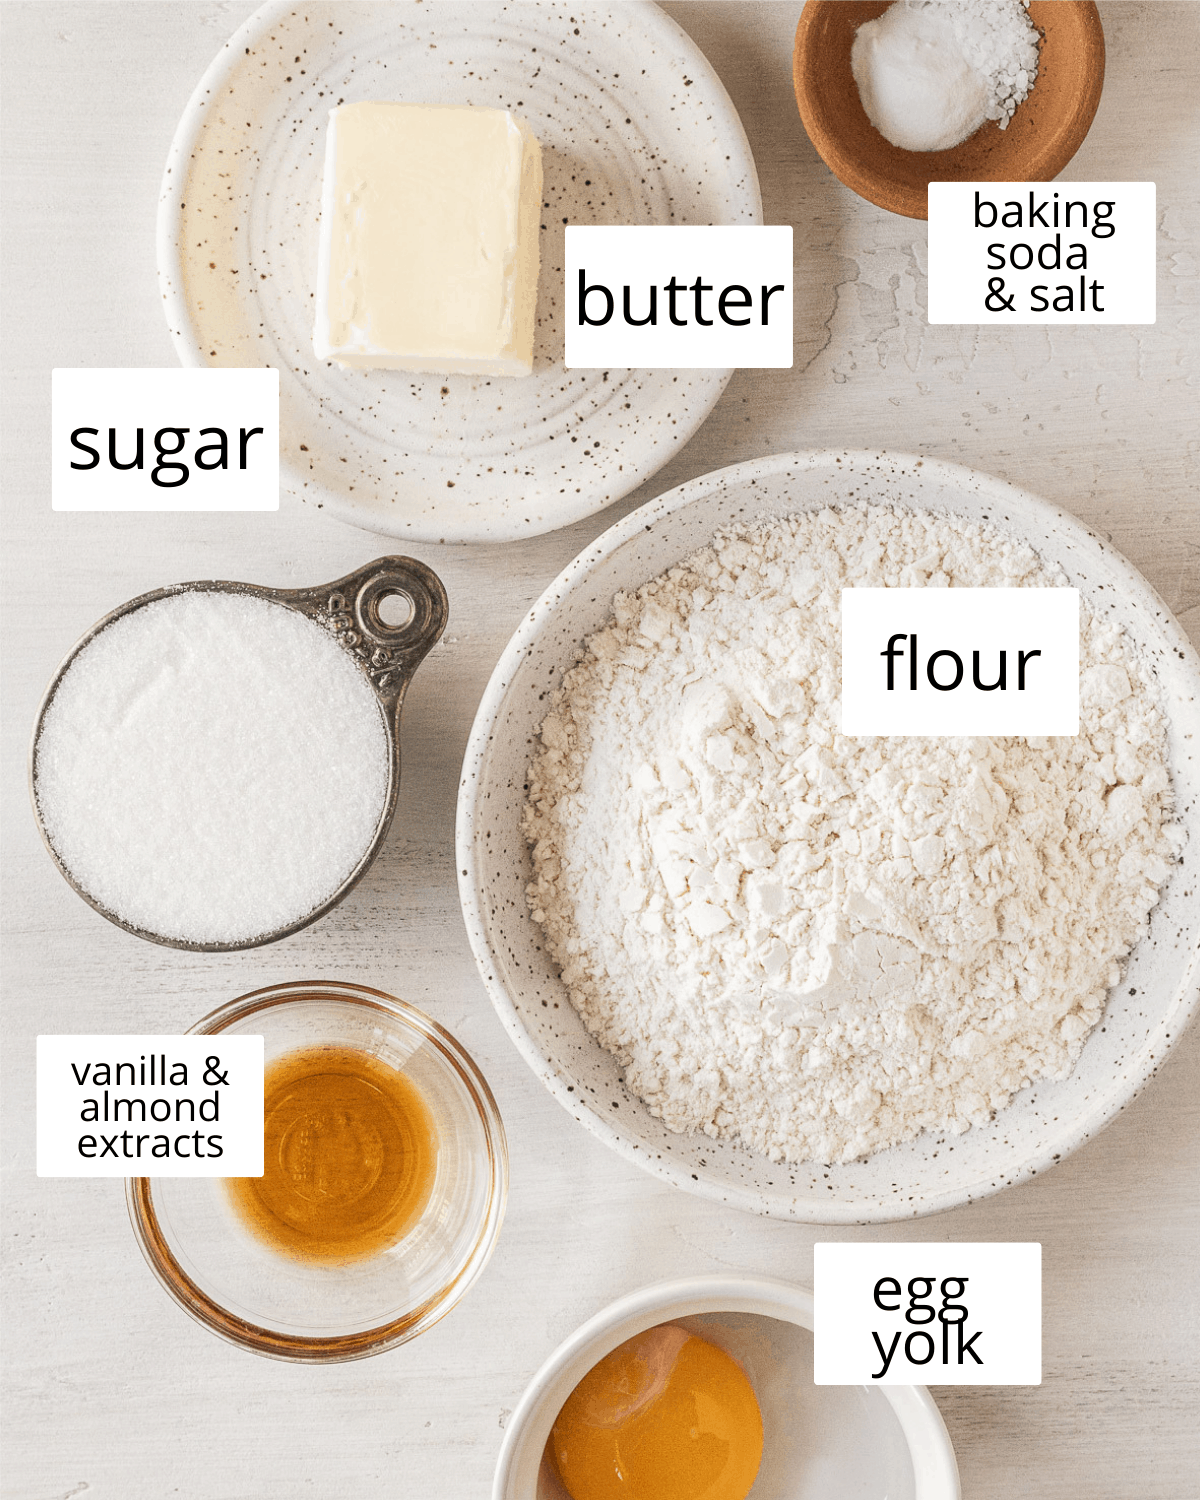
Ingredients needed for small-batch sugar cookies:
You will find your typical cookie ingredients here, but I'll make a few notes below:
- egg yolk- this recipe uses 1 egg yolk. Feel free to save the egg white for breakfast the next morning (or a different recipe). If you are doubling the recipe use two egg yolks, not a whole egg.
- almond extract- This is my secret ingredient to making the most delicious sugar cookies! If you don't have any, you can skip it but I highly recommend using it!
Step by Step Instructions
step one: make the dough
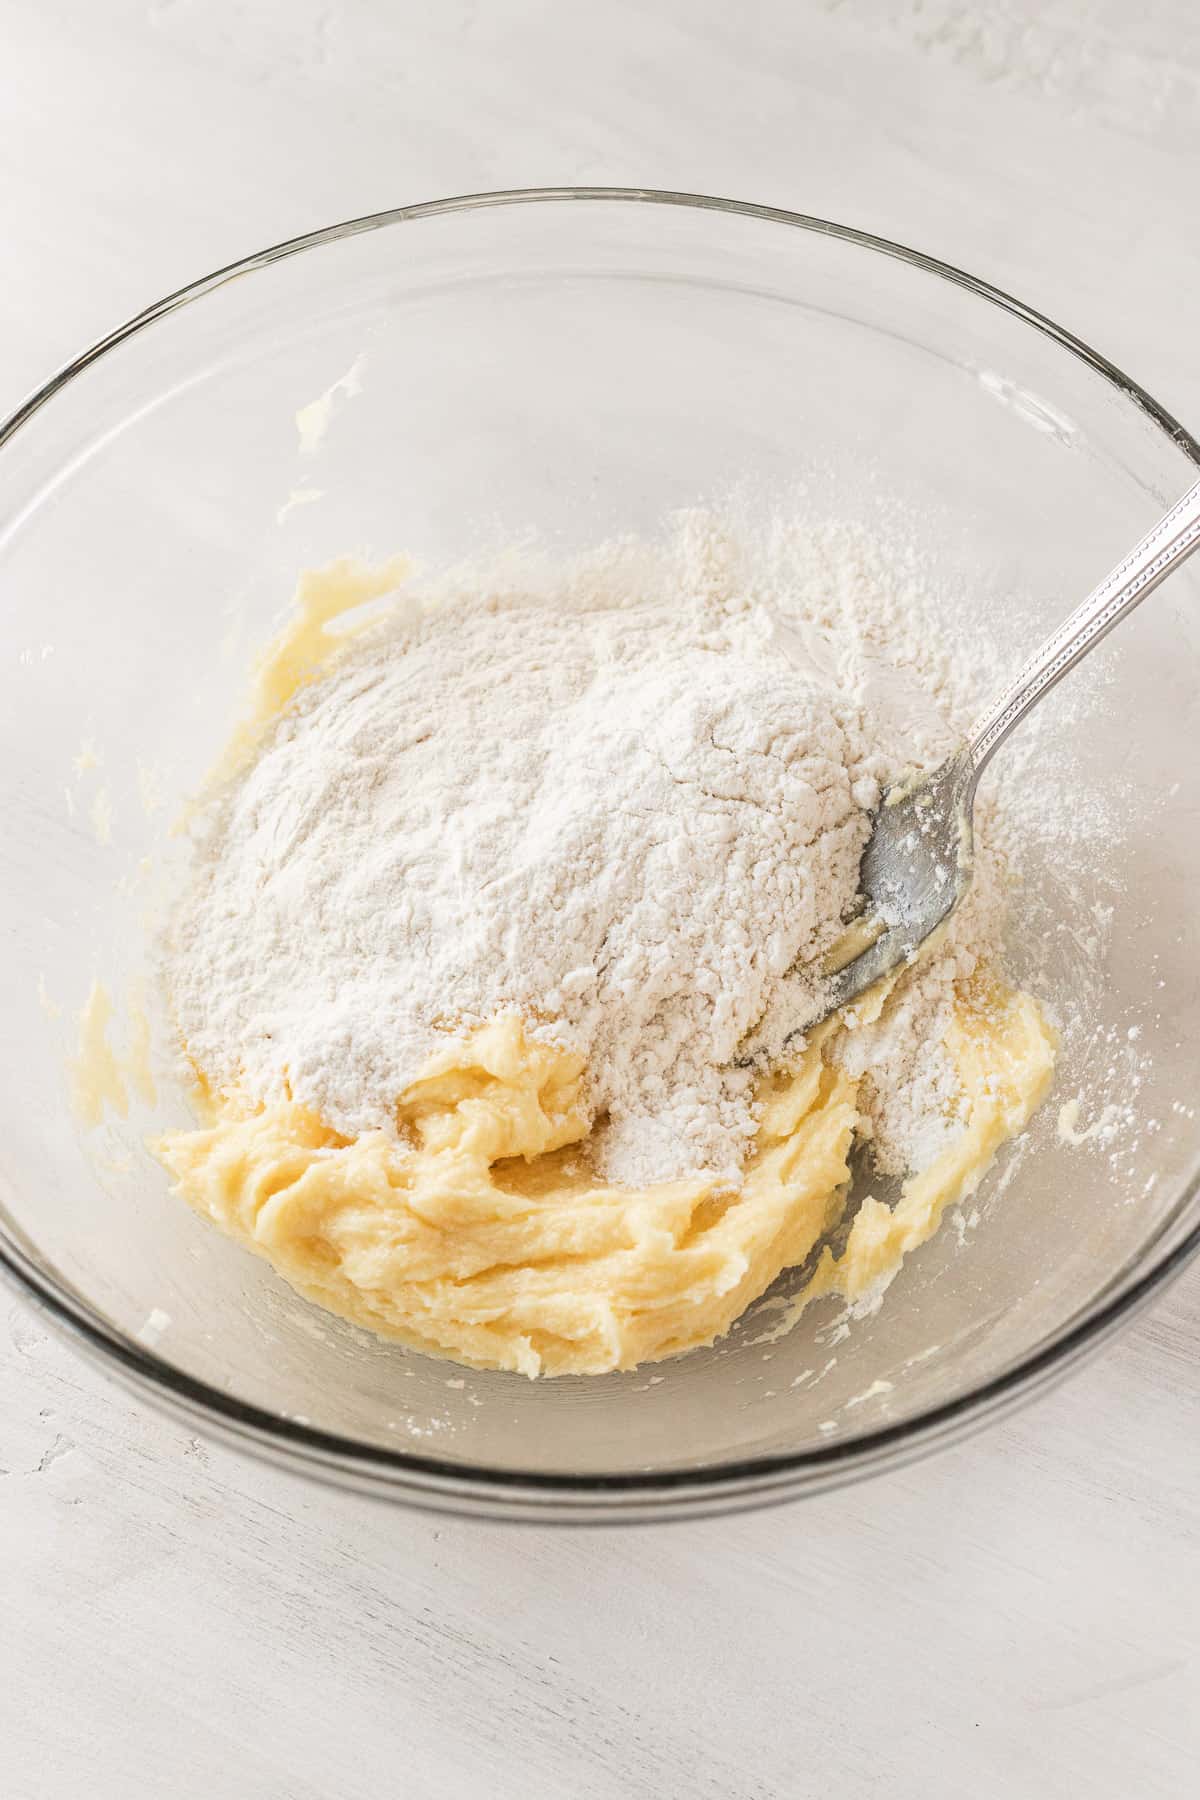
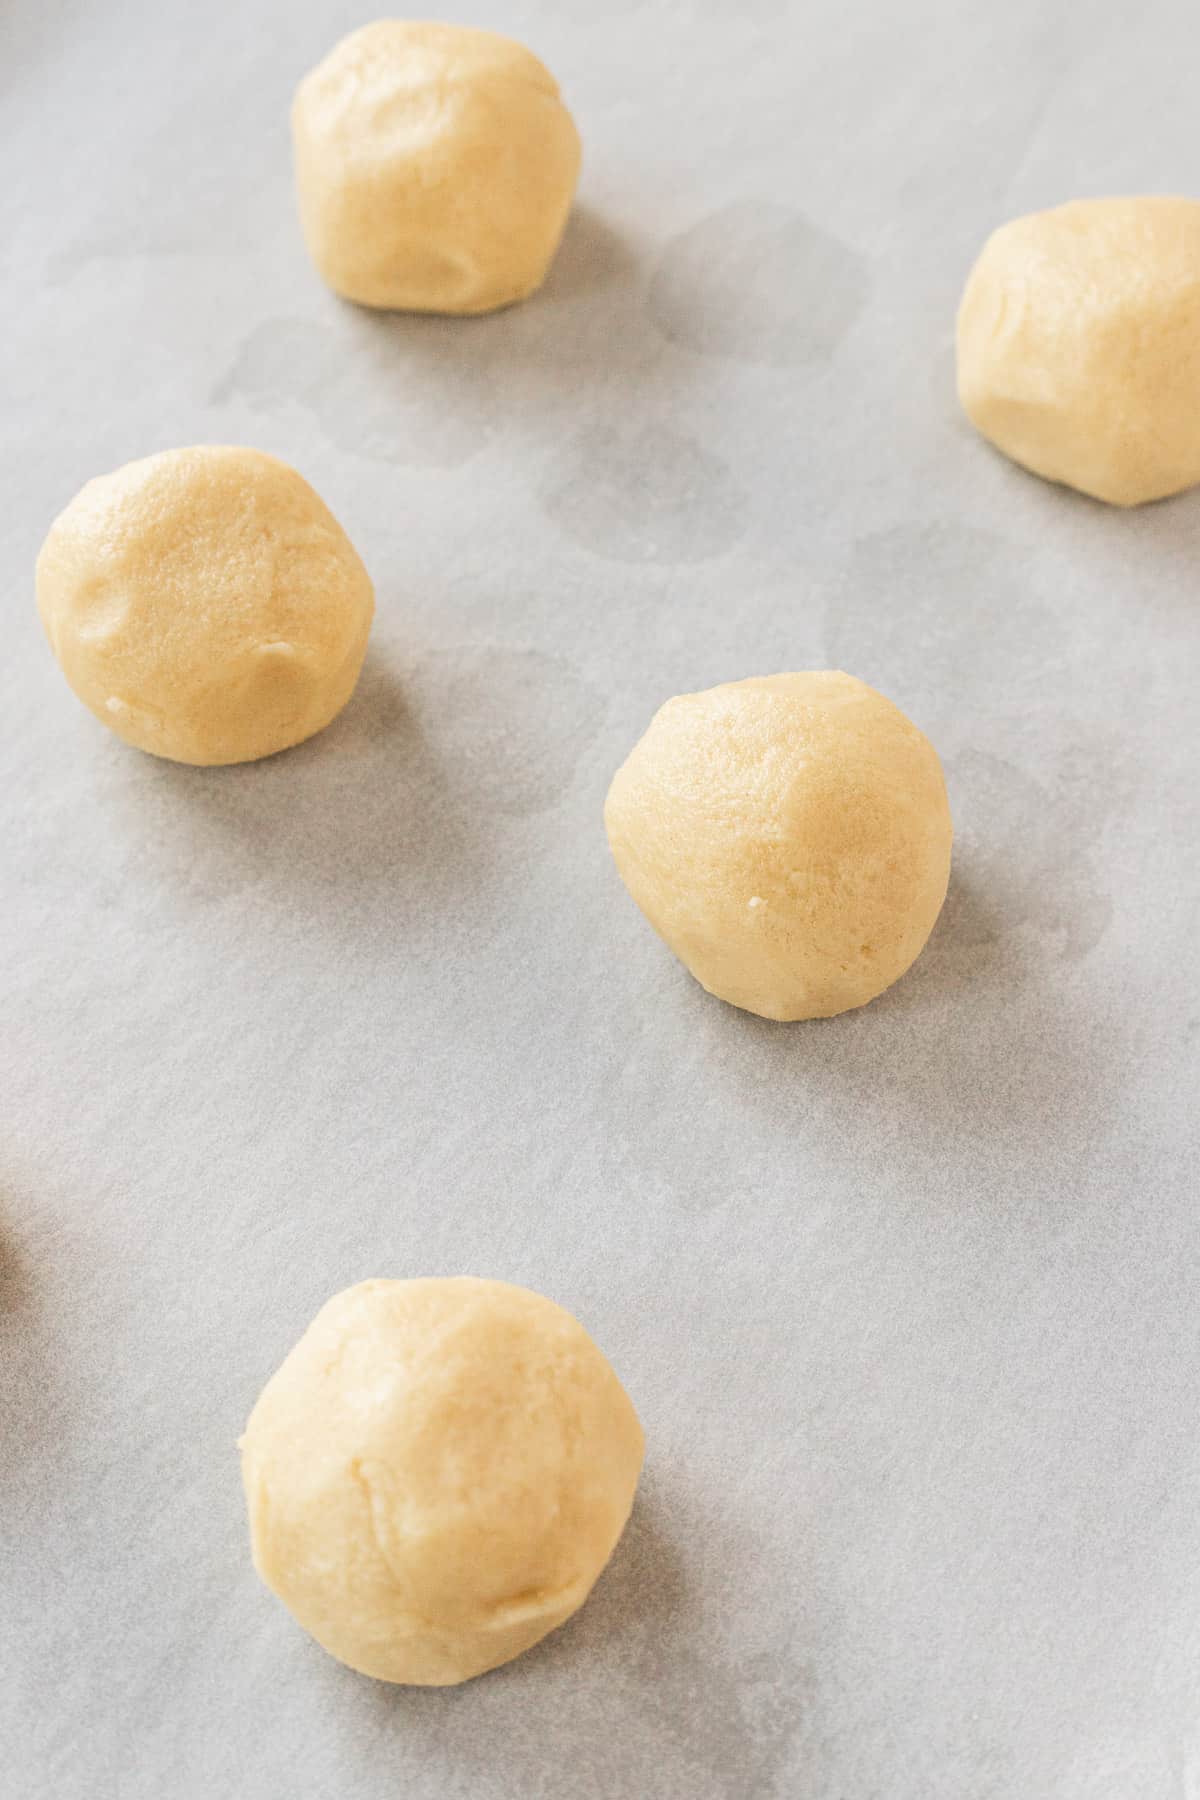
Add in the flour, baking soda, and salt. Mix until just combined. Scoop into balls (about 2 tablespoon of dough per each) onto a lined cookie sheet.
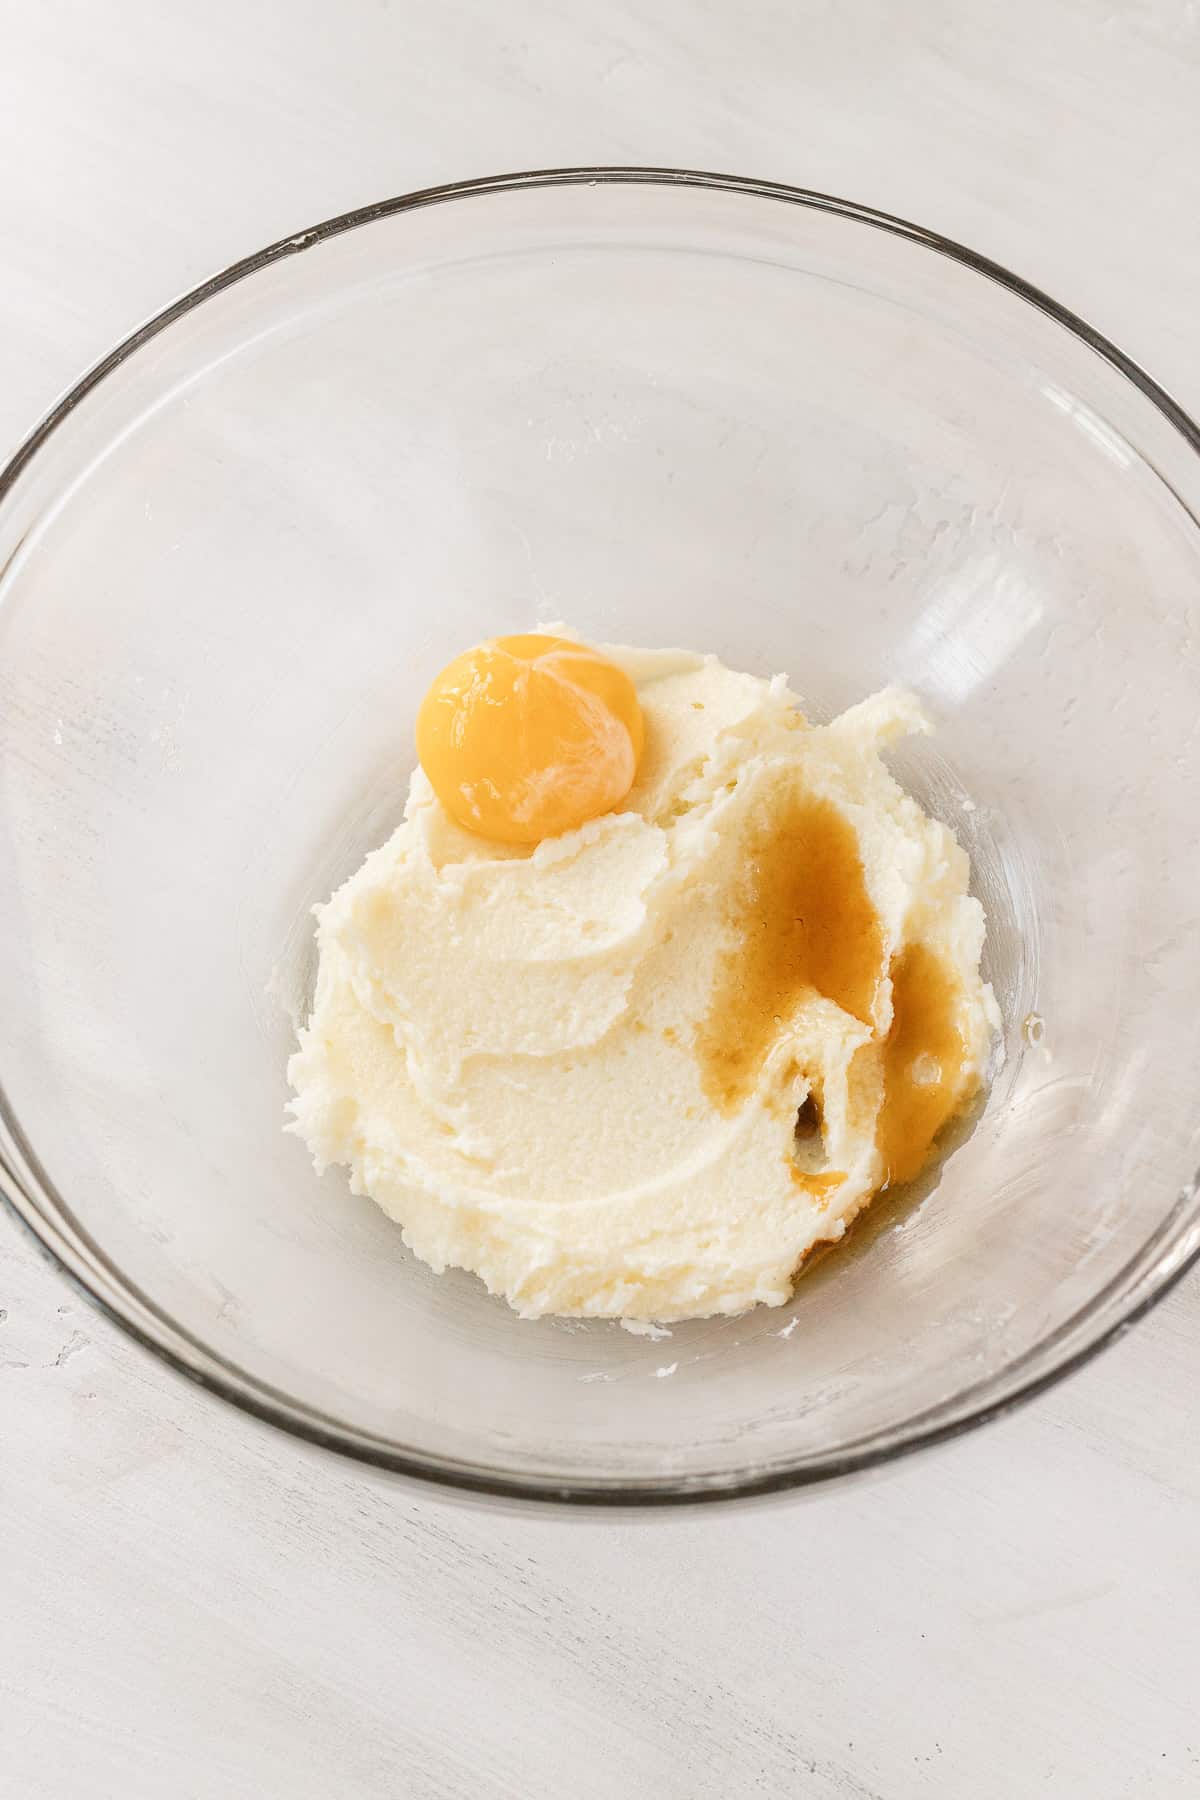
Combine the butter and sugar together in a medium-sized bowl. You don't need to use an electric mixer, but you can if you would like to! Beat the butter and sugar until light and fluffy. Add the egg yolk, vanilla, and almond extracts. Mix until thoroughly combined.
step two: chill the dough
Place the cookie sheet in your fridge for about 45 minutes to chill the dough. This step is important so don't skip it! See my notes below on why you should chill your dough.
step three: bake and enjoy!
Preheat the oven to 350 degrees F. Once the dough has chilled, remove it from the fridge. If you are using sprinkles, you can roll the tops of the cookies in additional sprinkles before baking (optional). If the sprinkles aren't sticking, rub them with a little bit of water and then roll in sprinkles.
Place the cookies into the oven for about 10-12 minutes, until the edges are lightly golden brown. Remove and allow the cookies to cool on the baking sheet for about 5 minutes before transferring them to a wire cooling rack.
Tips & Tricks:
- Make sure your butter is room temperature. If your butter is too cold, it'll be hard to mix. If it's too warm, it'll be greasy and your cookies will overspread. So what does room temperature even mean? Room temperature cookies should be still slightly cool to the touch, and not greasy on the outside wrapper. When you press on it, your finger should leave an indent, but not sink into the butter. I like to take my butter out an hour before I bake. If you find your butter got too warm while sitting out, place it back in the fridge for a few minutes.
- Measure the flour correctly. Make sure to measure the flour correctly by using the scoop and level method. If you don't know what that is, you want to scoop the flour into your measuring cup and use a sharp edge to level it off, instead of scooping the entire measuring cup into the flour. This packs the flour in and gives an inaccurate measurement.
- Chill the dough. Anytime a recipe tells you to chill the dough, it's for a good reason. See my notes below on why you should chill this sugar cookie dough!
- Use parchment paper when baking. Parchment paper is my favorite thing to use for baking in general, but definitely when baking cookies. Spraying the cookie sheet with non-stick spray creates an overly greasy environment, which leads to super flat cookies. Plus parchment paper makes for the perfect clean up too!
Frequently Asked Questions
I highly recommend chilling the dough before baking. I tested this recipe without chilling the dough and the cookies were much too thin and lost their chewy texture. Chilling the dough gives the butter a chance to solidify, thus giving it more time to melt in the oven. If you put the cookies into the oven at room temperature, the butter will melt way too fast.
You sure can! Just double all the ingredients to make yourself 12 cookies instead of 6! Be sure to use 2 egg yolks if doubling, not a whole egg.
Storing and Freezing
These cookies can be stored in an airtight container at room temperature for up to 5 days. They can also be frozen for up to 2 months.
Want to try more cookie recipes?
- Small Batch Peanut Butter Cookies
- Oatmeal Creme Pies
- Orange Creamsicle Cookies
- Chocolate Marshmallow Cookies
This post contains affiliate links which means if you purchase something off of one of those links I make a small commission at no extra cost to you. Thanks for supporting my blog!
📖 Recipe
Small-Batch Sugar Cookies
Ingredients
- ⅓ cup unsalted butter at room temperature
- ⅓ cup granulated sugar
- 1 large egg yolk
- ½ teaspoon vanilla extract
- ⅛ teaspoon almond extract
- ¾ cup all-purpose flour spooned and leveled
- ¼ teaspoon baking soda
- ⅛ teaspoon salt
- 2-4 tablespoon sprinkles optional
Instructions
- In a medium sized bowl, mix together the butter and sugar until smooth. Add the egg yolk, vanilla extract, and almond extract. Mix until combined.
- Pour the flour, baking soda, and salt into the bowl and mix until everything is combined. It will seem crumbly at first but continue to mix until it comes together.
- Scoop into 6 cookies, about 2 tablespoon of dough per each. Roll between your hands to make them round and place them on a parchment paper-lined baking sheet. Place this into the fridge for 45 minutes so the dough can chill.
- Preheat your oven to 350° F. Once the dough is chilled, you can roll the tops in sprinkles (optional) and place them into the oven for 10-12 minutes. Remove from the oven and allow them to cool on the pan for 5 minutes, and then transfer to a wire cooling rack.
Notes
- Make sure your butter is room temperature. If your butter is too cold, it'll be hard to mix. If it's too warm, it'll be greasy and your cookies will overspread. So what does room temperature even mean? Room temperature butter should be still slightly cool to the touch, and not greasy on the outside wrapper. When you press on it, your finger should leave an indent, but not sink into the butter. I like to take my butter out an hour before I bake. If you find your butter got too warm while sitting out, place it back in the fridge for a few minutes.
- Measure the flour correctly. Make sure to measure the flour correctly by using the scoop and level method. If you don't know what that is, you want to scoop the flour into your measuring cup and use a sharp edge to level it off, instead of scooping the entire measuring cup into the flour. This packs the flour in and gives an inaccurate measurement.
- Chill the dough. This dough needs time to chill so the butter doesn't melt as fast in the oven!
- Use parchment paper when baking. Parchment paper is my favorite thing to use for baking in general, but definitely when baking cookies. Spraying the cookie sheet with non-stick spray creates an overly greasy environment, which leads to super flat cookies. Plus parchment paper makes for the perfect clean up too!

MF says
the recipe actually made 7 cookies after I rolled it with à rolling pin! I was surprised that they came out perfect and they were so tasty!
Kelly Hamilton says
Glad to hear you liked these! Thanks for trying!
Ella S. says
I made these last week. They taste great and come together easily. I did have to press them flat about two thirds of the way into the bake. This may be because I was using a countertop oven. They tasted great and it was the perfect sized batch. I also liked the way the almond extract was used. They did not taste like almond but had a more complex flavor than if just using vanilla.
Kelly Hamilton says
Thanks so much for trying this recipe, Ella! So happy to hear you liked them!
Stephanie K says
Tried the small batch.... It was so good and very simple to make !
Kelly Hamilton says
Thanks for trying this recipe, Stephanie! So happy to hear you you enjoyed it 😊
Sheri says
Just a suggestion for those with nut allergies, another great holiday taste is to use maple extract. I think this recipe is too small for peppermint extract since that one is very strong with even the tiniest bit, but maple is yummy in sugar cookies.
Kelly Hamilton says
Great idea, Sheri! You can also leave out the almond extract completely if wanted as well!
Bobbi says
Hi, I haven't made your sugar & orange Creamsicle cookies yet but I have a question. Can I put the dough in the freezer overnight or should I put in my fridge instead?
Thanks
Kelly Hamilton says
Hi Bobbi! You can definitely keep the cookie dough in the fridge if it's just overnight. If you'd like to keep it for longer, I'd suggest the freezer.
Megan says
There is a typo under notes regarding room temperature butter. You wrote’ room temperature cookies’ when I think you meant room temperature butter. 🤗
bakeandbacon says
OMG thank you so much for pointing this out 😂 I guess I had cookies on my mind!
Kala Nash brumitt says
Would this recipe be fine without the almond extract? Asking because of a nut allergy
Kelly Hamilton says
Absolutely! You can leave it out and add a little bit more vanilla extract instead!
Mamie says
We made these and they turned out great. Cheery and full of flavor (love that you put almond extract in them). Also making a small batch is a great idea.
bakeandbacon says
So glad they turned out great 🙂 The almond extract is the key ingredient for delicious sugar cookies!
Michèle says
They were delicious but they didn't flatten out like yours, even though I followed the directions to the T. I even broke my rule of no extra egg parts in my fridge. They're delicious but what did I do wrong? I even banged the pan after 5 minutes.
bakeandbacon says
Hi Michèle, thank you so much for trying the recipe! I'm happy to hear they were delicious but very sorry to hear they didn't flatten out. A few things that come to mind that could have possibly happened:
1. Adding too much flour can cause your cookies to not flatten out. If you spoon and level your flour in a measuring cup, it should give you a more accurate amount than if you scooped the flour directly into your measuring cup. Scooping the flour directly with your measuring cup can actually over-measure the flour and give you a bit too much. I plan on adding gram measurements to my recipes soon so that if you use a kitchen scale to bake, you can make sure the measurements are exact!
2. Your oven might be too cold- The temperature of your oven is important when baking cookies since they are only in there for 10-12 minutes. Many times our ovens say they are preheated to 350 degrees when in fact they aren't! I recommend using an oven thermometer, but if you don't have one I always let my oven preheat, and once it beeps and tells me it's "ready" I wait another 15 minutes to let it really heat up. Surprisingly, sometimes oven temperatures can be off by a lot!
3. Did you use a dark non-stick baking pan by chance? This can sometimes prevent the cookies from spreading. I like to use lighter-colored pans for baking.
Feel free to let me know your thoughts and if you feel like none of these could have been the culprit, I can try and troubleshoot some more!