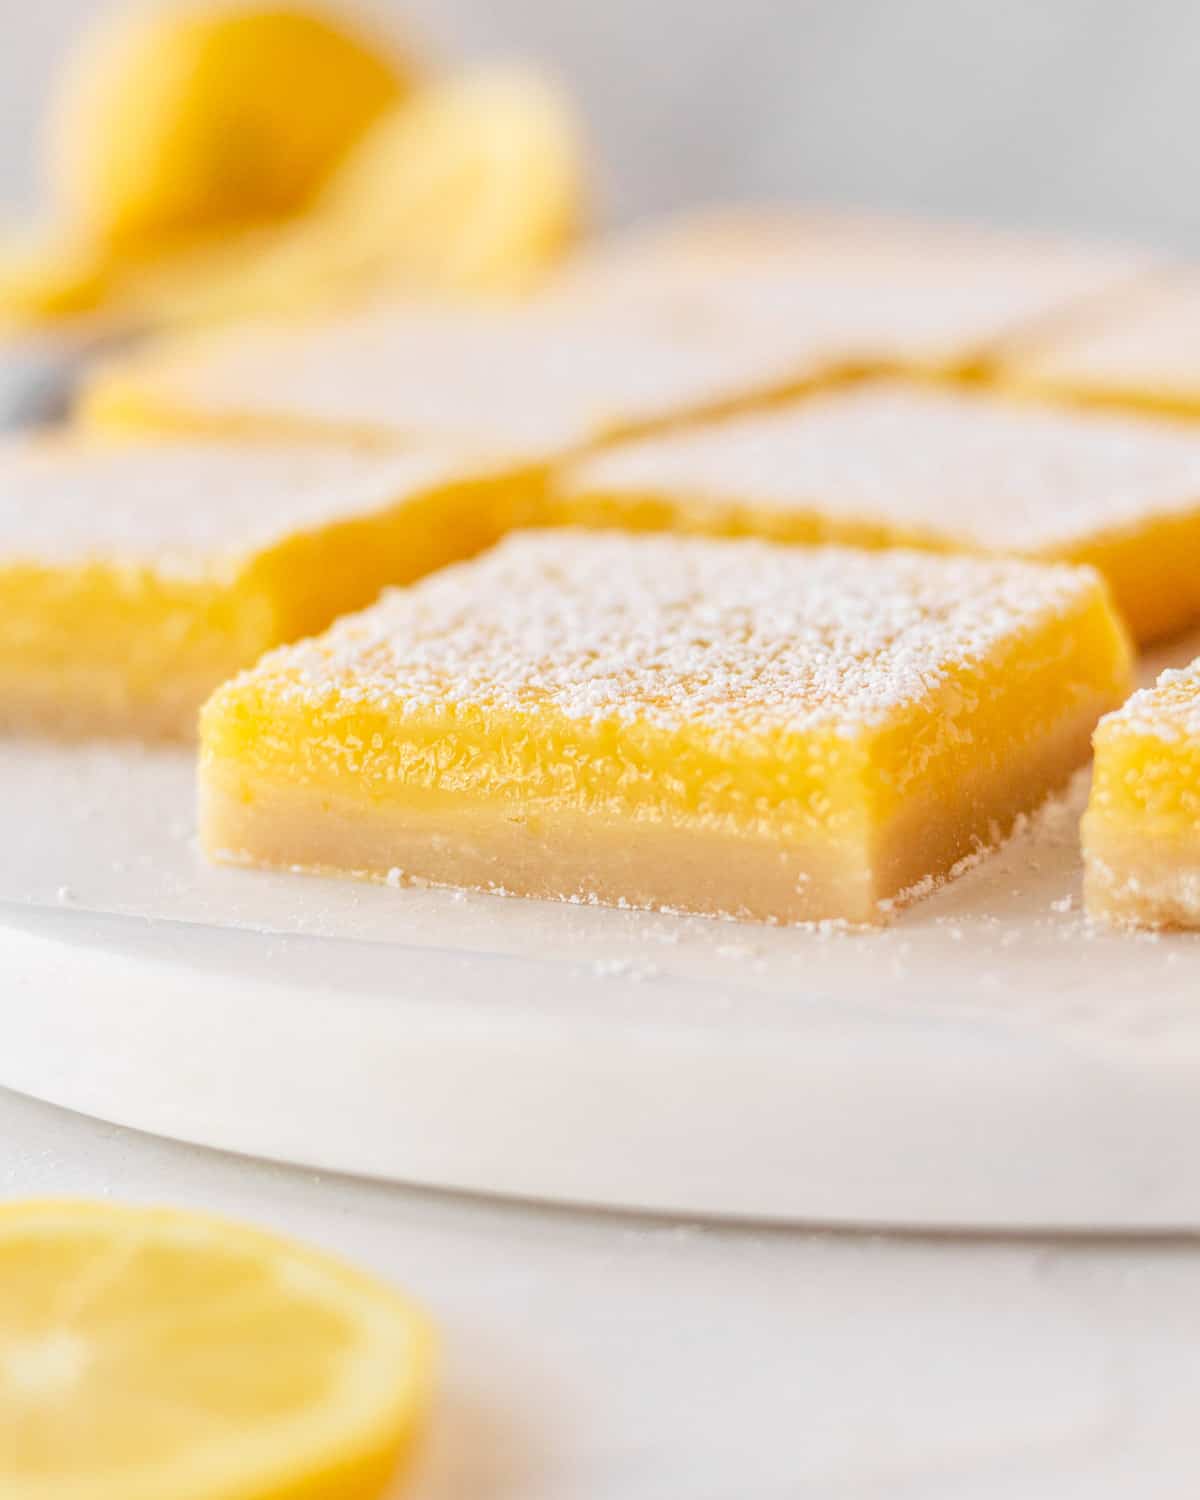
These creamy, delicious lemon bars are the perfect treat. They have a buttery shortbread crust and are topped with tangy lemon curd. You get bursting lemon flavor in every bite!
Jump to:
Lemon bars are hands down one of my all-time favorite desserts. They are the perfect combination of tangy citrus and buttery crust, and every bite is so incredibly flavorful. If you are a lover of lemon desserts, then you probably feel the same way as me about lemon bars!
When doing research for my own lemon bar recipe, I found that most recipes make bars in 13x9 pans. I've been really gravitating towards "small batch" desserts recently, mainly because I don't want a ton of leftovers for myself lol. So I decided when making this to use an 8x8 pan and have the recipe make 9 perfect lemon bars (although you can cut them smaller to make more too).
Jump to:
Ingredients needed for these lemon bars:
This recipe has super basic ingredients, but just to point out a few things:
- unsalted butter- I typically use unsalted butter in my recipes, but if you only have salted that is totally fine! You can either omit or half the amount of salt that the recipe calls for.
- eggs- make sure to use large eggs for this recipe.
- lemon zest- this zester is my absolute favorite for everything from zesting citrus to garlic. It makes zesting so easy.
- lemon juice- I recommend using freshly squeezed lemons for this recipe, it should only take between 2-3 large lemons. My favorite citrus juicer is this one. I also recommend straining the lemon juice before pouring it in to get any pulp or seeds out.
Step by Step Instructions
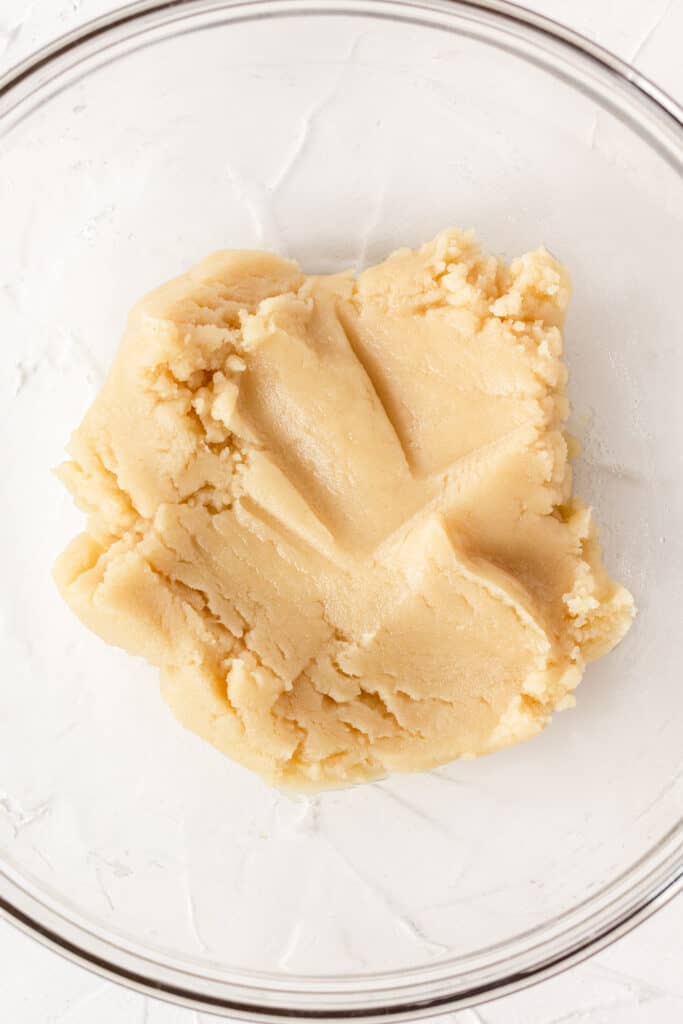
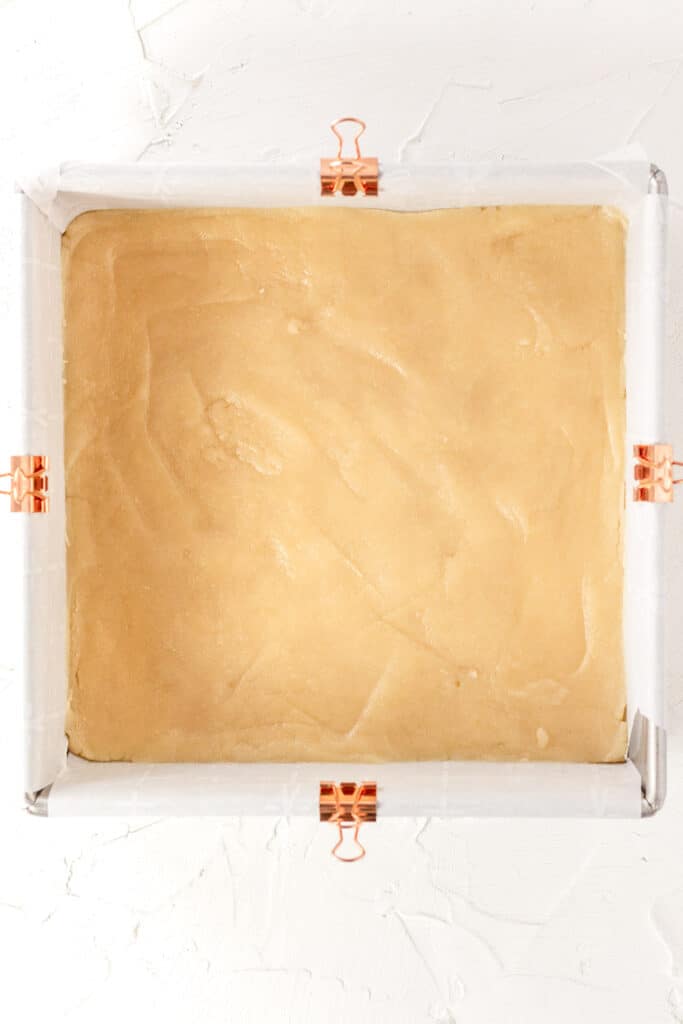
Step 1: In a microwave-safe bowl, heat the butter until melted. Add the sugar and mix until combined. Add the vanilla and mix again. Pour in the salt and flour and mix until everything is combined, your dough will be pretty thick. Pour the dough into the pan and spread it evenly in the pan. Bake this for about 20 minutes, until the edges are just slightly starting to brown.
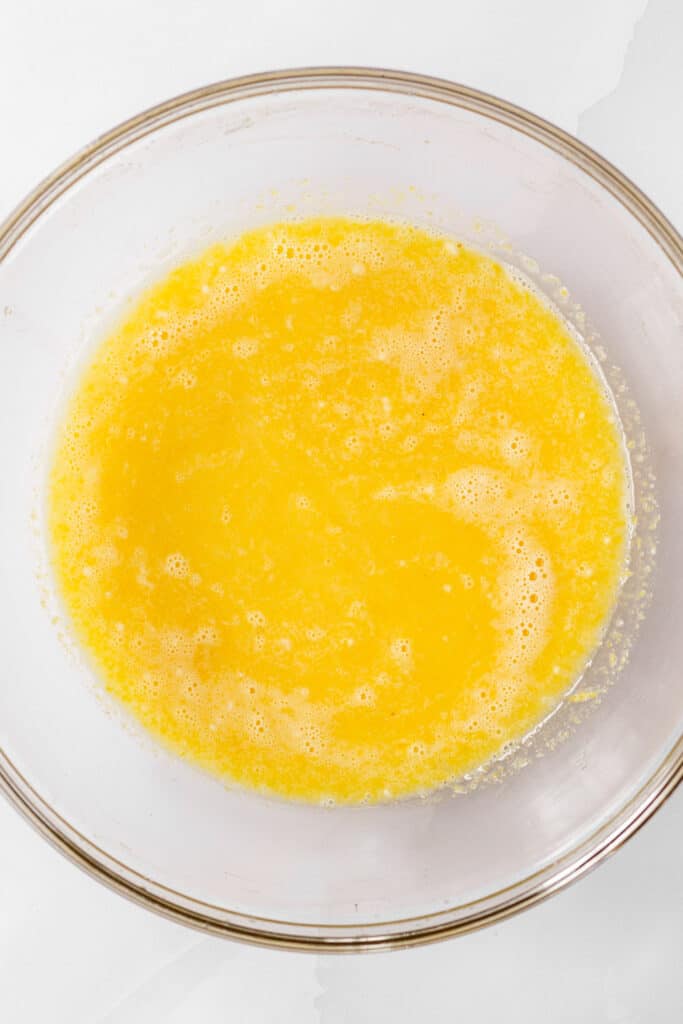
Step 2: While the crust is baking, make the lemon curd by combining the sugar and flour in a large bowl, making sure there are no clumps. Add in the eggs, lemon zest, and lemon juice. Whisk until everything is well combined, and then let it sit for 10 minutes.
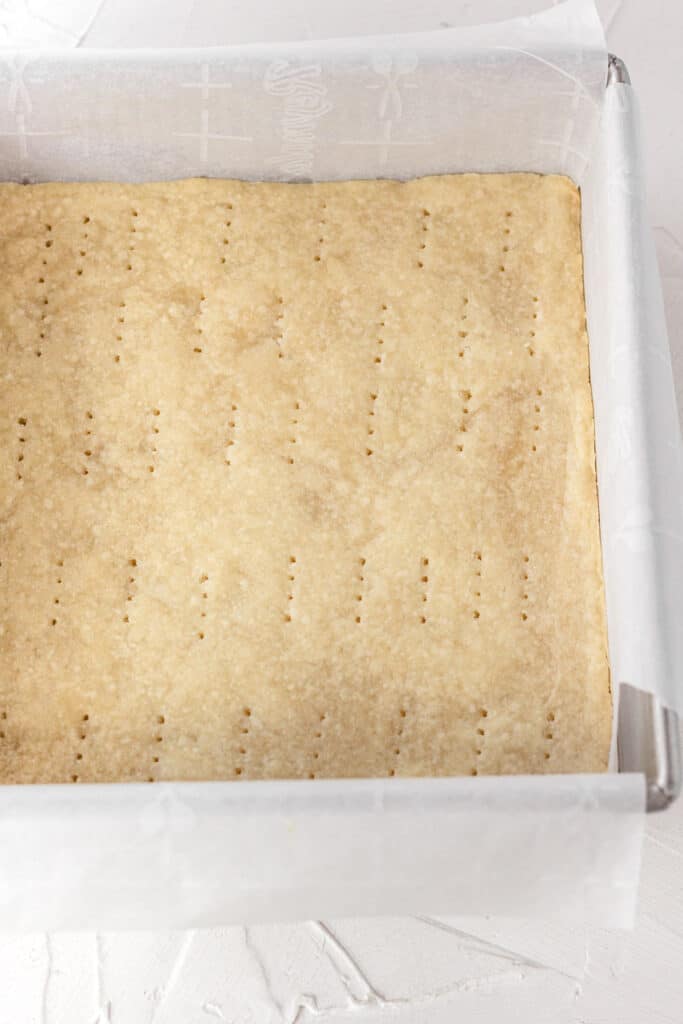
Step 3: Before pouring the lemon mixture onto the crust, take a fork and gently press holes into the top of the crust (making sure not to poke all the way through). Then use a rubber spatula to press the crust back towards the sides of the pan, sealing the edges that might have pulled away while baking. This is to make sure the lemon curd doesn't sink into the cracks around the edges of the pan.
Step 4: Give the lemon curd mixture a good mix one more time and then gently pour the lemon curd onto the crust. Place back into the oven to bake for 20-22 minutes until the curd is set (but still jiggles like jello). Remove and place on a wire cooling rack.
Step 5: Allow the bars to cool COMPLETELY in the pan (about an hour), and then place in the fridge for a few hours to chill. Remove from the pan by pulling up the parchment paper and use a sharp knife to cut into squares. Dust with powdered sugar and enjoy!
Common Questions
Lemon bars are lemon curd baked on top of the crust, so yes they should be somewhat gooey! Make sure you allow them to cool completely in the pan after baking (and I suggest chilling them in the fridge) so they aren't overly gooey.
I enjoy my lemon bars cold, but you can serve them at room temperature. Be sure to store them in the fridge. If you want them to be served at room temperature, take them out an hour or so before serving.
When lemon bars are done they should pass the "jiggle test"- basically the curd should jiggle like jello when it's done. If it's still too runny, bake a little longer and if it's totally firm you may have overbaked them.
From my experience, if the crust is not "sealed" this can lead to your lemon curd seeping into the cracks and the crust rising. Believe me, this happened so many times to me when I was testing this recipe. Basically what happens is when the crust is baking, it shrinks and pulls away from the edges of the pan.
Once the crust comes out of the oven, use a fork to gently poke holes all over the top (without going all the way through to the bottom). Then take a rubber spatula and gently press the crust back towards the edges of the pan. Anywhere that I notice it had pulled away from the pan, I gently push it back so that there is no crack. That way when you pour the lemon curd over top, it won't sink to the bottom through the cracks around the edges.
Yes! Just double the ingredients and make it in a 9x13 pan.
Yes you can. They will stay fresh in the fridge for a couple of days, just be sure to store them in an airtight container. Wait to dust with powdered sugar until they are ready to be served.
Tips and tricks
- use room temperature ingredients- this goes for most baking recipes, and here the only ingredients that would need to be room temperature would be the eggs.
- spoon and level your flour- I always recommend spooning and leveling your flour when baking. Scooping the measuring cup right into the flour will actually compact the flour and give much more than the recipe calls for. To spoon and level, use a large spoon to gently scoop the flour into your measuring cup. Once it's full, use a flat edge (like a butter knife) to gently scrape across the top of the measuring cup.
- make sure to seal the crust- As I said above, I learned this one the hard way (aka many recipe tests for these lemon bars). When the shortbread crust bakes, it pulls away from the edges of the pan, leaving cracks for the lemon curd to sink into which gives you upside-down lemon bars. Before pouring the lemon onto the crust, take a rubber spatula and gently press the crust back towards the edges of the pan to seal those cracks.
- don't overbake the lemon bars- Overbaking lemon bars can actually cause your lemon curd to curdle and will give you an almost grainy texture. Make sure to watch your lemon bars and take them out of the oven when they pass the "jiggle test"- they should jiggle like firm jello when they are done.
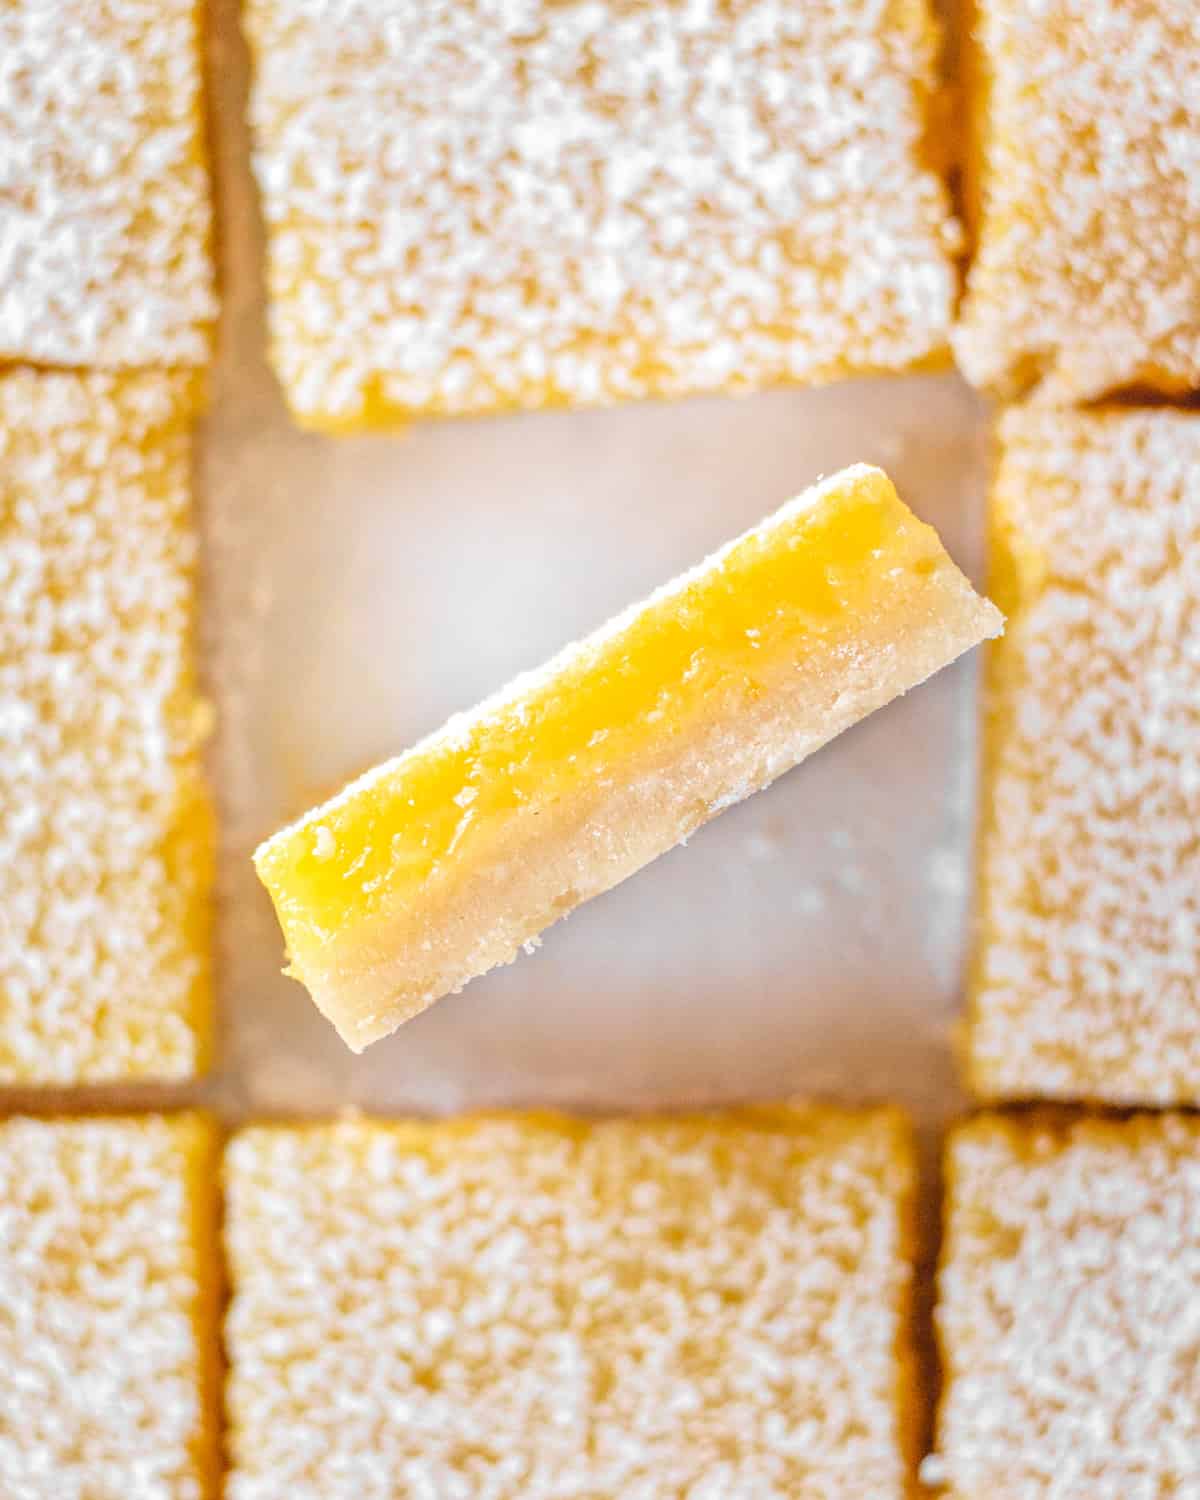
- use a sharp knife to cut- when cutting lemon bars, use a sharp knife to get clean cuts. I prefer using a big chef's knife to get all the way through. I also like to clean my knife off with warm water and a towel in between cuts to keep the cuts nice and clean (you don't have to do this but it helps).
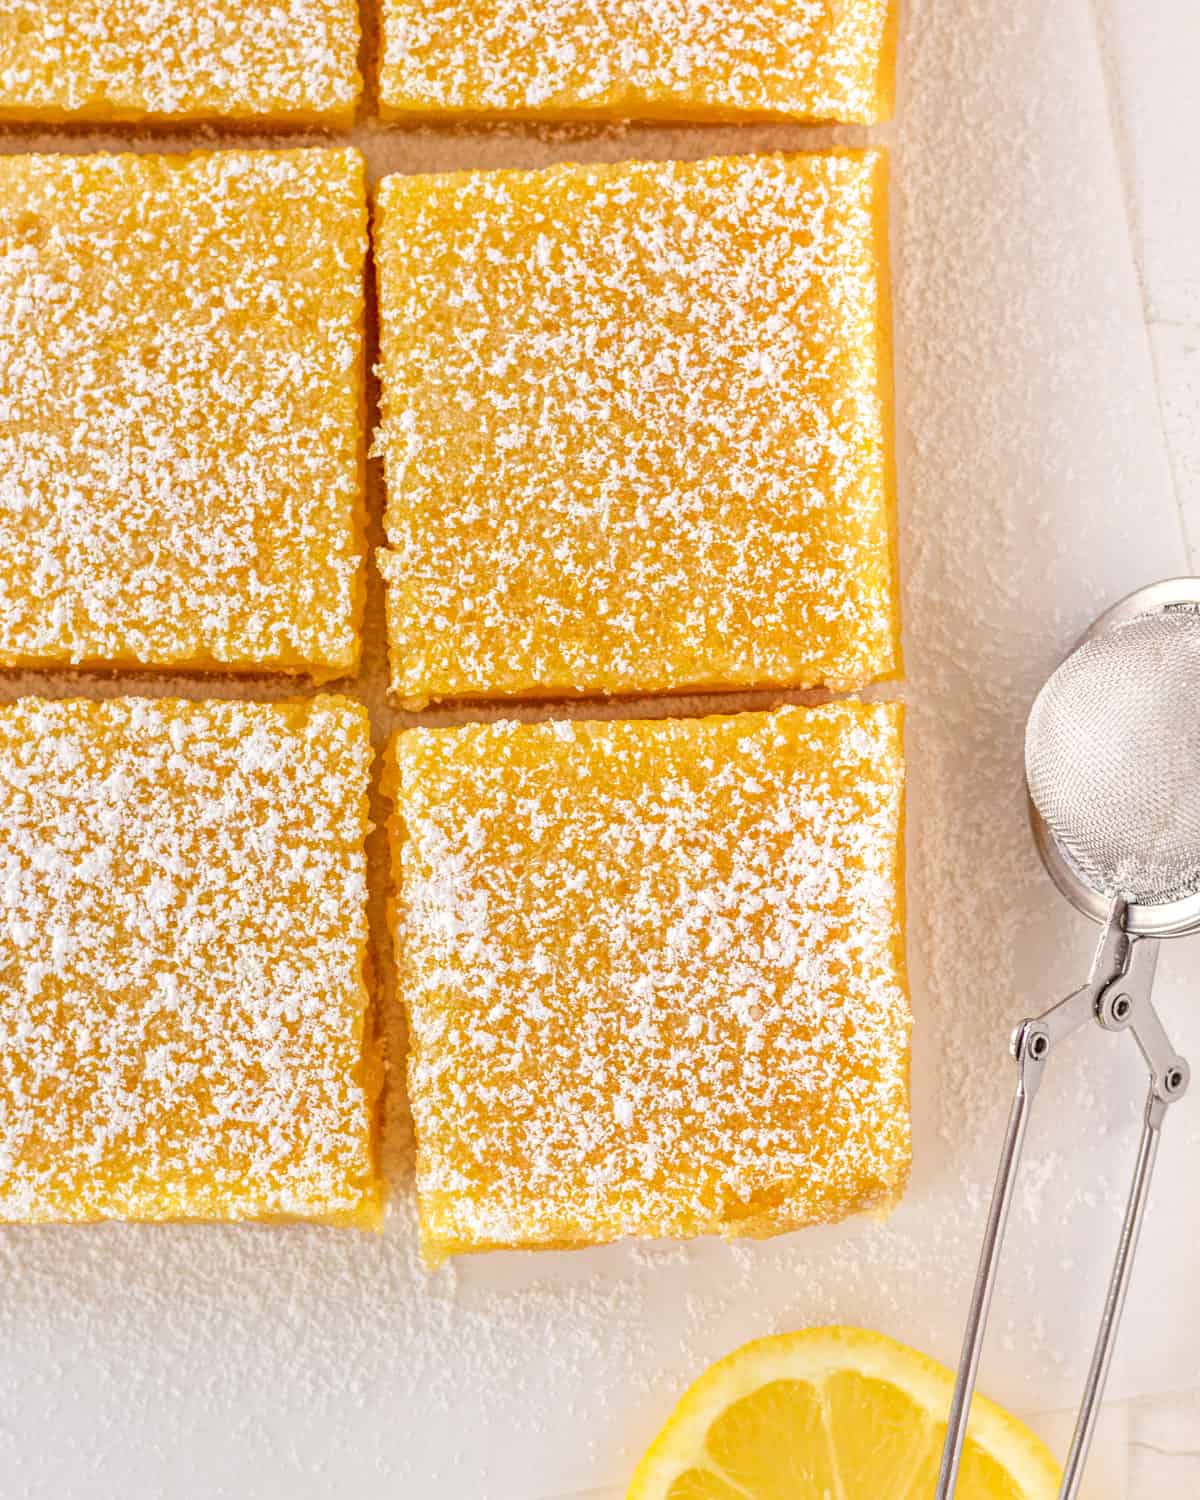
- dust with powdered sugar before serving- this is just a classic lemon bar tradition! Use a sifter to dust the top of the lemon bars with some powdered sugar.
Storing & freezing
Lemon bars should be stored in an airtight container in the fridge. They will stay good for up to a week in the fridge. They can also be frozen for 3-4 months.
Want to try more citrus recipes?
This post contains affiliate links which means if you purchase something off of one of those links I make a small commission at no extra cost to you. Thanks for supporting my blog!
📖 Recipe
Lemon Bars Recipe
Video
Ingredients
crust
- ½ cup unsalted butter , melted
- ¼ cup granulated sugar
- 1 teaspoon vanilla extract
- ¼ teaspoon salt
- 1 cup all-purpose flour , spooned and leveled
lemon curd
- 1 cup + 2 tablespoon granulated sugar
- 3 tablespoon all-purpose flour
- 3 large eggs
- 1 tablespoon + 1 teaspoon lemon zest , about 1½ lemons
- ½ cup fresh lemon juice , about 2½ lemons
- powdered sugar for dusting (optional)
Instructions
- Preheat the oven to 350° F. Line an 8x8 pan with parchment paper (for easy removal later) and set aside.
make the crust
- In a microwave safe bowl, heat the butter until melted. Add the sugar and mix until combined. Add the vanilla and mix again. Pour in the salt and flour and mix until everything is combined (the dough will be pretty thick).
- Pour the dough into the pan and spread it evenly into the bottom. Bake this for about 20 minutes, until the edges are just slightly starting to brown.
make the lemon curd
- While the crust is baking, make the lemon curd by combining the sugar and flour in a large bowl, making sure there are no clumps. Add in the eggs, lemon zest, and lemon juice. Whisk until everything is well combined, and then let it sit for 10 minutes.
assemble and bake
- Before pouring the lemon mixture onto the crust, take a fork and gently press holes into the top of the crust (making sure not to poke all the way through). Then use a rubber spatula to press the crust back towards the sides of the pan, sealing the edges that might have pulled away while baking. This is to make sure the lemon curd doesn't sink into the cracks around the edges of the pan.
- Give the lemon curd mixture a good mix one more time and then gently pour the lemon curd onto the crust. Place back into the oven the bake for 20-22 minutes until the curd is set (but still jiggles like firm jello). Remove and place on a wire cooling rack.
cool & slice
- Allow the bars to cool COMPLETELY in the pan (about an hour), and then place in the fridge for a few hours to chill. Remove from the pan by pulling up the parchment paper and use a sharp knife to cut into squares. Dust with powdered sugar and enjoy!
Notes
- spoon and level your flour- I always recommend spooning and leveling your flour when baking. Scooping the measuring cup right into the flour will actually compact the flour and give much more than the recipe calls for. To spoon and level, use a large spoon to gently scoop the flour into your measuring cup. Once it's full, use a flat edge (like a butter knife) to gently scrape across the top of the measuring cup.
- make sure to seal the crust- As I said above, I learned this one the hard way (aka many recipe tests for these lemon bars). When the shortbread crust bakes, it pulls away from the edges of the pan, leaving cracks for the lemon curd to sink into which gives you upside-down lemon bars. Before pouring the lemon onto the crust, take a rubber spatula and gently press the crust back towards the edges of the pan to seal those cracks.
- don't overbake the lemon bars- Overbaking lemon bars can actually cause your lemon curd to curdle and will give you an almost grainy texture. Make sure to watch your lemon bars and take them out of the oven when they pass the "jiggle test"- they should jiggle like firm jello when they are done.
- use a sharp knife to cut- when cutting lemon bars, use a sharp knife to get clean cuts. I prefer using a big chef's knife to get all the way through. I also like to clean my knife off with warm water and a towel in between cuts to keep the cuts nice and clean (you don't have to do this but it helps).
- dust with powdered sugar before serving- this is just a classic lemon bar tradition! Use a sifter to dust the top of the lemon bars with some powdered sugar.



Amy says
Just made two trays of these and they are DELICIOUS! I followed the recipe exactly and it was very simple and straight forward.
Kelly Hamilton says
SO happy to hear you loved these lemon bars, Amy!
Bridget says
Love this recipe! Thought it would be hard to make, but it was easy to follow and turned out amazing. Thank you!
Kelly Hamilton says
Thanks for trying this recipe, Bridget! Happy to hear they turned out great 😊
Kat says
How to adjust recipe if making in a 9x13?
Kelly Hamilton says
Hi Kat! You can just double the recipe to make it in a 9x13. You might need to adjust the baking time a bit by adding 5-10 minutes extra. I would just keep an eye on them as they bake!
Kat says
Perfect, thanks!
Sue Hilbert says
Did you really mean to chill in oven or should that read chill in refrigerator??
Kelly Hamilton says
Definitely meant to say fridge!!! No chilling in the oven lol. So sorry for the typo, thank you for pointing it out!
Glenda says
Can you use store bought lemon curd for this recipe
Kelly Hamilton says
I think you could, but I haven't tested it! If you do use store-bought I think 5-6 ounces would probably be equivalent.