Rich & decadent Red Velvet Oreo Cookies are the perfect treat! These cookies have a classic red velvet flavor and are filled with oreos and white chocolate chips!

Jump to:
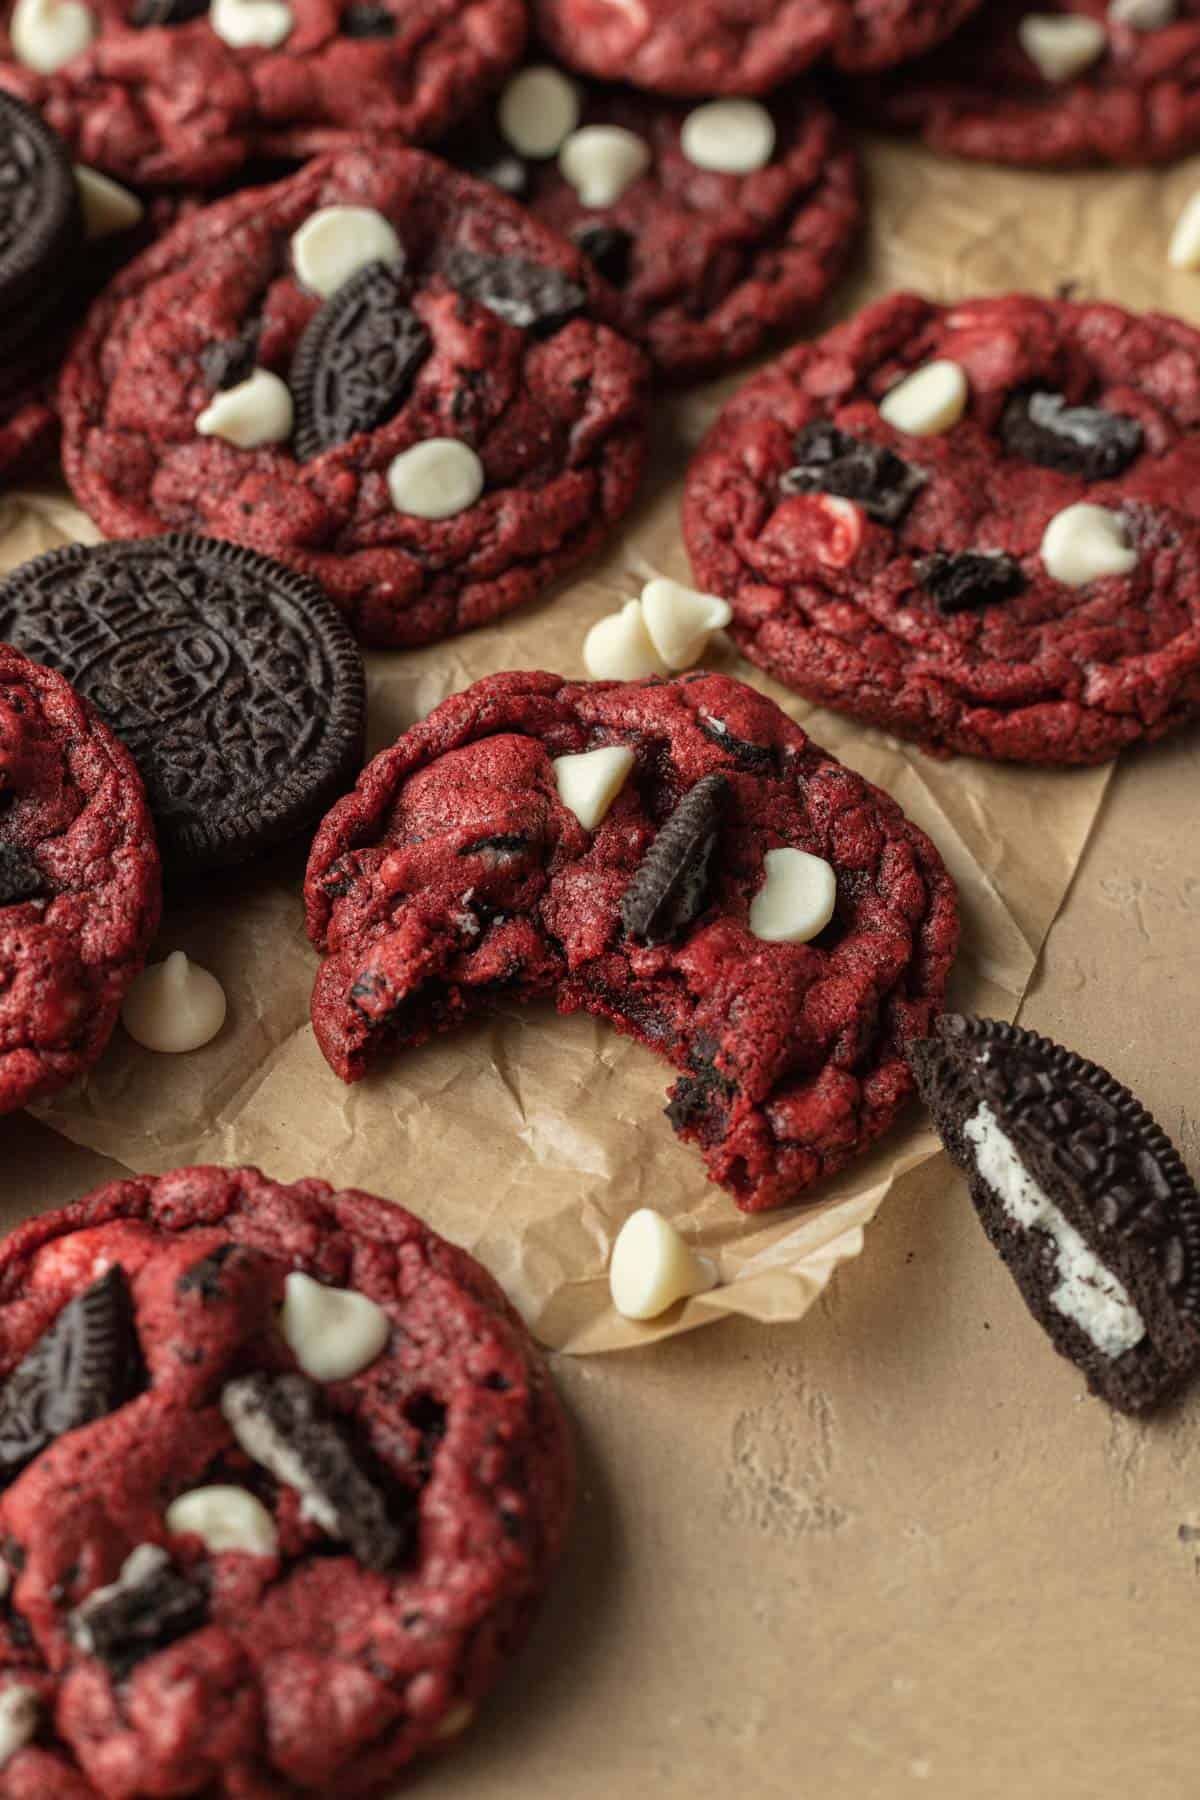
My new favorite flavor combo unlocked: red velvet and oreos! These Red Velvet Oreo Cookies are everything I ever wanted in a dessert- gooey and soft cookies with a crunchy edge, filled with chopped oreos and white chocolate chips. They have that distinct red velvet flavor of a little bit of vanilla, a little bit of chocolate, and a tang to pull it all together.
These cookies not only taste great, but they also look amazing too! I used red food coloring to give them their perfect red velvet color and add some oreos on top once they are done baking.
If you are looking for more red velvet desserts, you must try my red velvet brownies with cream cheese frosting, and my red velvet baked donuts!
Why You Need These Red Velvet Oreo Cookies
- Quick & easy dessert- these cookies don't require any chilling time and can be whipped up in about 20-25 minutes!
- Perfect for Valentine's day- Red velvet is a classic for valentine's day because of its color! These make the perfect treat for any loved one.
- Red velvet flavor without the cake- So you love red velvet but don't want to bake a whole cake? Me either! These cookies are still delicious and homemade, just without all the hassle of a cake!
Recipe Ingredients
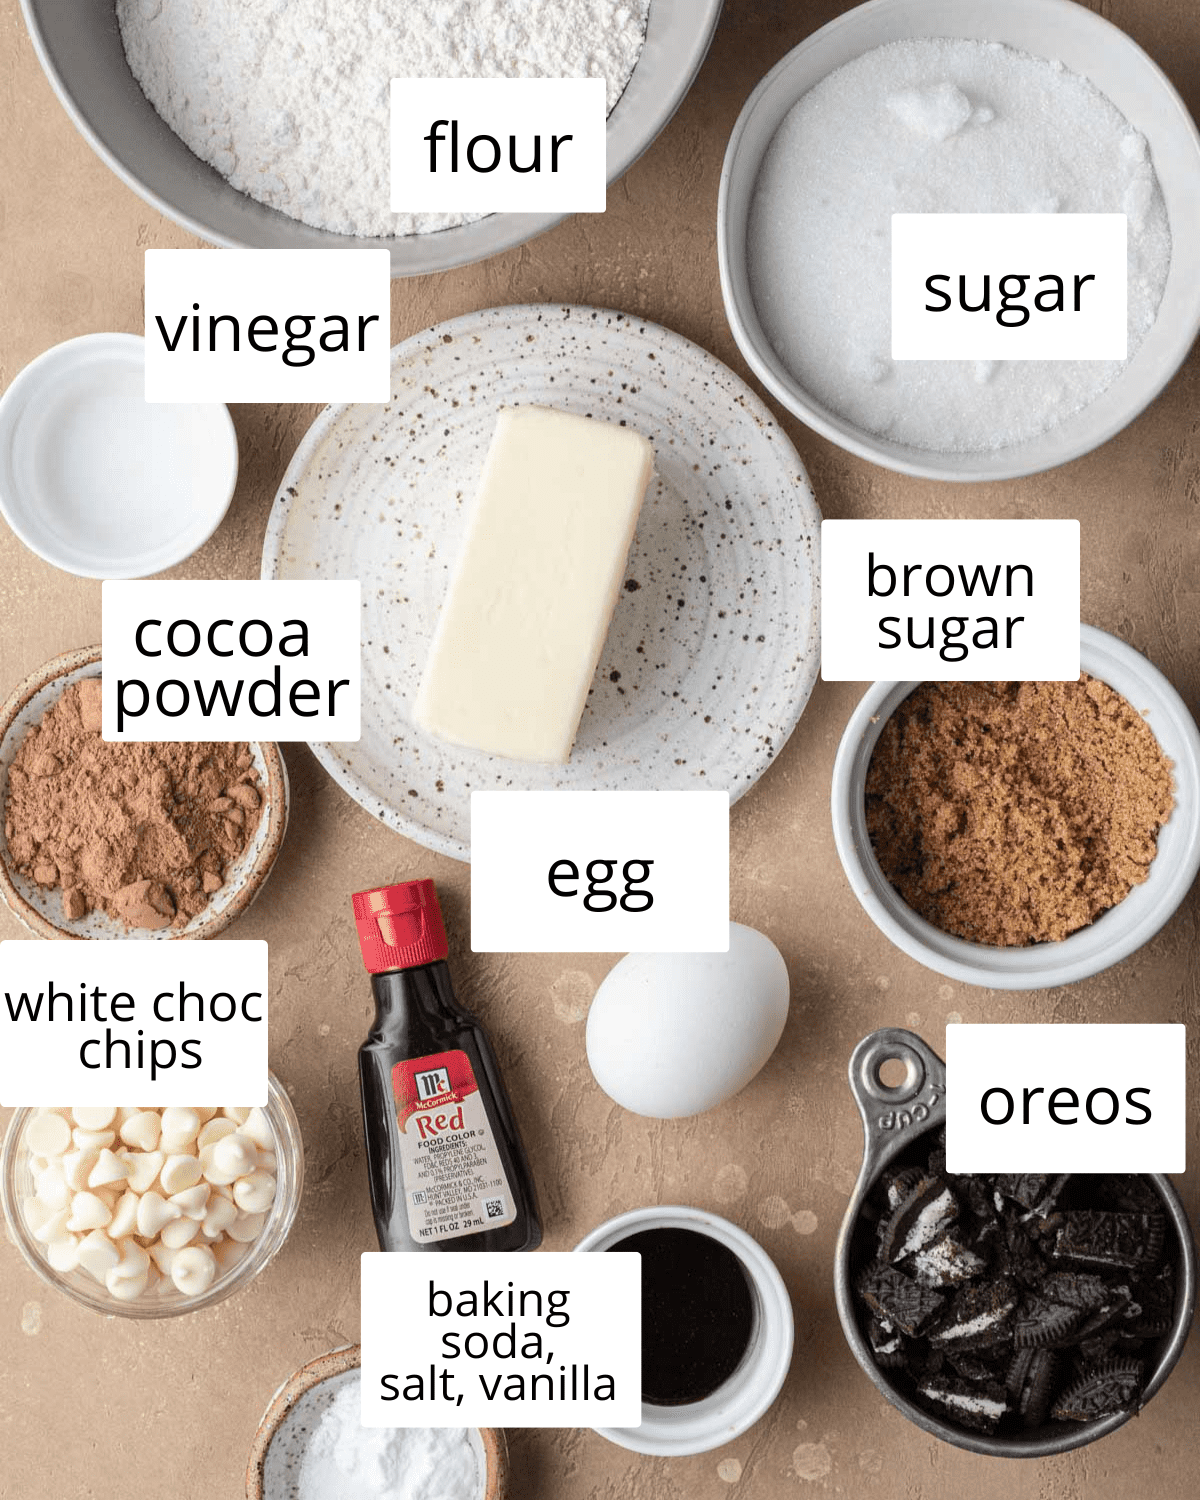
Here are some notes on a few ingredients- please see the full ingredient list in the recipe card below!
- oreos- I used regular oreos but you can swap for double stuffed or flavored oreos.
- vinegar- this is a staple ingredient in red velvet cakes, it is what gives the cake its tangy flavor (red velvet cake also usually contains buttermilk). That being said, you can certainly leave it out, or swap it for lemon juice.
- cocoa powder- cocoa powder is another ingredient that gives red velvet its distinct flavor. I recommend using high-quality unprocessed cocoa powder.
- red food coloring- what makes our cookies red! you can always opt to leave this out as it doesn't affect the flavor. I've only tested these with liquid, so if you have gel food coloring you may need to use more or less!
Step-by-Step Instructions
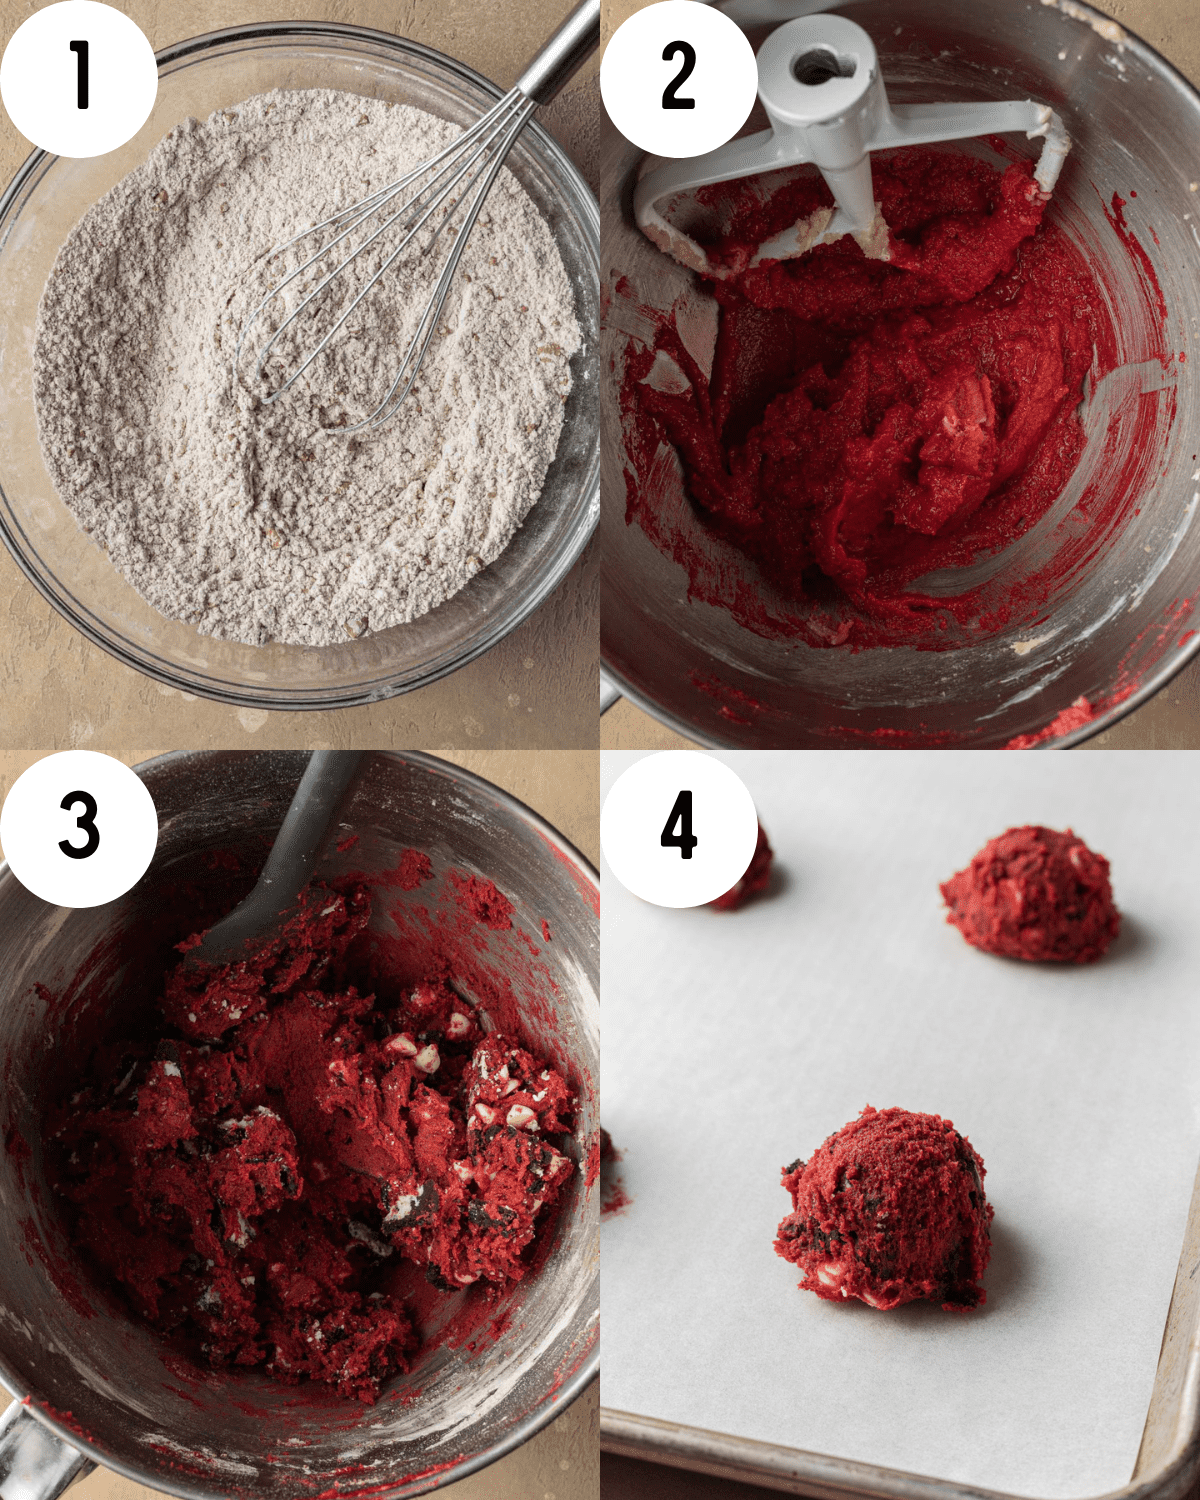
Step 1: Preheat the oven to 350 degrees. Line a baking sheet with parchment paper and set it aside.
Step 2: In a medium bowl, whisk together flour, cocoa powder, salt, and baking soda. Set this aside.
Step 3: In a large bowl, use an electric mixer or stand mixer to cream the butter until smooth. Add the granulated sugar and brown sugar, mixing on medium speed until light and fluffy (about 1-2 minutes). Mix in the egg, vanilla, vinegar, and red food coloring until just combined.
Step 4: Gradually add in dry ingredients. Mix just until you no longer see streaks of flour. Fold in the chopped oreos and white chocolate chips.
Step 5: Scoop about 1.5 tablespoons (medium cookie scoop) of dough onto a baking sheet, keeping about 2-3 inches between each cookie in case they spread while baking.
Step 6: Bake for about 9-11 minutes, or until the edges are set but the center is slightly underdone. Remove from the oven immediately and place extra white chocolate chips and oreo chunks on top of the cookies (optional). If you want your cookies to be perfectly round, use a cookie cutter to circle the cookies until they are round.
Allow the cookies to cool on the pan for about 5 minutes. Transfer to a wire cooling rack to cool completely.
Frequently Asked Questions
Red velvet cake is a staple cake flavor. It has a mild cocoa flavor with a little bit of tart taste from the vinegar (and typically in cakes, buttermilk). Not exactly vanilla and not exactly chocolate, it's a great mix of both. It is a super distinct flavor and I feel like you really get it through these cookies!
If your cookies didn't spread while baking, you could have over-measured the four or overmixed the batter. Another thing to check is to make sure your oven is at the correct temperature. I recommend getting an oven thermometer because a lot of time our ovens are hotter or cooler than they say they are!
I used regular oreos, but you really can use any flavor you want! Double stuffed, the red ones they make around Christmas, mint flavor, double chocolate, etc. There are so many, I doubt any would taste bad in this cookie.

Tips and Tricks
- Measure flour correctly- I recommend using a scale to weigh your flour for the most accurate measurement. If you don't have a scale, spoon the flour into your measuring cup and use a flat edge to scrape the excess off (instead of scooping the flour into your measuring cup)
- Use a round cookie cutter- to make your cookies perfectly round and uniform, my favorite hack is to use a round cookie cutter that is bigger than my cookies, and as soon as they come out of the oven swirl the cookie cutter around the sides to give you a perfectly round cookie.
- Add extra chocolate- Once my cookies are out of the oven, I like to add some extra white chocolate chips (and oreos) to the tops so they get all melty while the cookies cool!
- Leave out the food coloring- if food coloring isn't your thing, feel free to make this without it! It will still taste like red velvet!
Storing & Freezing
These cookies can be stored in an air-tight container for 3-4 days at room temperature, or up to a week in the fridge.
They can be frozen in a freezer-safe container for 2-3 months. To defrost, allow them to sit at room temperature.
Want to try more cookie recipes?
If you made this recipe, I would love to know what you thought! Leave me a star rating and a comment below ⭐️ Your reviews not only help my business but other bakers as well!
Want an exclusive first look at all my recipes? Join my email newsletter which sends Bake & Bacon recipes straight to your inbox as soon as they go live, so you never miss a recipe!
Want to keep up with Bake & Bacon outside of the blog? Follow me on Instagram, Facebook, Twitter, Pinterest, and Youtube. Tag me on any social media and use the hashtag #bakeandbacon so I can see what you are baking!
📖 Recipe


Red Velvet Oreo Cookies
Equipment
Ingredients
- 1½ cups all-purpose flour
- 2 tablespoon cocoa powder
- 1 teaspoon baking soda
- ¼ teaspoon salt
- ½ cup unsalted butter at room temperature
- ¾ cup granulated sugar
- ¼ cup light brown sugar packed
- 1 large egg
- 1 teaspoon vanilla extract
- ½ teaspoon vinegar
- 1-2 teaspoon red food coloring
- 1 cup chopped oreos about 6-7 oreos, plus extra for topping
- ½ cup white chocolate chips plus extra for topping
Instructions
- Preheat the oven to 350 degrees. Line a baking sheet with parchment paper and set it aside.
- In a medium bowl, whisk together flour, cocoa powder, salt, and baking soda. Set this aside.
- In a large bowl, use an electric mixer or stand mixer to cream the butter until smooth. Add the granulated sugar and brown sugar, mixing on medium speed until light and fluffy (about 1-2 minutes).
- Mix in the egg, vanilla, vinegar, and red food coloring until just combined.
- Gradually add in dry ingredients. Mix just until you no longer see streaks of flour. Fold in the chopped oreos and white chocolate chips.
- Scoop about 1.5 tablespoons (medium cookie scoop) of dough onto a baking sheet, keeping about 2-3 inches between each cookie in case they spread while baking.
- Bake for about 9-11 minutes, or until the edges are set but the center is slightly underdone. Remove from the oven immediately and place extra white chocolate chips and oreo chunks on top of the cookies (optional). If you want your cookies to be perfectly round, use a cookie cutter to circle the cookies until they are round.
- Allow the cookies to cool on the pan for about 5 minutes. Transfer to a wire cooling rack to cool completely.
Notes
- Measure flour correctly- I recommend using a scale to weigh your flour for the most accurate measurement.
- Use a round cookie cutter- As soon as your cookies come out of the oven swirl a cookie cutter around the sides to give you a perfectly round cookie.
- Add extra chocolate- add some extra white chocolate chips (and oreos) to the tops so they get all melty while the cookies cool!
- Leave out the food coloring- if food coloring isn't your thing, feel free to make this without it!
Nutrition
This post contains affiliate links which means if you purchase something off of one of those links I make a small commission at no extra cost to you. Thanks for supporting my blog!







Roman says
I’ve been non stop making these cookies and they’re really the best! I use a mix of milk (or dark) chocolate and white chocolate as well in these and it really adds so much. Super good and perfect for Valentine’s Day 🙂 especially if you’ve got a heart shaped cookie cutter like I did
Kelly Hamilton says
So happy to hear you enjoyed these, Roman!
briar says
obsessed with these. tasty and easy to make too.
Kelly Hamilton says
So happy to hear you enjoyed these, Briar!
Lina says
I’ve made these cookies three times already and I love them. However, if I wanted them to be a bit “chunky” vs flat what should I do?
Kelly Hamilton says
Hi Lina, I would try chilling the dough before baking it. Maybe 30 min-1 hour in the fridge? Hopefully that will help them spread a little less!