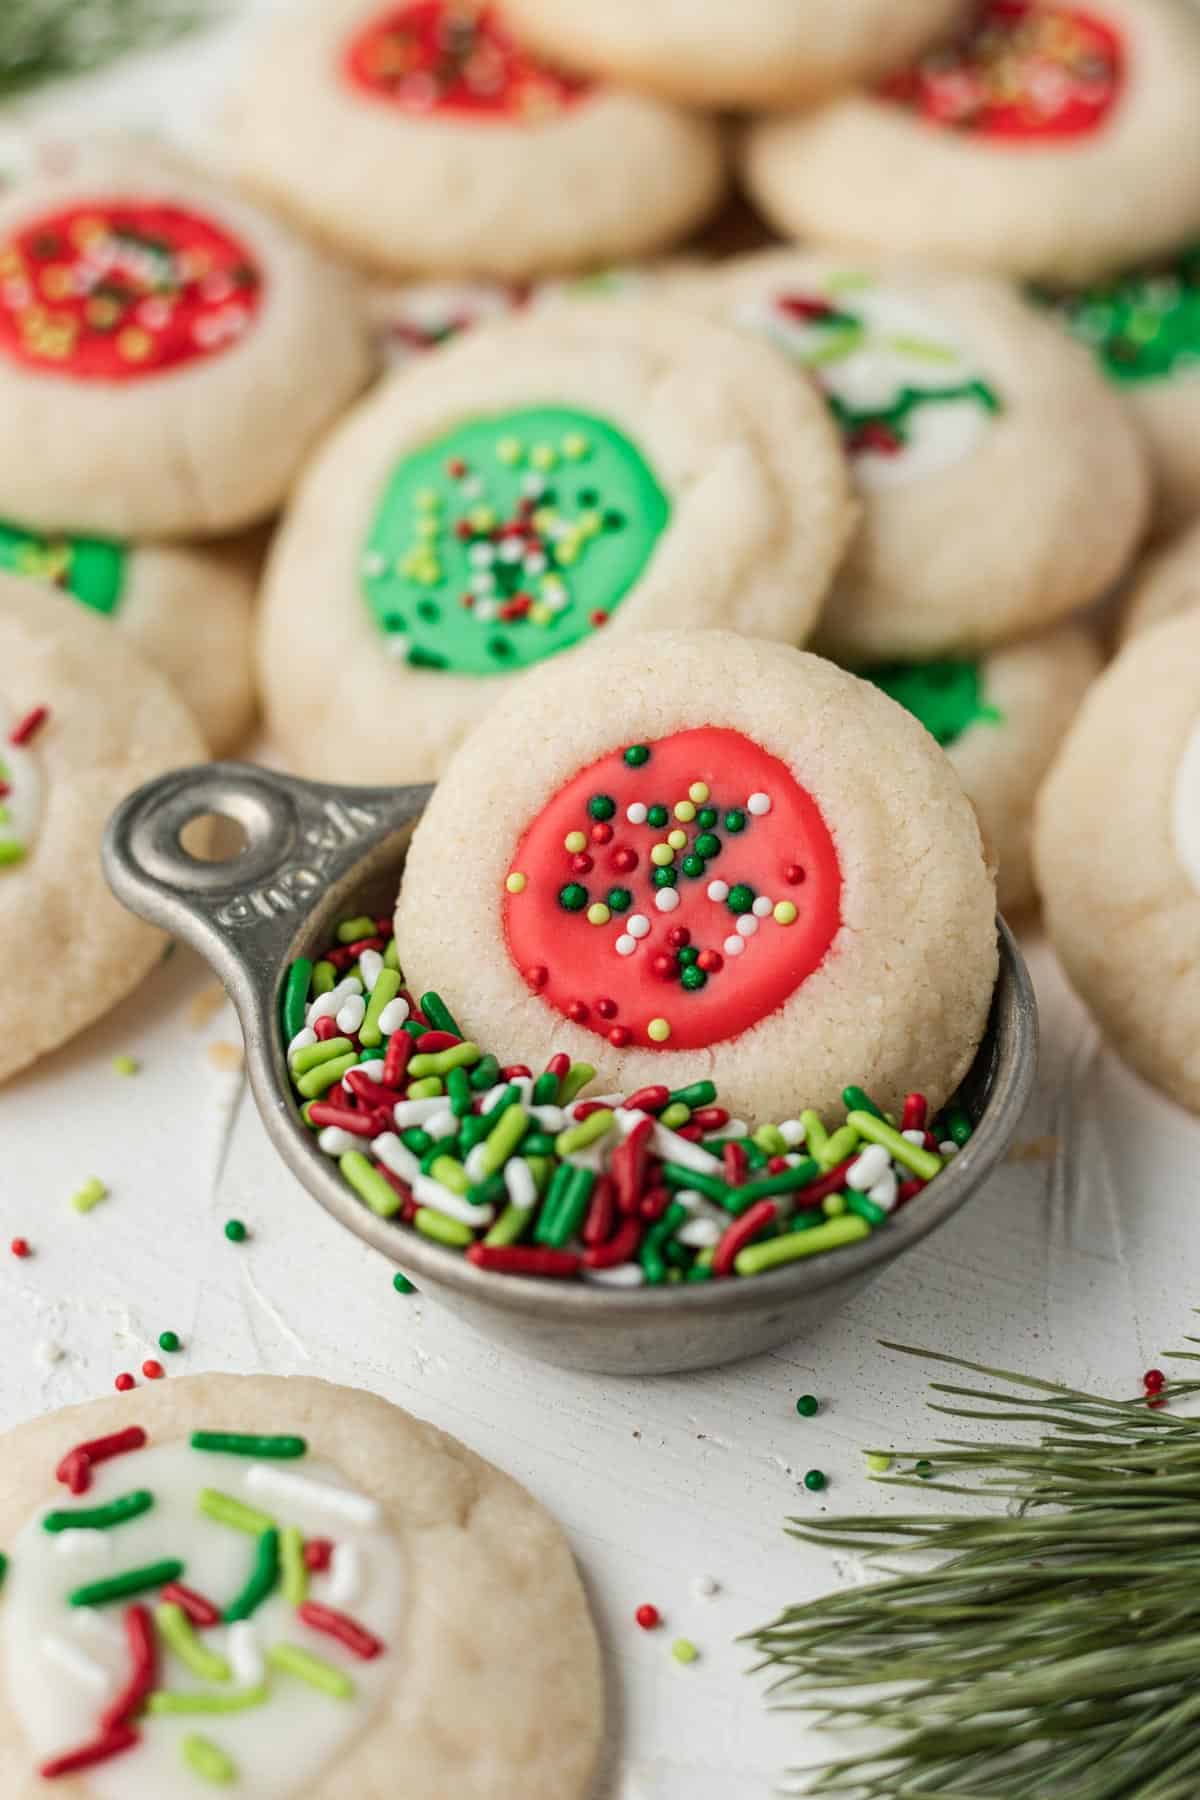
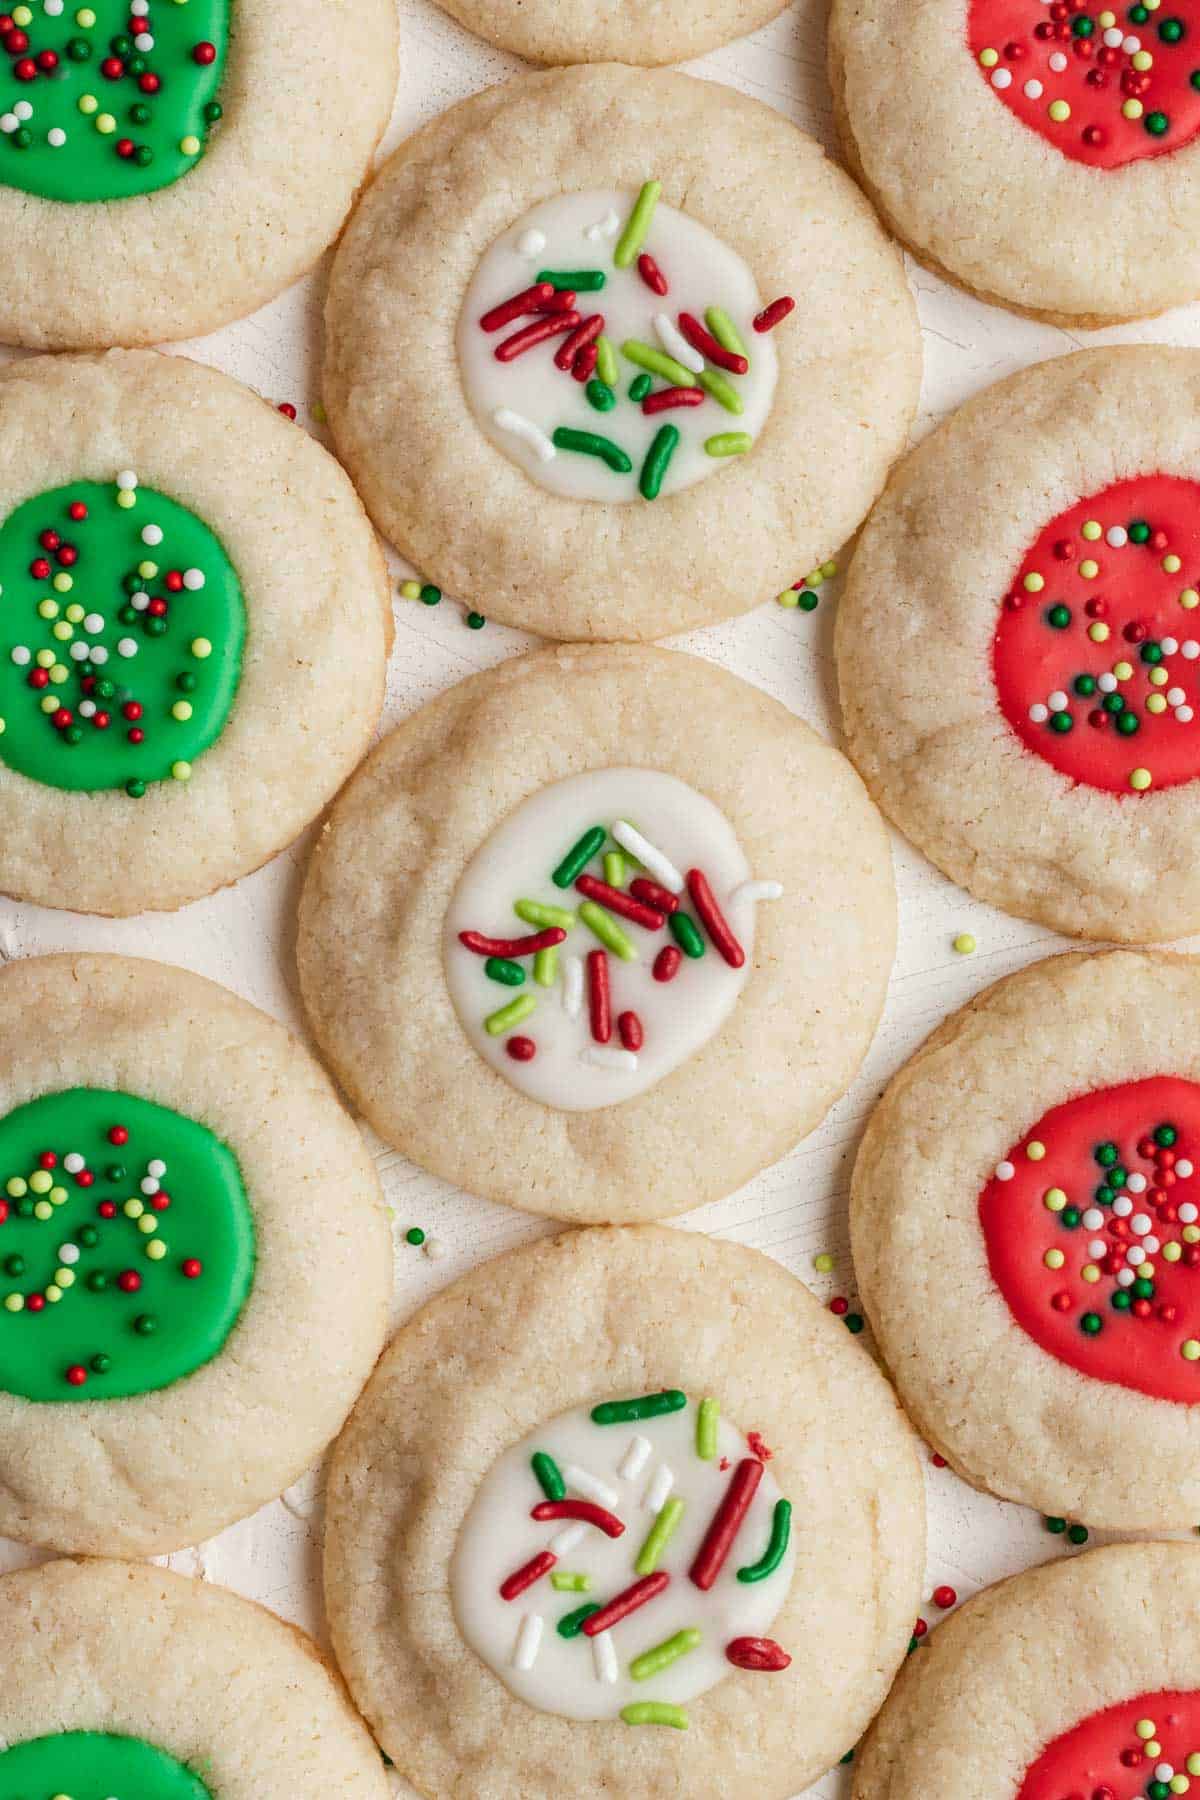
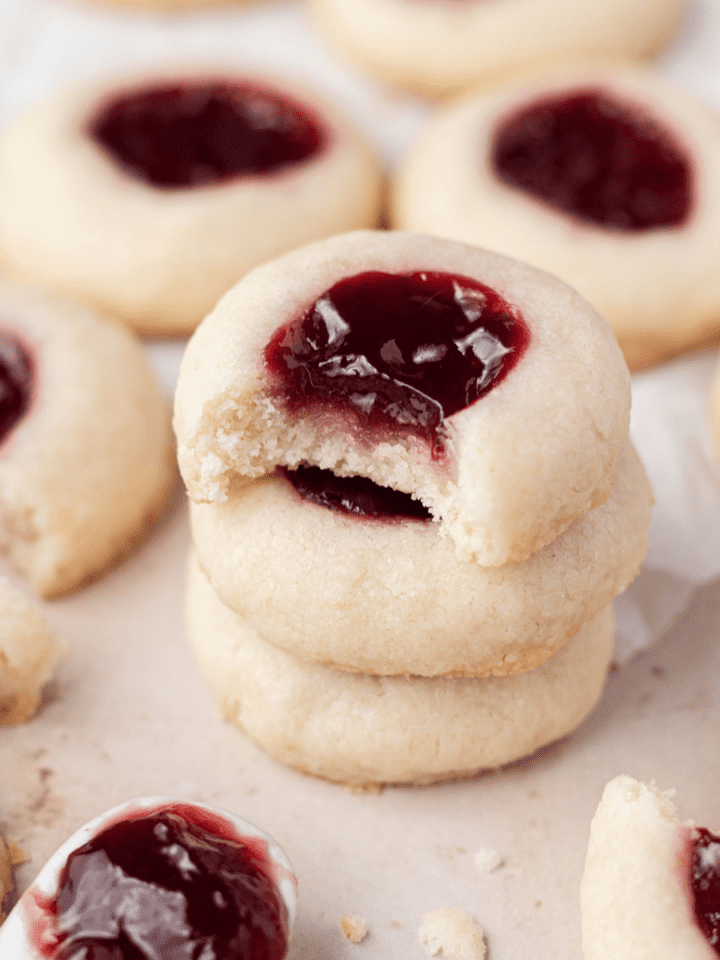
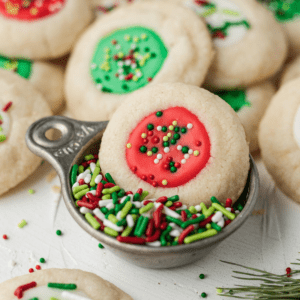
These Thumbprint Cookies with icing are perfect for the holidays- buttery shortbread cookies topped with a simple sweet icing and festive sprinkles.
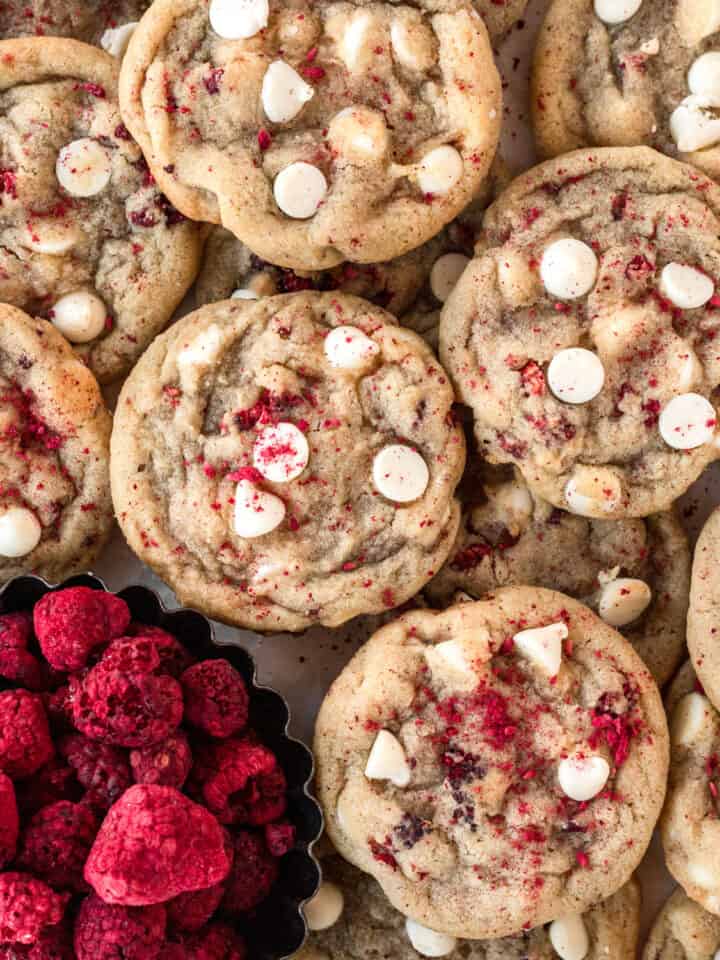
A fun holiday cookie recipe- these thumbprint cookies with icing are perfect for holiday gatherings! This recipe is super easy to make & comes together in less than 1 hour. It's basically the same recipe as my Raspberry Almond Thumbprint cookies!
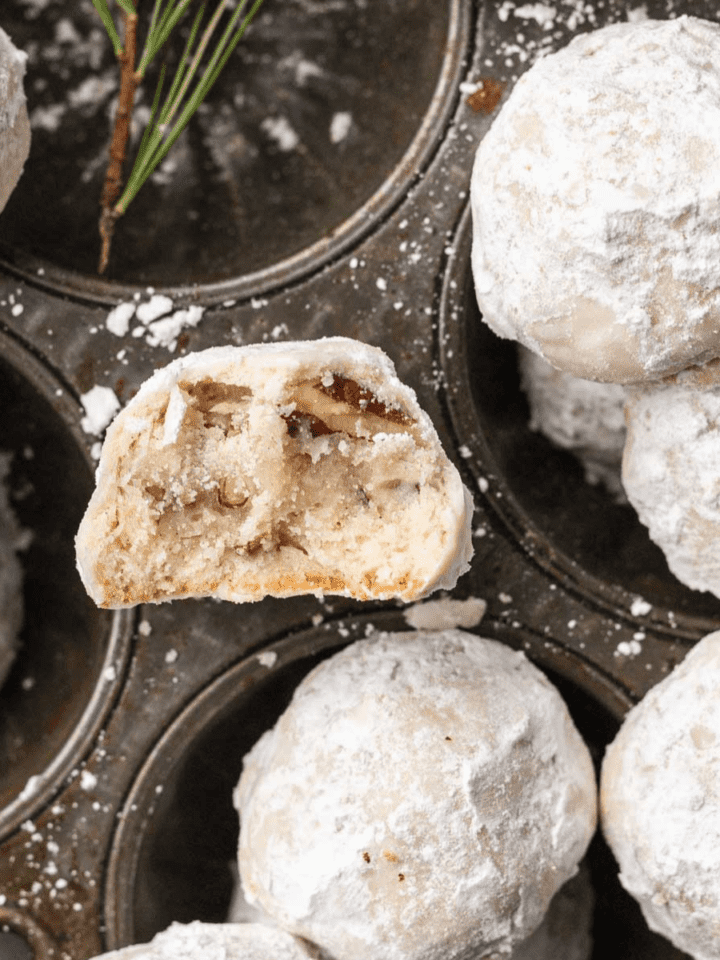
These cookies aren't overly sweet- the cookie itself is a basic shortbread cookie, so it's buttery and tender. The icing on top is super simple and adds a hint of sweetness to the cookies. They melt in your mouth just like my Snowball Cookies! I also am a huge fan of my pizzelle cookies for Christmas, plus my 3 ingredient peanut butter cookies.
I loved making these and I think they would be fun to make together with your family and/or kids!
Recipe Ingredients
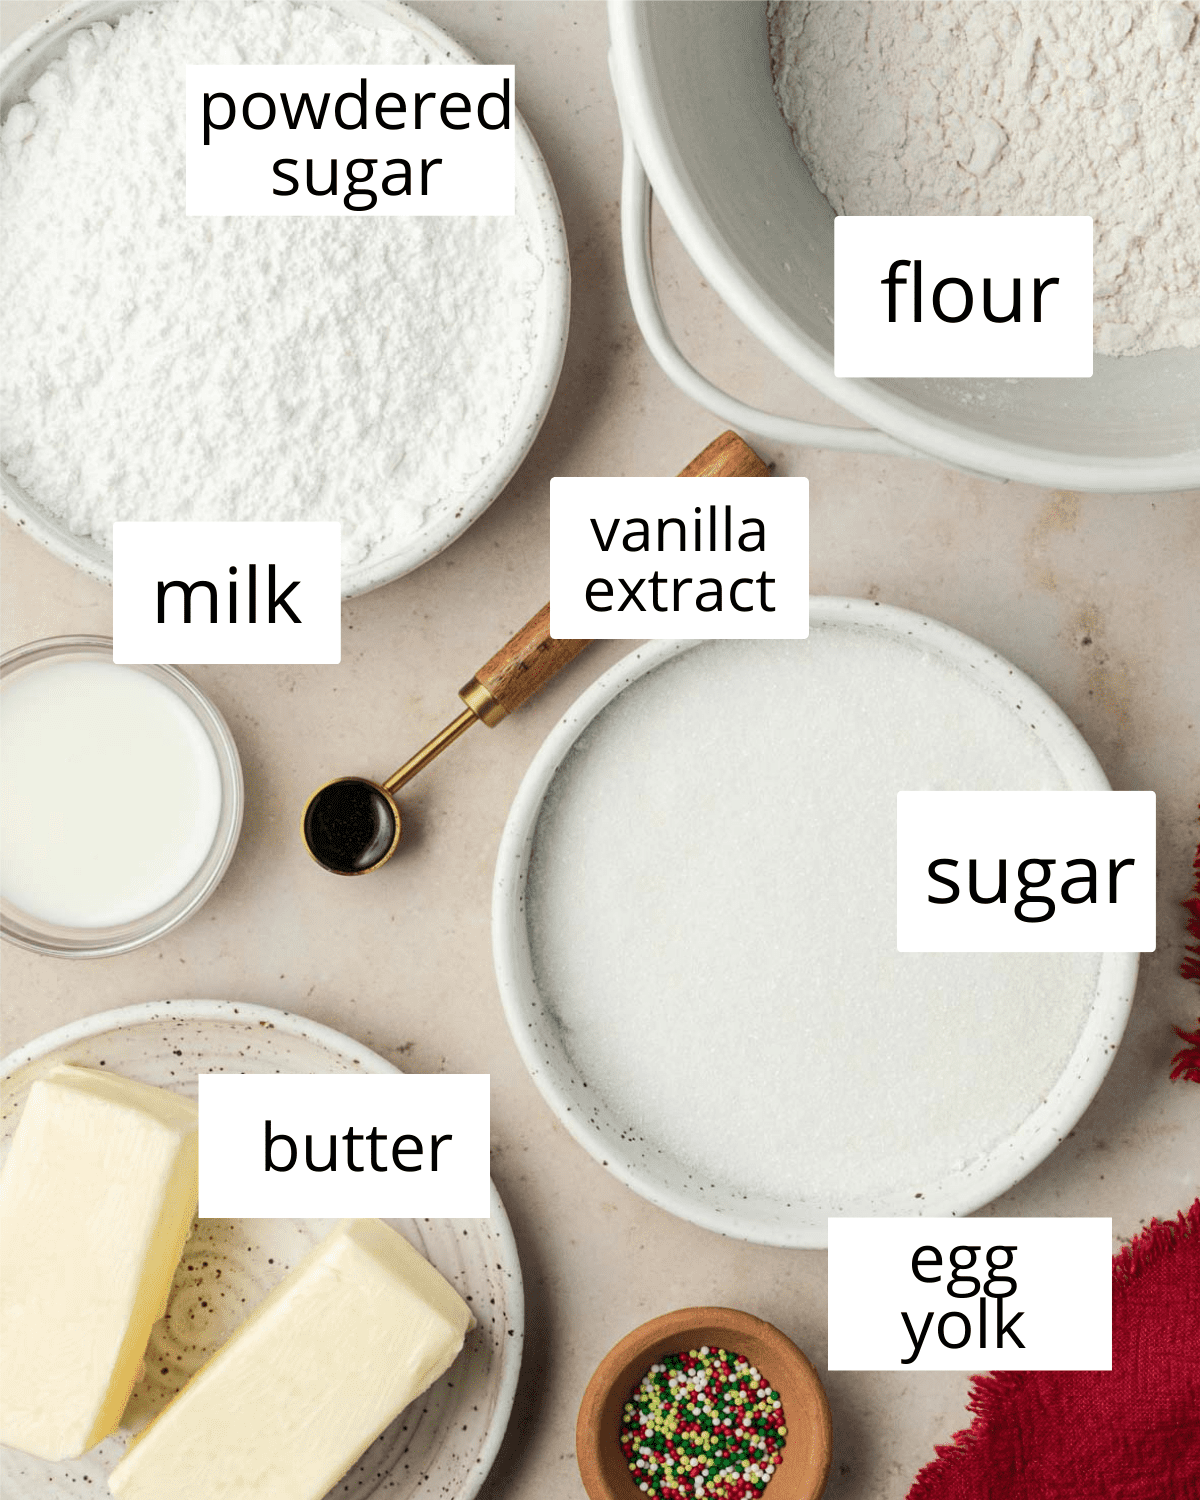
Here are some notes on a few ingredients- please see the full ingredient list in the recipe card below!
- butter- I typically use unsalted butter for baking recipes, but salted works fine as well.
- vanilla- this recipe uses vanilla extract to add flavor to our shortbread. If you're a fan of almond extract, I have a raspberry almond thumbprint cookie recipe coming out next week!
- egg yolk- this is our binding agent, it will help keep your cookies from spreading in the oven.
- powdered sugar- this icing recipe is simply powdered sugar, vanilla, and milk. If you are looking for something a little more decadent, try my brown butter maple buttercream, strawberry buttercream, or chocolate buttercream- all are super rich tasting and would look beautiful piped on top of this cookie!
Step by Step Instructions
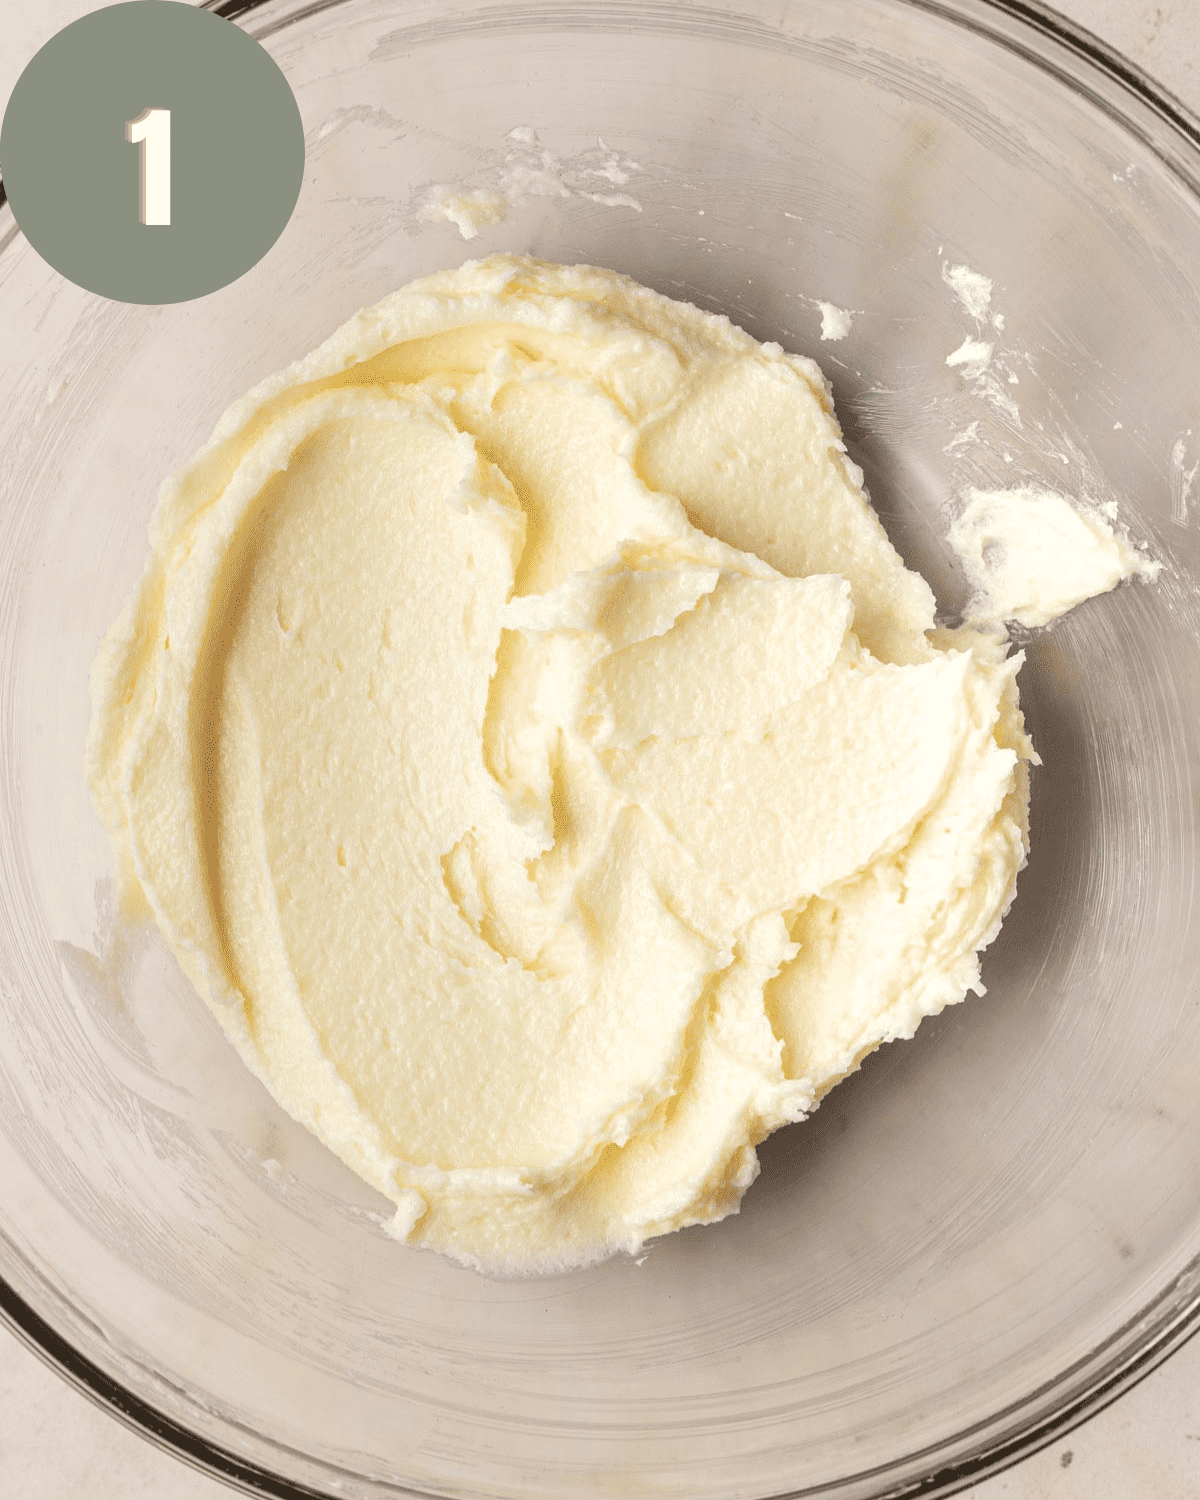
Step 1: Make the dough
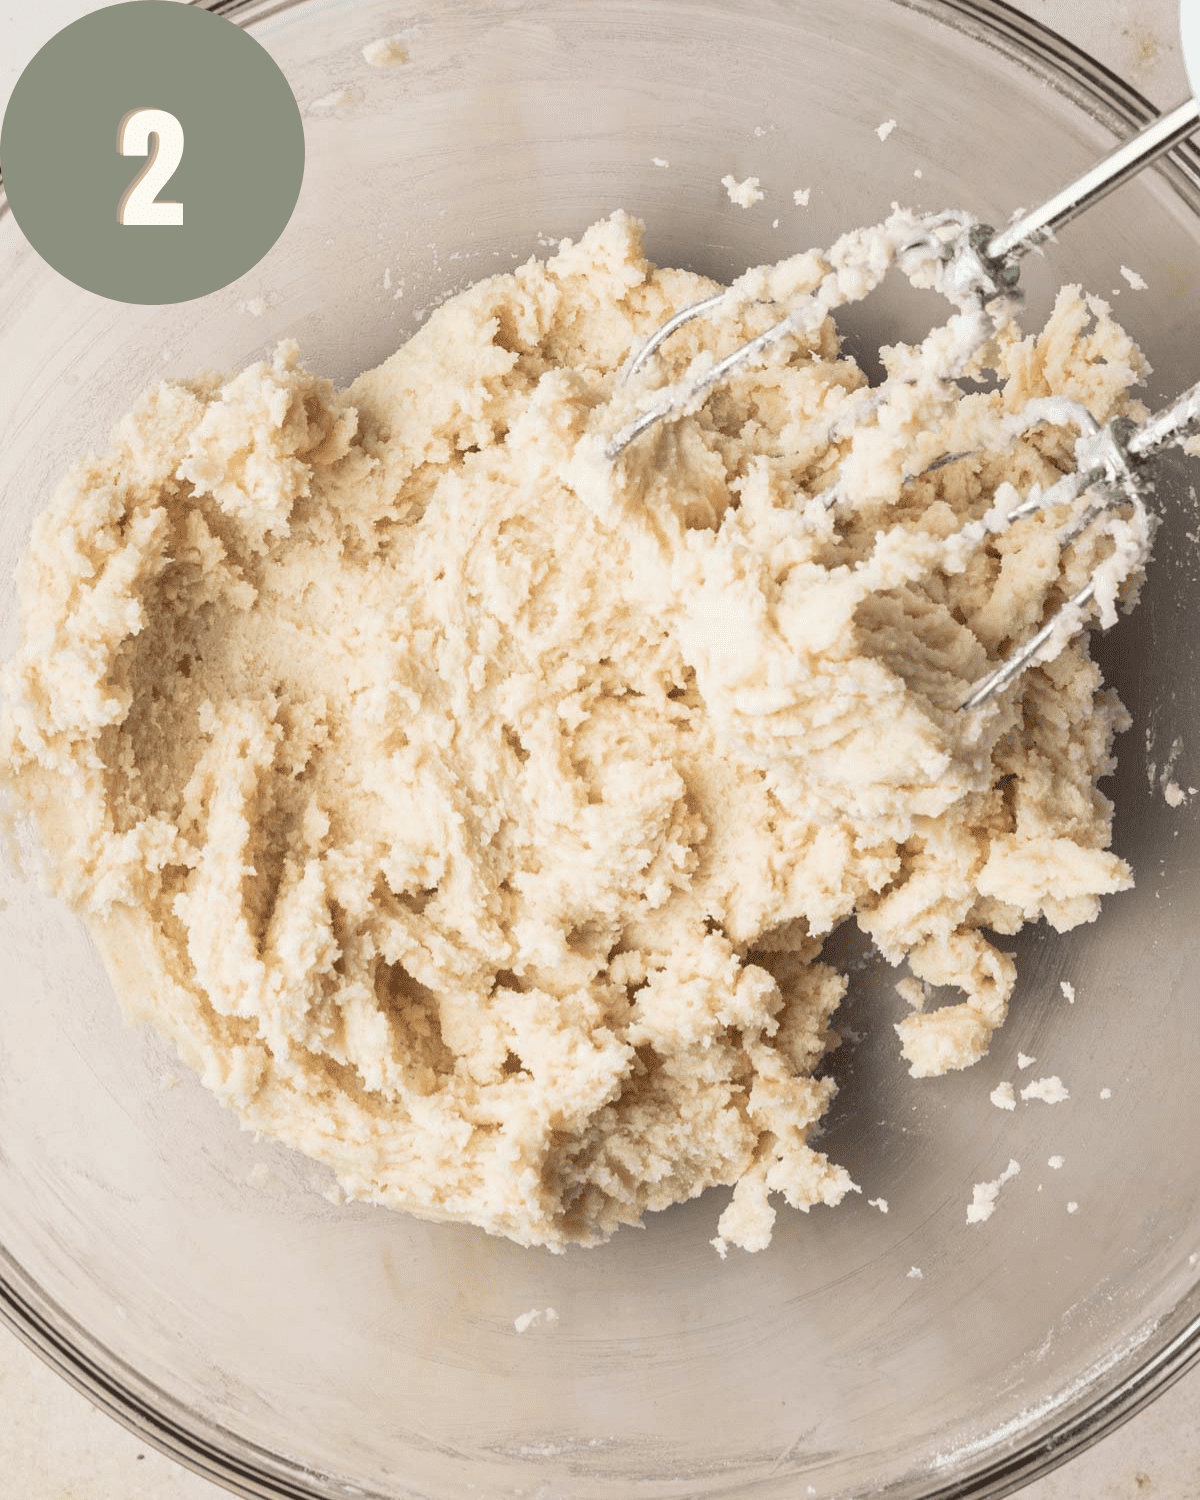
In a mixing bowl, cream the butter and sugar until smooth using an electric mixer. Add in the vanilla extract and egg yolk, mixing until combined. Lastly, mix in the flour until a dough forms, scraping down the sides of the bowl as needed. The dough will seem crumbly at first but continue mixing and it will come together.
Step 2: Bake the cookies
Scoop and roll 1 tablespoon of dough into balls and place onto the parchment paper-lined baking sheet. Gently press your thumb or the back of a measuring spoon into the middle of the ball.
Bake cookies for 13-15 minutes, or until the cookies are set and the bottoms just are lightly browned. Remove from the oven and using the back of a round measuring spoon, gently press the indent back down. Allow the cookies to cool for 5 minutes on the pan, then carefully transfer to a wire cooling rack to cool completely.

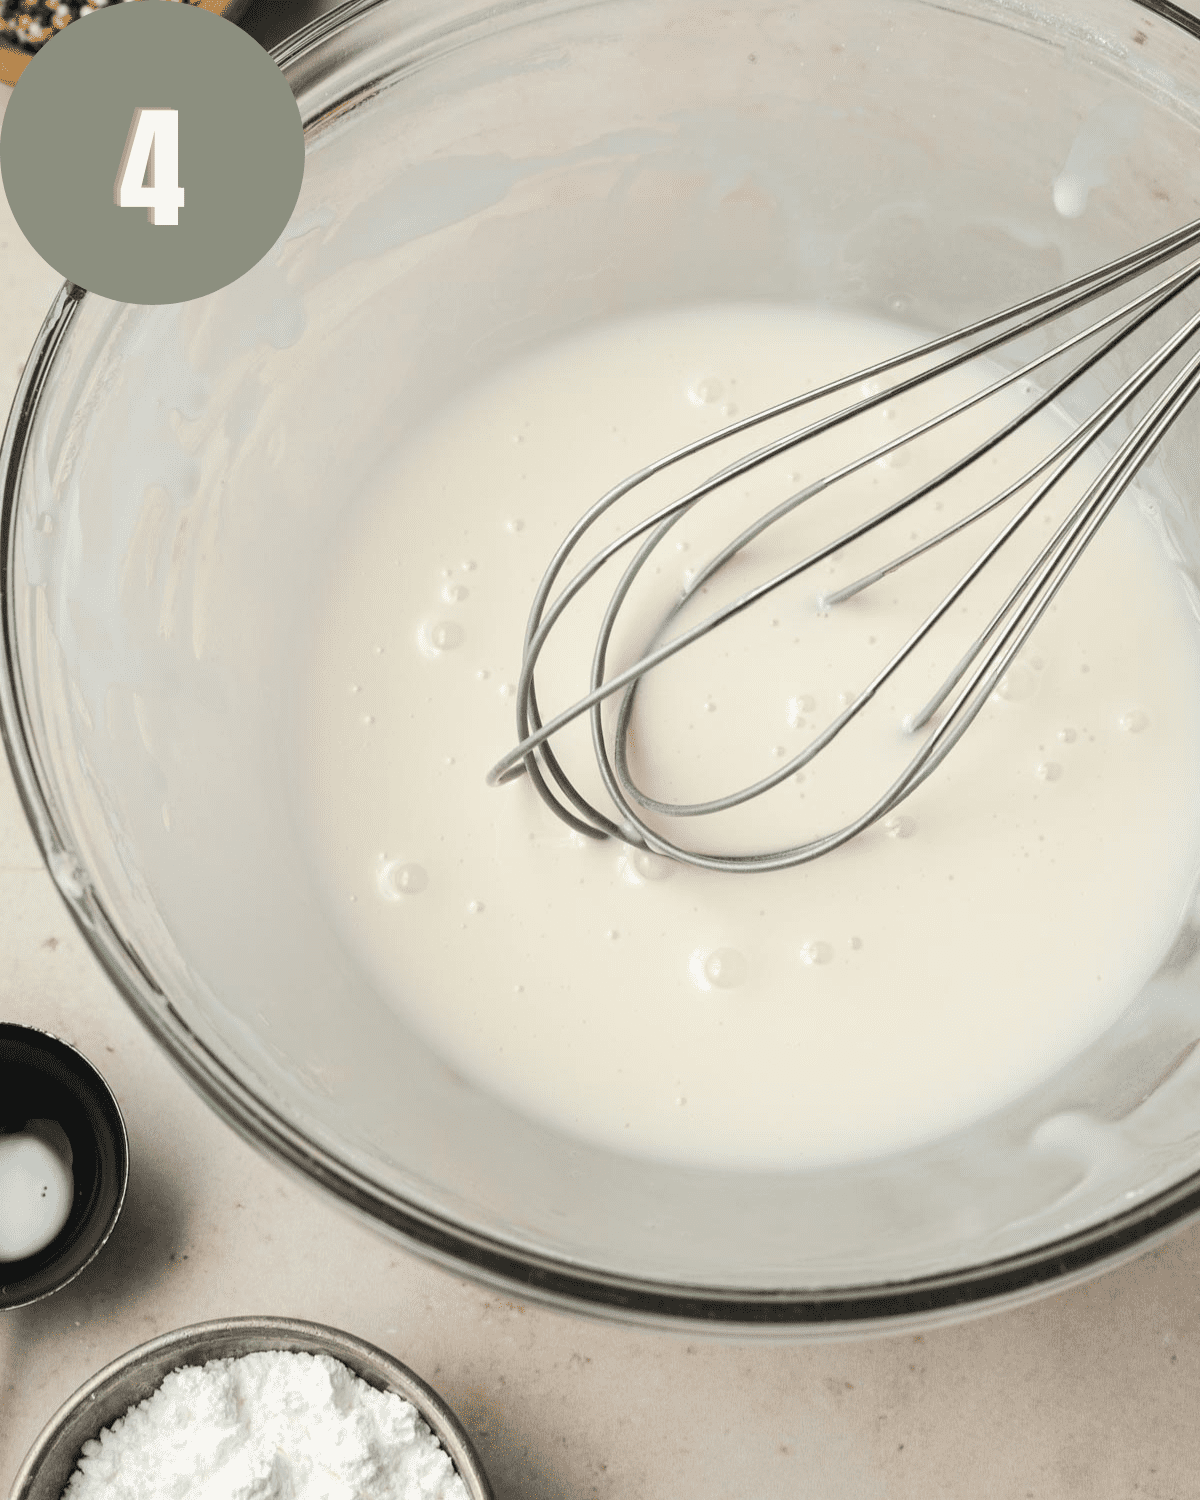
Step 3: Make the icing
In a bowl, mix together the powdered sugar, vanilla, and 1 tablespoon of milk. Add 1 tablespoon of milk at a time until you reach desired consistency. You don't want the icing to be super runny, but enough to pipe/spoon into the cookies. Divided the icing into separate bowls and mix with food coloring until you reach desired color (optional).
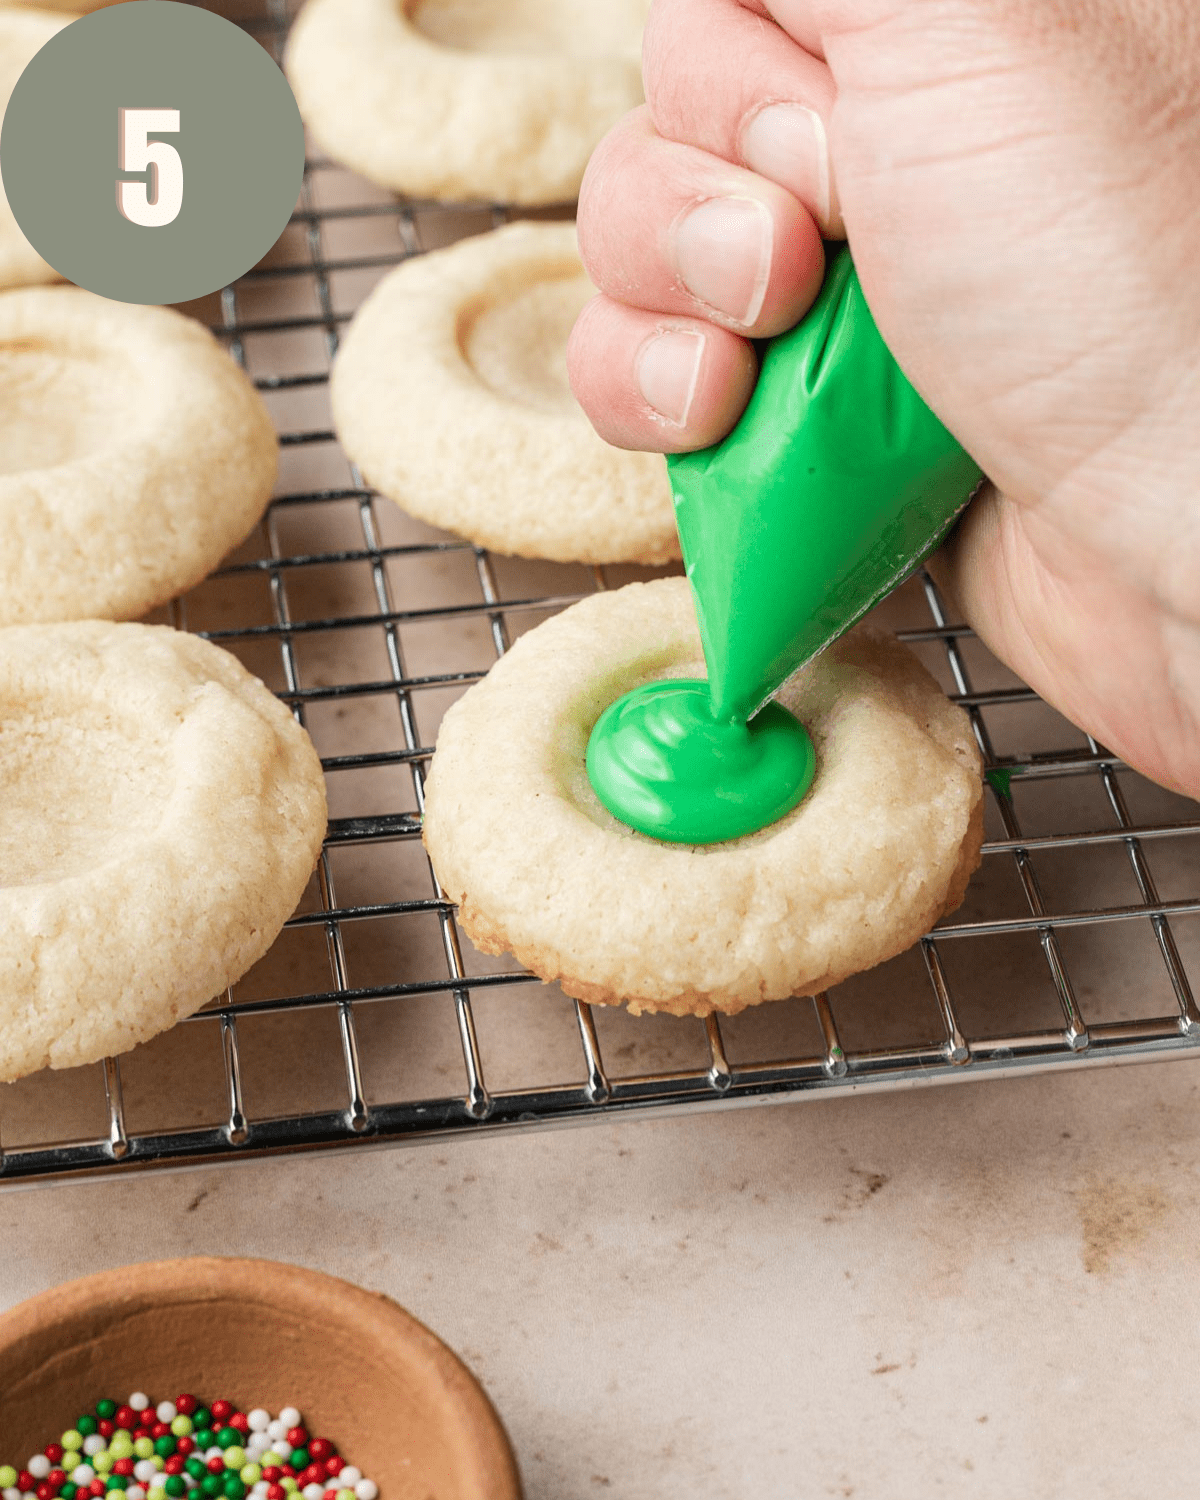
Use a piping bag, a ziploc bag, or a spoon to put the icing into the thumbprints on the cookies. Sprinkle with your favorite holiday sprinkles. Allow the icing to set completely (about 12 hours) before serving or stacking them on top of one another.
Tips and Tricks
- use room temperature butter- This is super important for this recipe because if you use warm butter your cookies will spread too much and not hold their shape. I like to take my butter out about an hour before baking (as long as it's not too warm inside my house). To test, gently press on your butter- it should leave a slight indent but the wrapper should not feel greasy.
- make ahead- You can prep the dough and keep it in the freezer for up to 3 months before. To thaw, put in the fridge overnight and then bring to room temperature before baking. You can also bake/ice these ahead of time and store them in an airtight container. Make sure the icing completely sets before you stack them though!
- spoon and level your flour- I always recommend spooning and leveling your flour when baking. Scooping the measuring cup right into the flour will actually compact the flour and give much more than the recipe calls for. To spoon and level, use a large spoon to gently scoop the flour into your measuring cup. Once it's full, use a flat edge (like a butter knife) to gently scrape across the top of the measuring cup.
- allow pans to cool before baking- a general rule of thumb in baking if you don't want your cookies to spread is don't put your dough on a warm baking sheet! Allow your sheet to cool completely in between batches or use a different one.
Storing & Freezing
These cookies can be stored in an airtight container at room temperature or in the refrigerator for up to 5 days. Baked cookies can be stored in the freezer for up to 3 months. Thaw at room temperature before serving.
This cookie dough can also be frozen if you want to make it ahead of time. Thaw in the fridge overnight and bring to room temperature before baking.
Want to try more cookie recipes?
If you made this recipe, I would love to know what you thought! Leave me a star rating and a comment below - I read them all! ⭐️ Your reviews not only help my business but other bakers as well!
Want an exclusive first look at all my recipes? Join my email newsletter which sends Bake & Bacon recipes straight to your inbox as soon as they go live, so you never miss a recipe!
Want to keep up with Bake & Bacon outside of the blog? Follow me on Instagram, Facebook, Twitter, Pinterest, and Youtube. Tag me on any social media and use the hashtag #bakeandbacon so I can see what you are baking!
Thumbprint Cookies with Icing
Equipment
Ingredients
- 1 cup unsalted butter softened to room temperature
- ⅔ cup granulated sugar
- 1 teaspoon vanilla extract
- 1 egg yolk at room temperature
- 2 cups all-purpose flour spooned and leveled
Icing
- 2 cups powdered sugar
- ½ teaspoon vanilla extract
- 2-4 tablespoon milk use as needed
- food coloring I used red & green
- sprinkles
Instructions
- Preheat your oven to 350° F. Line a baking sheet with parchment paper and set aside.
- In a large mixing bowl, cream the butter and sugar until smooth. Add in the vanilla extract and egg yolk, mixing until combined. Lastly, mix in the flour until a dough forms, scraping down the sides of the bowl as needed. It will seem crumbly at first but continue mixing and the dough will come together.
- Scoop and roll 1 tablespoon of dough into balls and place onto the parchment paper-lined baking sheet. Gently press your thumb or the back of a measuring spoon into the middle of the ball.
- Bake cookies for 13-15 minutes, until the cookies are set and the bottoms are lightly browned. Remove from the oven and using the back of a round measuring spoon, gently press the indent back down. Allow the cookies to cool for 5 minutes on the pan, then carefully transfer to a wire cooling rack to cool completely.
Make the icing
- In a bowl, mix together the powdered sugar, vanilla, and 1 tablespoon of milk. Add 1 tablespoon of milk at a time until you reach desired consistency. You don't want the icing to be super runny, but enough to pipe/spoon into the cookies. Divided the icing into separate bowls and color with food coloring (optional).
- Use a piping bag, a ziploc bag, or a spoon to put the icing into the thumbprints on the cookies. Sprinkle with your favorite holiday sprinkles. Allow the icing to set completely (about 12 hours) before serving or stacking them on top of one another.
Notes
- temperature butter- This is super important for this recipe because if you use warm butter your cookies will spread too much and not hold their shape. I like to take my butter out about an hour before baking (as long as it's not too warm inside my house). To test, gently press on your butter- it should leave a slight indent but the wrapper should not feel greasy.
- spoon and level your flour- I always recommend spooning and leveling your flour when baking. Scooping the measuring cup right into the flour will actually compact the flour and give much more than the recipe calls for. To spoon and level, use a large spoon to gently scoop the flour into your measuring cup. Once it's full, use a flat edge (like a butter knife) to gently scrape across the top of the measuring cup.
- allow pans to cool before baking- a general rule of thumb in baking if you don't want your cookies to spread is don't put your dough on a warm baking sheet. Allow your sheet to cool completely in between batches or use a different one.
Nutrition
This post contains affiliate links which means if you purchase something off of one of those links I make a small commission at no extra cost to you. Thanks for supporting my blog!
I says
I made the thumbprint cookies and could not be more pleased💕
Kelly Hamilton says
So happy to hear you loved these, thanks for trying them!
Shareen Bowling says
I made these cookies, but instead of using melts I used buttercream frosting, and they were so good. They were a fan favorite and got wiped out immediately at my Christmas Eve family get together. I did have a problem with them spreading too much, but I know it was because of user error and due to the fact that I let them set out too long before putting in oven to bake so the dough softened some so they spread a little too much. They might of not of been a 10 to look at because it was my first time baking them, but the flavor was awesome.
Kelly Hamilton says
Thanks so much for trying this recipe, Shareen! Happy to hear you enjoyed it!
Jessica says
I made these last year and they were a hit. I'm wondering, can this recipe be used to make sugar cookies and using cookie cutters?
Kelly Hamilton says
Hi Jessica! So glad to hear you loved these! I'm not sure they would work with cookie cutters, I feel like they wouldn't keep the shape of the cookie cutter when baked. But they might! I have never tried, sorry!
Catherine says
Made these for valentines day with red icing and white sprinkles and they were absolutely divine. Will be making them again at Christmas for sure.
Kelly Hamilton says
So happy to hear you enjoyed this recipe, Catherine!