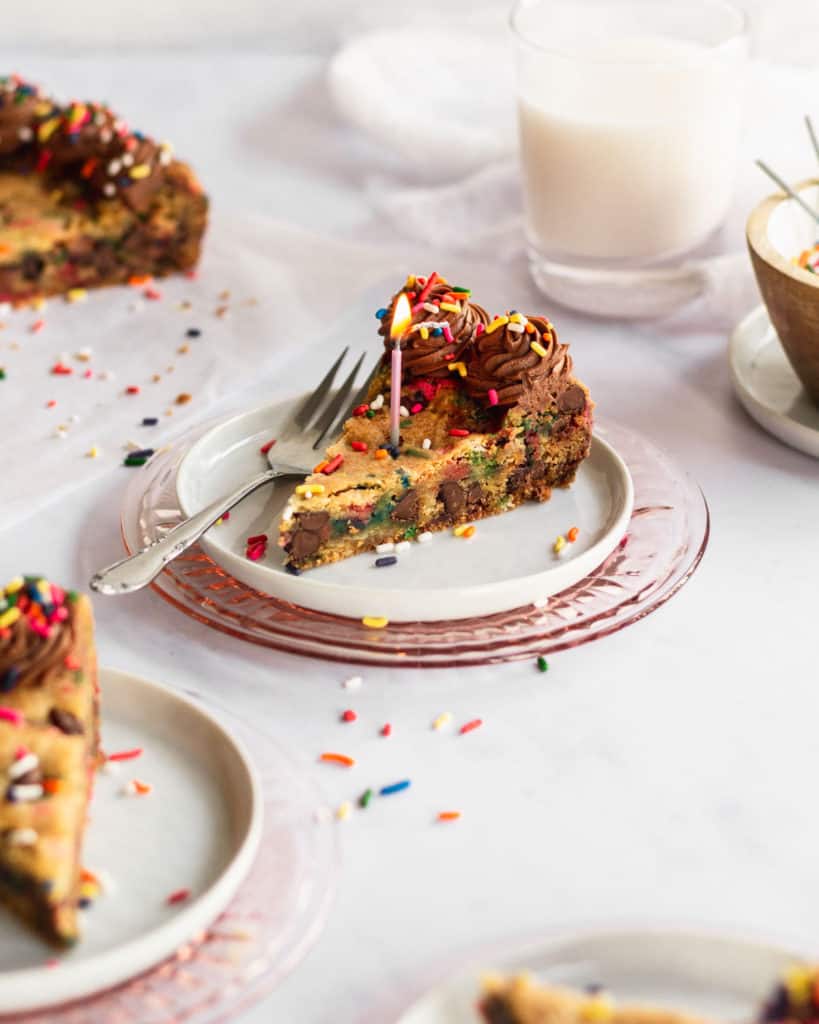
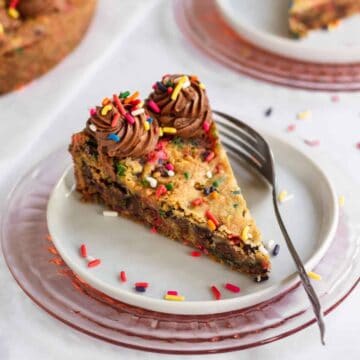
This Funfetti Chocolate Chip Cookie Cake is soft in the center, chewy around the edges, and packed with chocolate chips and sprinkles. The decadent chocolate buttercream on top makes for the perfect cookie cake!
Jump to:
Cookie cakes are just one of those things that will never get old. Cookies in the form of a cake? With chocolate buttercream? And sprinkles? Sign me UP!
This Funfetti Chocolate Chip Cookie Cake recipe is easy to make, comes together quickly, and it's great for a crowd. You can also slice it up and save it for yourself for later!
Cookie cakes are a fun way to change up the regular old boring cakes you have at parties or on birthdays. Impress your family and friends with this cake, and they will be asking you for the recipe too!
Ingredients needed for this funfetti chocolate chip cookie cake:
This cake is your standard chocolate chip cookie recipe, but I will point out a few things:
- butter- I always use unsalted butter when baking. If you only have salted butter, no worries! Just cut the salt the recipe calls for in half (so for this recipe, use ¼ teaspoon of salt instead).
- egg yolk- this recipe calls for 1 egg + 1 egg yolk. This is going to make our cookie cake more chewy and tender.
- flour- make sure you are spooning and leveling your flour when measuring, this will give you a more accurate measurement than if you scooped the flour right into your measuring cup.
- chocolate chips- You can obviously use whatever kind of chocolate your heart desires, I like using semi-sweet. You could also use chocolate chunks or break up a chocolate bar that you love!
- sprinkles- I would say the sprinkles are optional, but then what fun would this recipe be?! I got these sprinkles on amazon and it was plenty of sprinkles and now I have leftovers to put on everything!
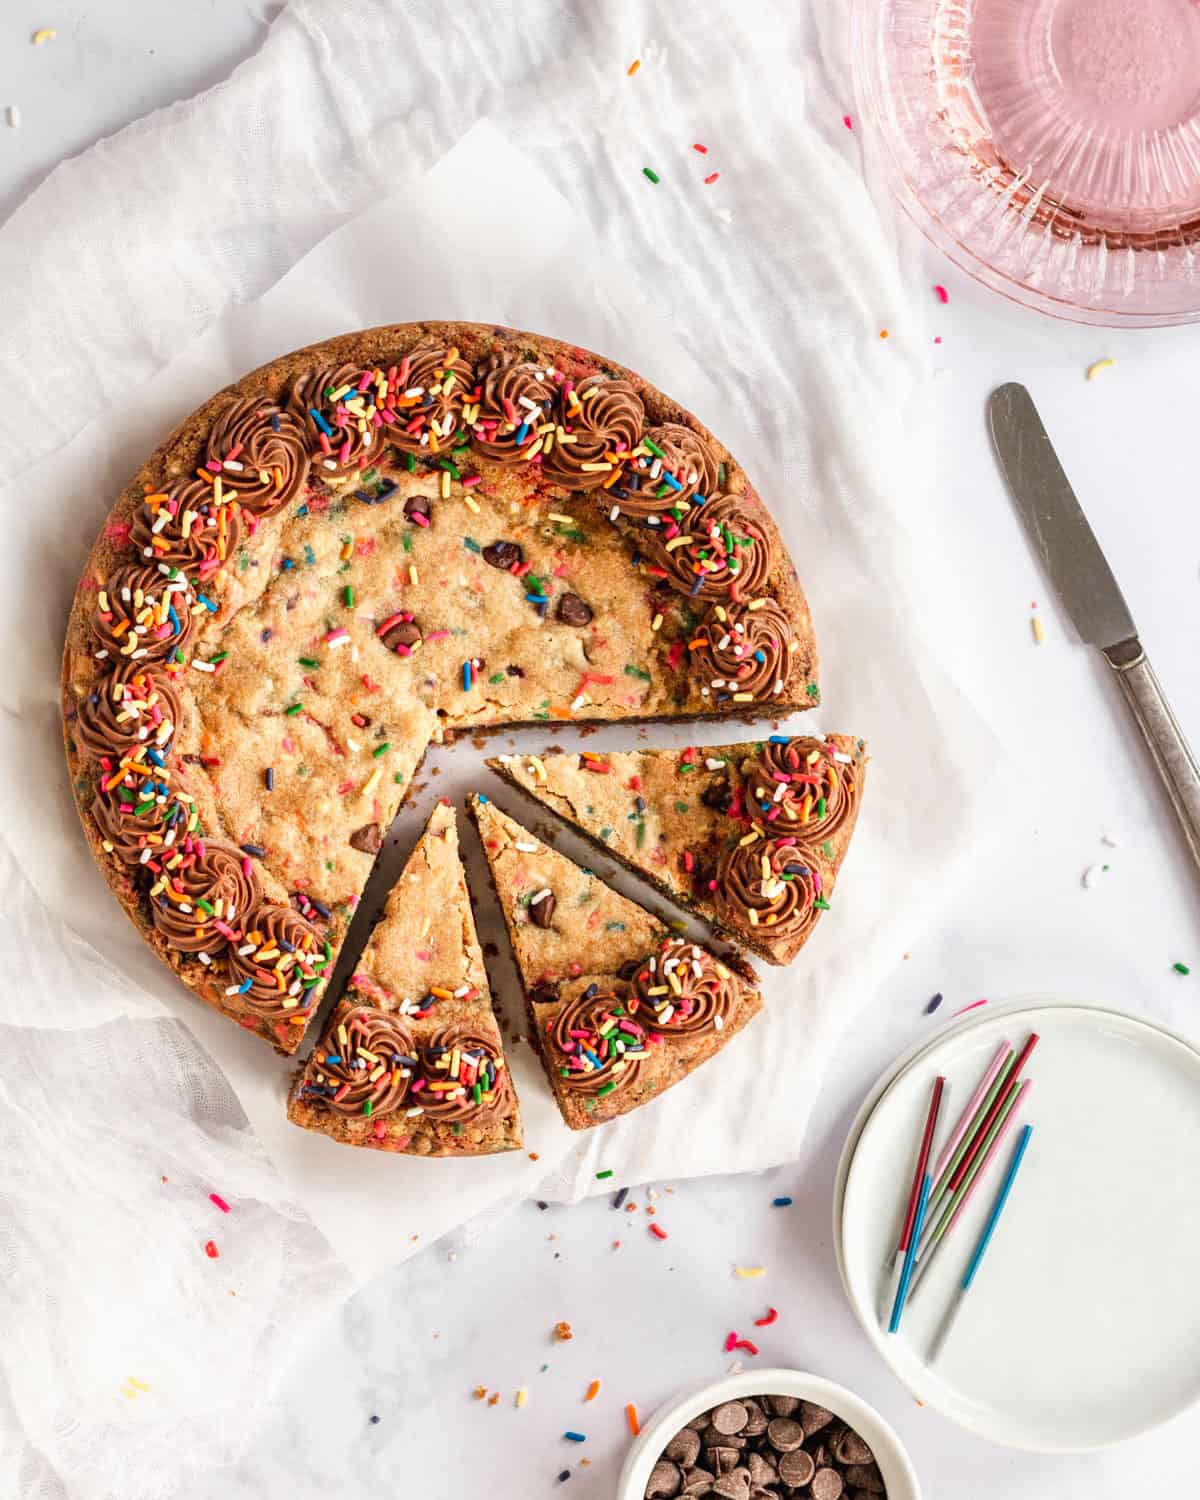
Step by Step Instructions:
step one: make the cookie batter
In a medium bowl, mix together the flour, baking soda, and salt. Set aside.
In a large bowl, use an electric mixer to cream together the butter and sugars, about 2 minutes until smooth and fluffy. Add in the eggs and vanilla, and mix again for another minute until well combined. Slowly add the dry ingredients into this mixture and mix until there are no streaks of flour left. Mix in the chocolate chips and sprinkles.
step two: bake
Press the batter into the cake pan and spread it out until it's even. Bake for 25-30 minutes, until the center is just set (all ovens are different so it might take shorter or longer). I put tinfoil on my cookie cake about 12-15 minutes into baking because the edges were starting to brown.
Once done, remove from the oven and let it cool completely before removing. To remove, run a butter knife around the edges of the pan to loosen my cake, and then flip upside down and it should come out.
step three: make the chocolate buttercream
While your cake is baking, make the buttercream by creaming the butter with an electric mixer for about a minute, until smooth. Add in your powdered sugar, cocoa powder, vanilla, and milk. Start your mixer slowly, gradually increasing speed as it combines. Beat on medium-high for 1 minute until smooth and fluffy.
If your frosting seems too thick, add a teaspoon or 2 of milk. If it's too thin, add powdered sugar.
step four: frost & enjoy!
You can use a piping bag with a tip, or snip the end off a Ziploc bag to pipe the frosting around the edge of the cake. Cover with some more sprinkles and cut into 10-12 (or more) slices and enjoy!
Frequently Asked Qestions
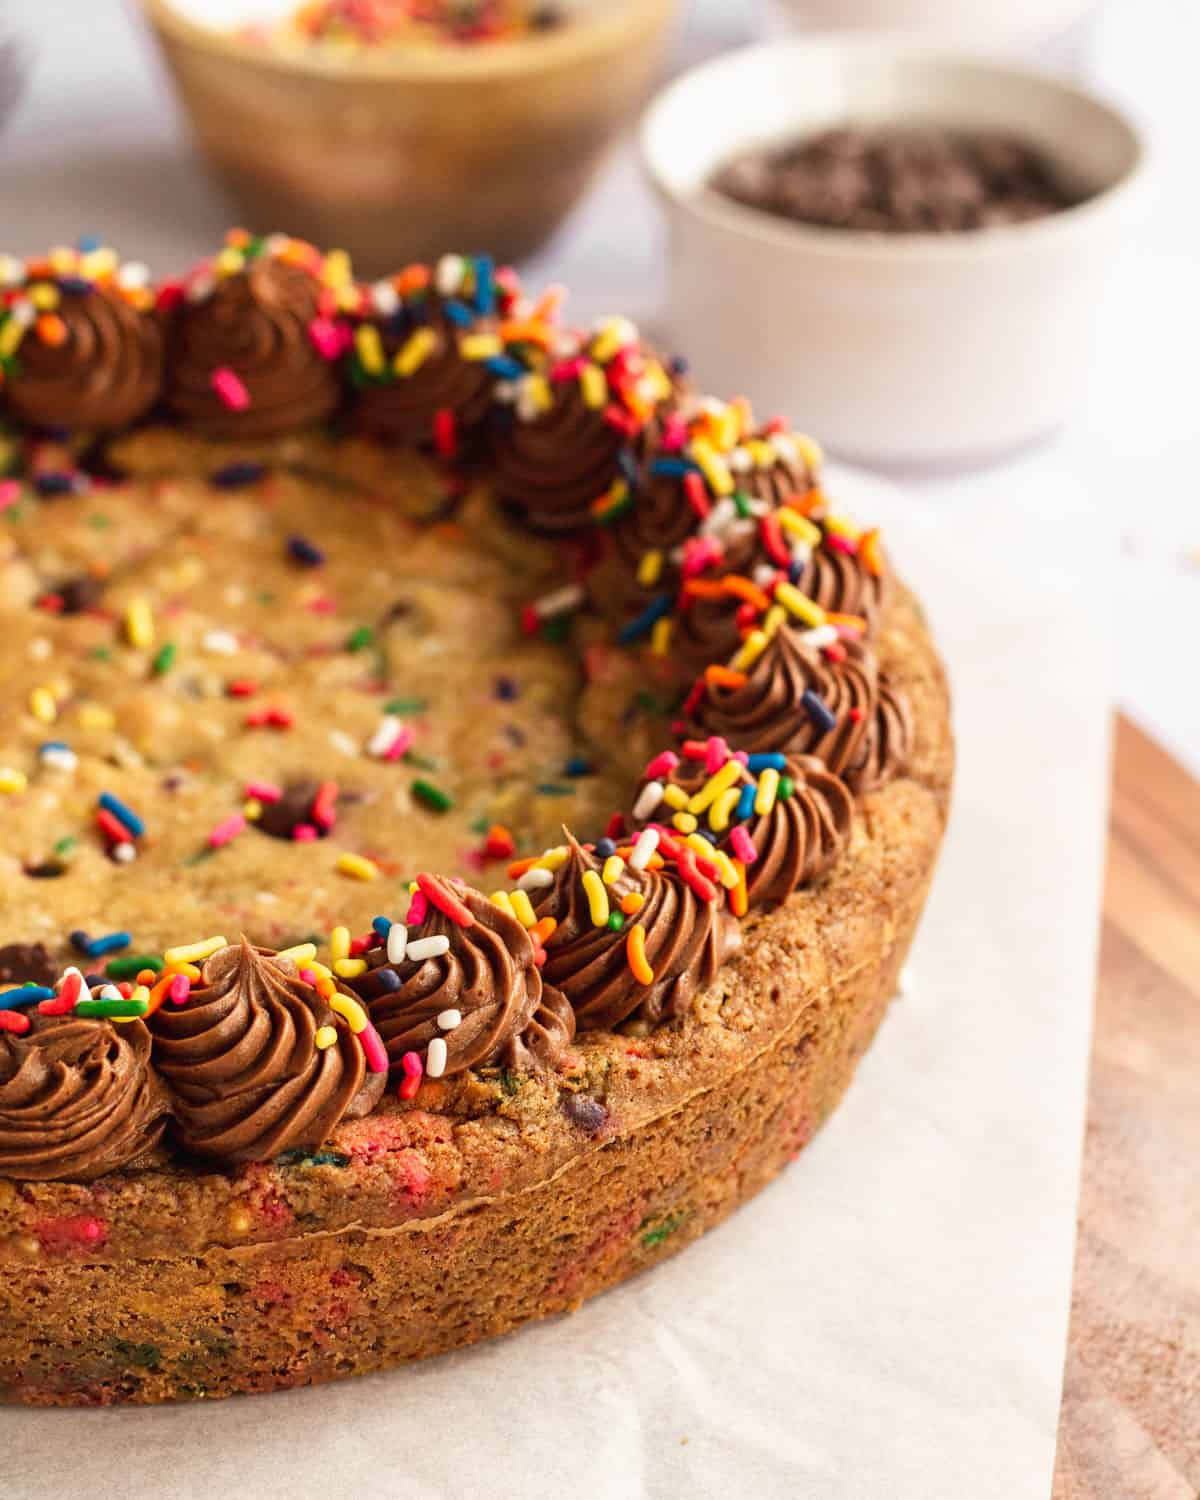
Yes, it is! In fact that always happens, baking a cookie cake makes somewhat of a shelf around the outside, and the edges bake quicker than the middle. I recommend two things- the first being that you cover the cookie cake with tinfoil about 15 minutes into baking. This will save it from burning on top!
The second thing is to cover the outer edges (browner parts) with swirls of buttercream! That way when you are serving it, you won't even notice.
Yes! You can make this cookie cake a day in advance and store it in an airtight container. Freeze if you are making it more than 2 days in advance. I also recommend waiting to add the buttercream until ready to serve.
Tips
- Make sure your butter is at room temperature when starting this recipe. It makes it easier to mix and the butter and sugar come together better when it's not cold. I like to leave my butter out for at least an hour before baking.
- Use a good baking pan- Make sure you use a good quality baking pan or pie dish. I like using light-colored baking pans, I find that the darker the pan is, the darker your cookie cake will be. This 9-inch cake pan is my favorite!
- Add extra chocolate chips to the top of your cake before baking for some extra chocolate goodness. And it's pretty!
- Easy way to get icing into a piping/Ziploc bag- put your bag into a tall glass (I like to use a shaker cup) and turn the top of the bag inside out, so the top of the bag is outside the cup. Then scoop your frosting into the bag.
Storing & freezing
If you don't eat this entire cookie cake in one serving (I definitely didn't do this...) then you can store it in an airtight container for up to 5 days. It can also be frozen for up to 2 months, and I recommend cutting it into slices before freezing for easy removal later.
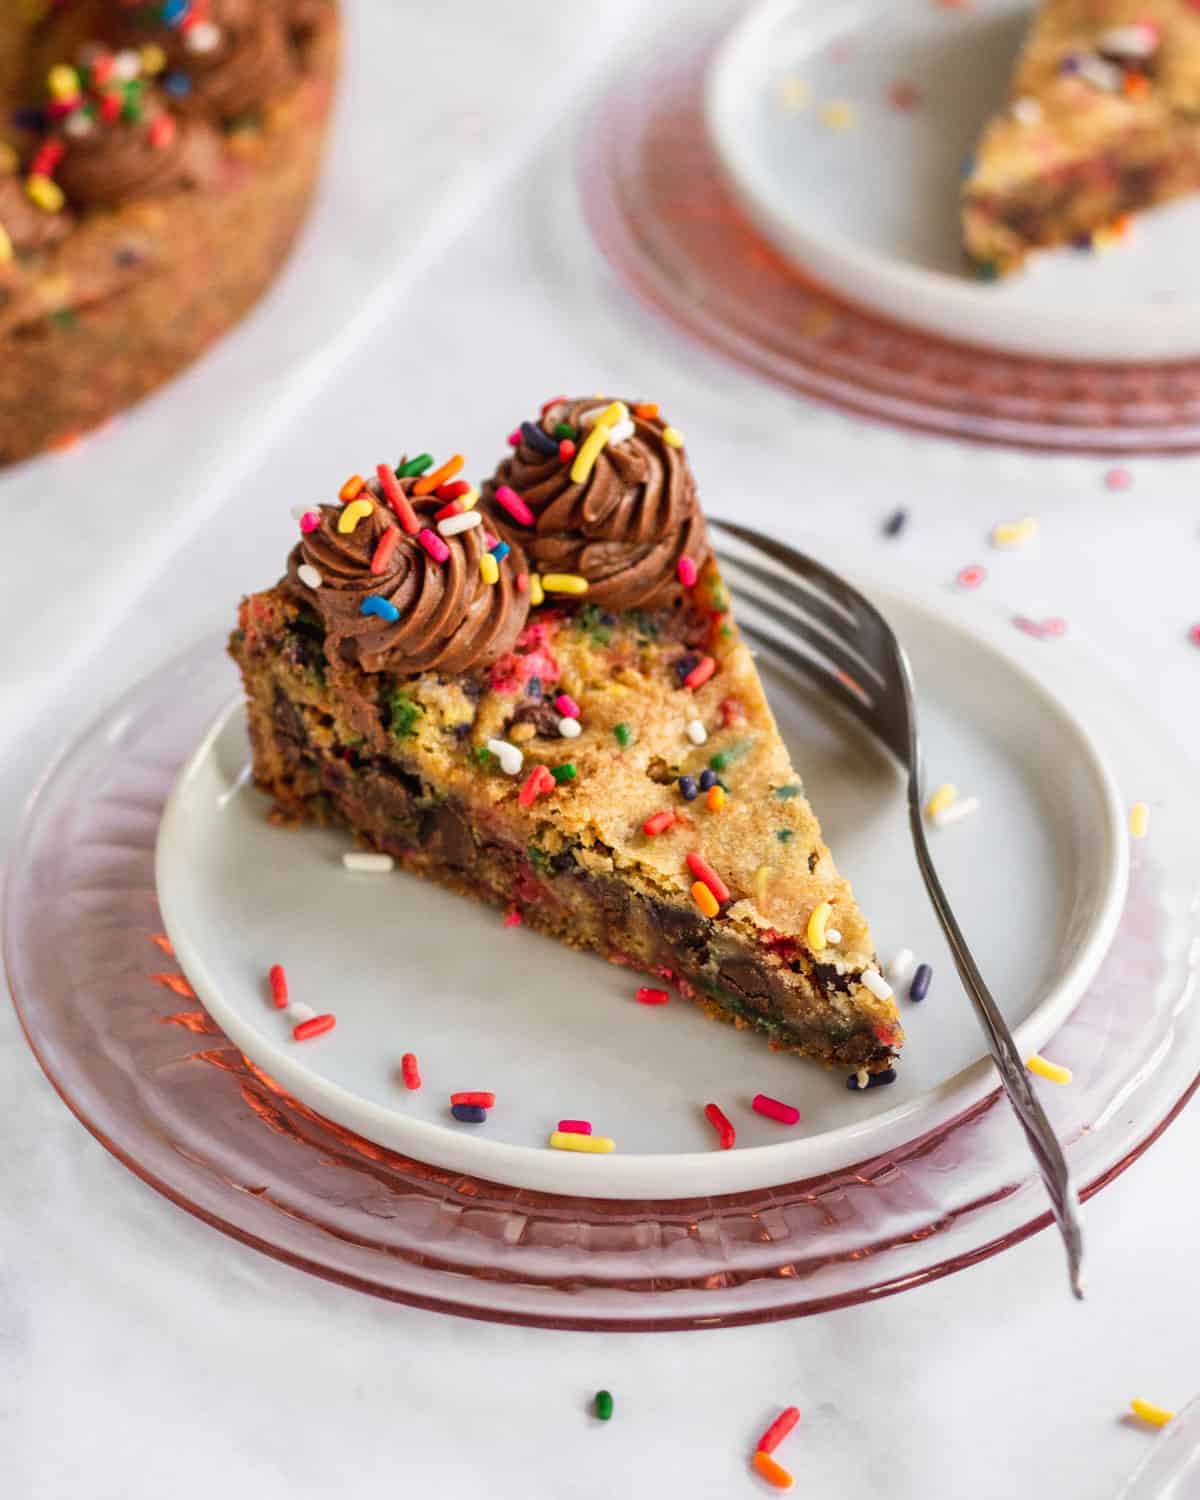
Want to try more recipes?
This post contains affiliate links which means if you purchase something off of one of those links I make a small commission at no extra cost to you. Thanks for supporting my blog!
📖 Recipe
Funfetti Chocolate Chip Cookie Cake Recipe
Ingredients
- 1¾ cup all-purpose flour spooned and leveled
- ¾ teaspoon baking soda
- ½ teaspoon salt
- 10 tablespoon unsalted butter at room temperature
- ⅔ cup light brown sugar packed
- ⅓ cup granulated sugar
- 1 large egg + 1 egg yolk at room temperature
- 1½ teaspoon vanilla extract
- 1 cup semi-sweet chocolate chips
- ½ cup sprinkles + more for topping
chocolate buttercream
- 4 tablespoon unsalted butter at room temperature
- 1¼ cup powdered sugar
- 2½ tablespoon unsweetened cocoa powder
- ½ teaspoon vanilla extract
- 1½ tablespoon heavy cream or milk
Instructions
- Preheat the oven to 350° F. Grease a 9 inch round cake pan or pie dish and set aside.
- In a medium bowl, mix together the flour, baking soda, and salt. Set aside.
- In a large bowl, use an electric mixer to cream together the butter and sugars, about 2 minutes until smooth and fluffy. Add in the eggs and vanilla, and mix again for another minute until well combined. Slowly add the dry ingredients into this mixture and mix until there are no streaks of flour left. Mix in the chocolate chips and sprinkles.
- Press the batter into the cake pan and spread it out until it's even. Bake for 25-30 minutes, until the center is just set. Depending on your oven, this time may vary. keep an eye on your cake and test it with a toothpick after 25 minutes!I put tinfoil on my cookie cake about 12-15 minutes into baking because the edges were starting to brown.
- Once done, remove from the oven and let it cool completely before removing. To remove, run a butter knife around the edges of the pan to loosen my cake, and then flip upside down and it should come out.
Make the buttercream
- While your cake is baking, make the buttercream by creaming the butter with an electric mixer for about a minute. Then add in your powdered sugar, cocoa powder, vanilla, and milk. Start your mixer slowly, gradually increasing speed as it combines. beat on medium-high for 1 minute. If your frosting seems too thick, add a teaspoon or 2 of milk. If it's too thin, add powdered sugar.
Notes
- Make sure your butter is at room temperature when starting this recipe. It makes it easier to mix and the butter and sugar come together better when it's not cold. I like to leave my butter out for at least an hour before baking.
- Use a good baking pan- Make sure you use a good quality baking pan or pie dish. I like using light-colored baking pans, I find that the darker the pan is, the darker your cookie cake will be. This 9-inch cake pan is my favorite!
- Add extra chocolate chips to the top of your cake before baking for some extra chocolate goodness. And it's pretty!
- Easy way to get icing into a piping/Ziploc bag- put your bag into a tall glass (I like to use a shaker cup) and turn the top of the bag inside out, so the top of the bag is outside the cup. Then scoop your frosting into the bag.
- You can store it in an airtight container for up to 5 days. It can also be frozen for up to 2 months, and I recommend cutting it into slices before freezing for easy removal later.


Leave a Reply