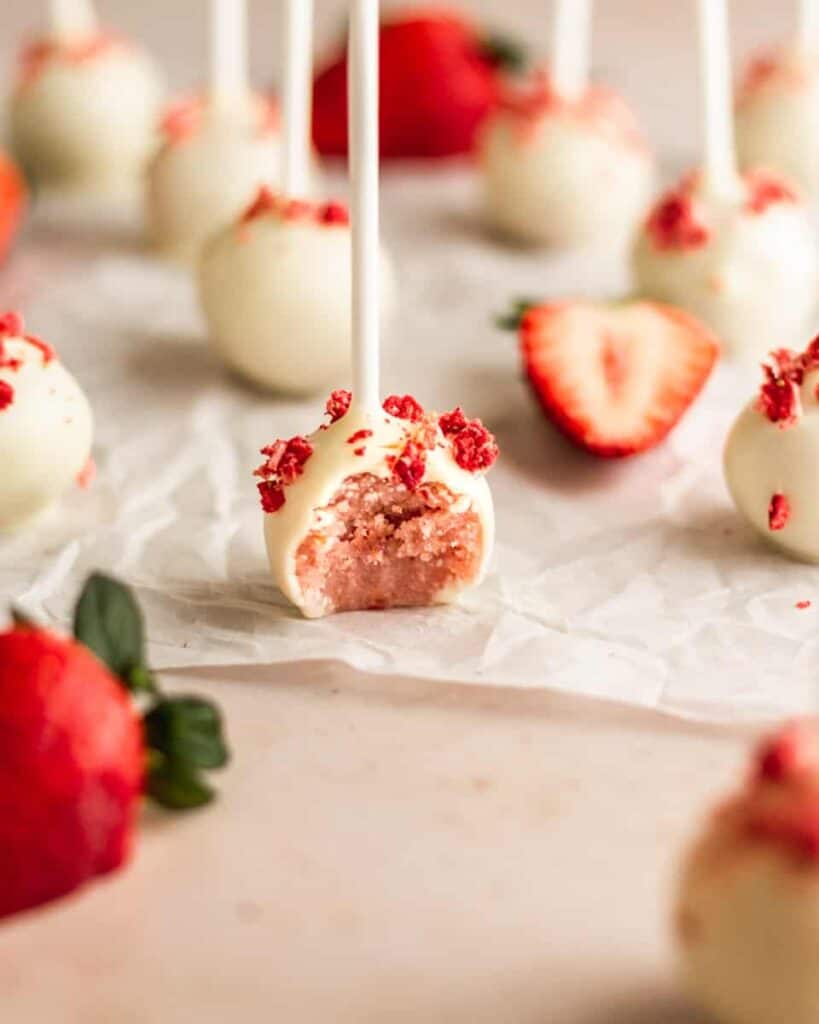
These Strawberry Cake Pops are made completely from scratch with a sweet strawberry cake and rich strawberry buttercream, mixed together and rolled into perfect bite-sized cake pops!
Jump to:
Now don't get me wrong here, I love me a good slice of cake. But there is something about a bite-sized, mini piece of cake on a stick that really makes me happy. In my opinion, cake pops are wildly underrated desserts.
Now I could just sit here and tell you to buy a box cake mix and icing, but where would be the fun in that? Homemade is the way to go!
That being said, they can be a bit of a process to make, so take this as your warning. Cake pops are not as quick to make as my one-bowl Raspberry White Chocolate Blondies are, but they are sure worth all the hard work in the end.
If you are up for the challenge (or if you're anything like me and find hours of baking to be relaxing lol) then this is the recipe for you!
Ingredients needed:
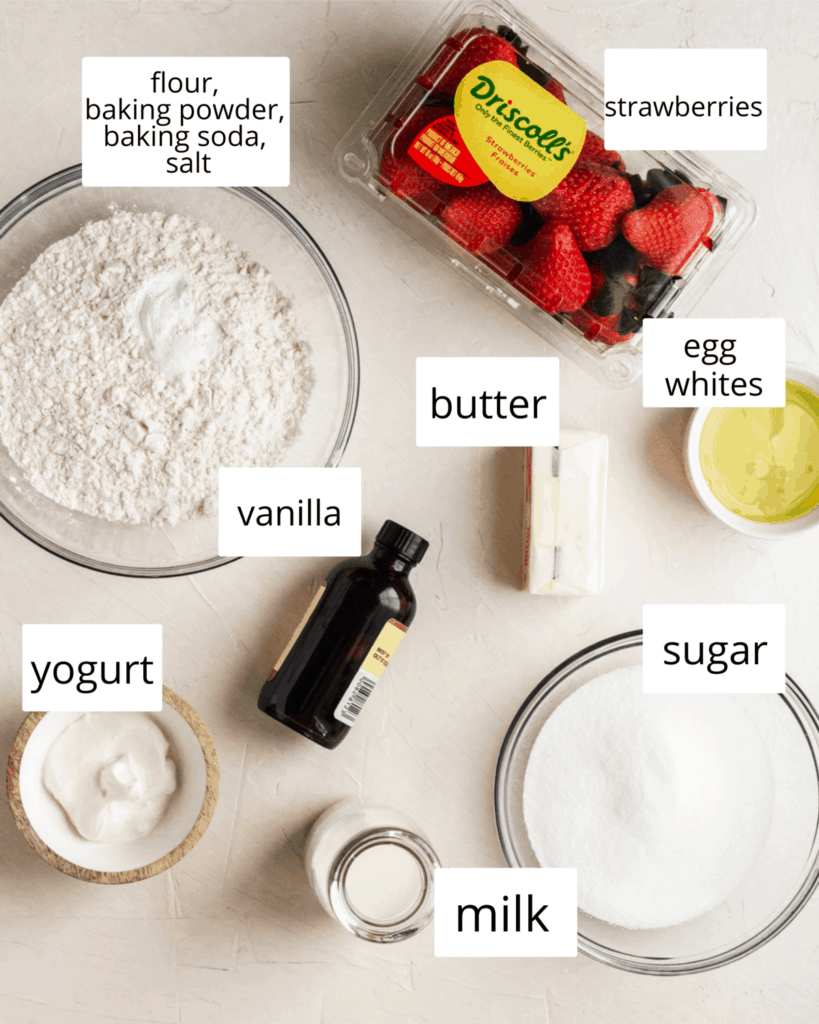
This recipe is your standard cake and buttercream recipes aside from a few things I point out below:
- yogurt- I used plain greek yogurt for this recipe but you can use sour cream instead.
- egg whites- I used large eggs and separated the yolks from the egg whites. You can save your yolks and use them in other recipes like my better-than-boxed brownies or salted caramel brownies.
- strawberries- You will need ½ lb of strawberries (about half the container you see in the picture) to the puree. I did not try this recipe with frozen strawberries.
- milk- I used whole milk for this recipe. For the frosting, you could substitute for heavy cream as well.
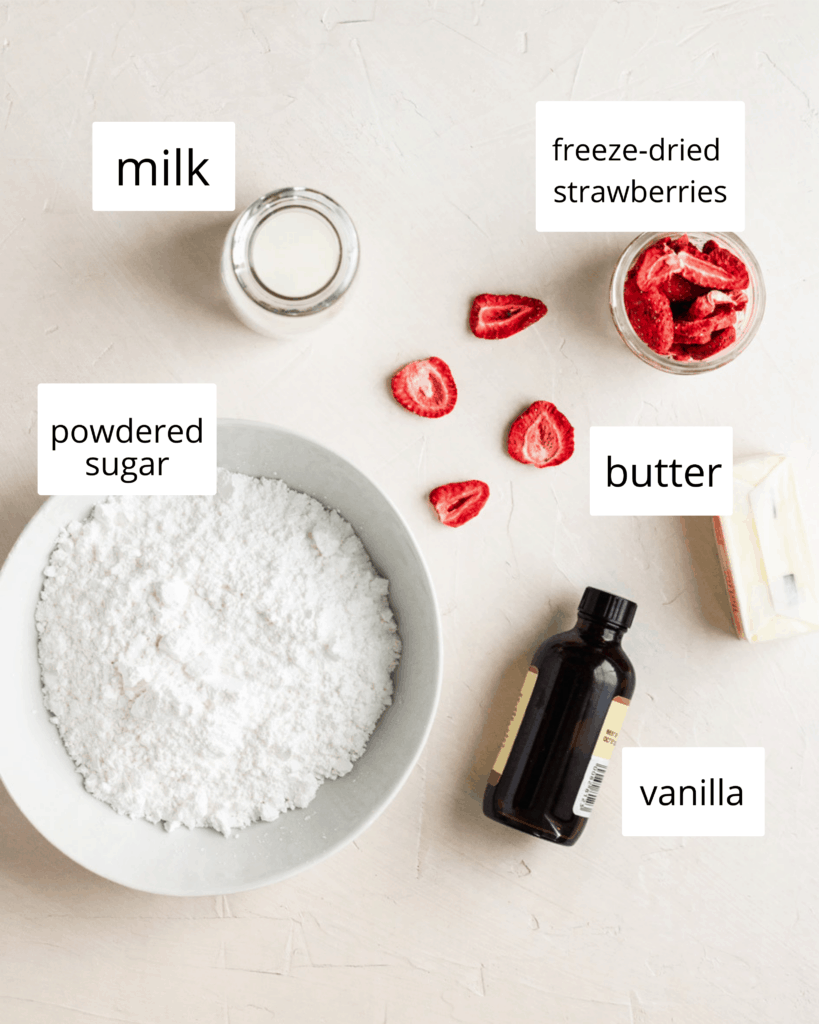
- freeze-dried strawberries- You can typically find freeze-dried strawberries in your nearest grocery store. I found mine at both Target and Trader Joe's.
Instructions:
step one: make the strawberry puree
Puree ½ pound of strawberries in a blender or food processor, making a little over a ½ cup. Simmer this over low-medium heat, stirring occasionally, for about 20 minutes OR until you are left with about ¼ cup of puree. This process removes the excess moisture from the strawberries.
Remove this from the heat and let cool completely. I put mine in the fridge/freezer to speed up the process. You can make this the day before to ensure that it cools completely in the fridge overnight.
step two: make the cake
In a medium bowl, combine the flour, baking powder, baking soda, and salt. Whisk until combined and set aside.
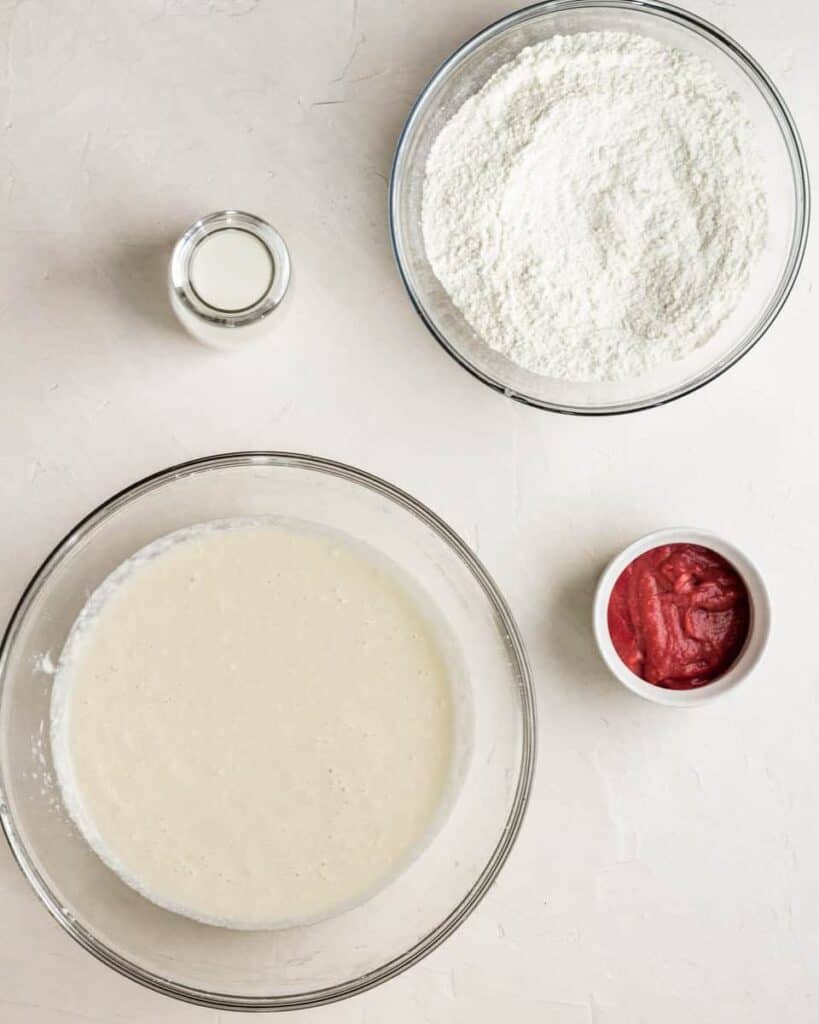
Using an electric mixer, in a large bowl cream together the room temperature butter and sugar until smooth. Add in the egg white and beat on high speed until combined. Add in the vanilla and greek yogurt, mixing until combined. Slowly add in the dry ingredients until just incorporated. Pour the milk in slowly while your mixer is on low speed, just until it's combined. Be careful not to overmix! Mix in the completely cooled ¼ cup of strawberry puree until just incorporated. You can add a few drops of red or pink food coloring here as well if you would like to have a more pink cake (totally optional).
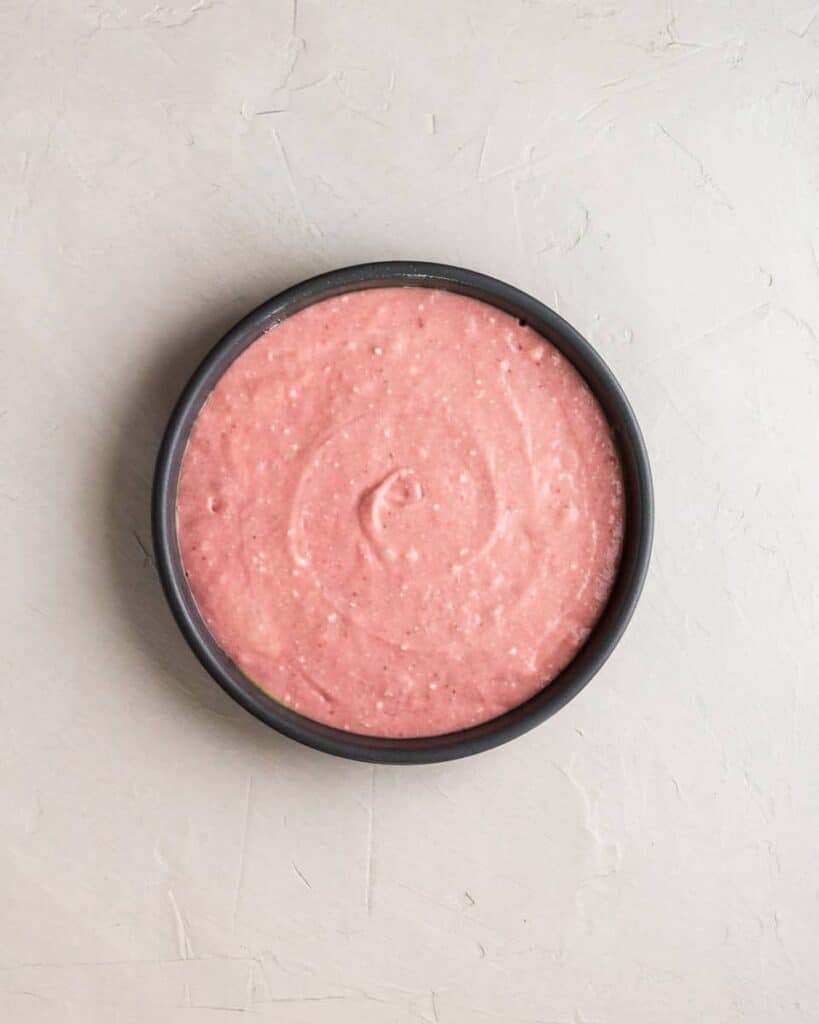
Pour batter into the greased cake pan. Bake for 30-35 minutes or until a toothpick inserted in the center comes out clean.
Allow the cake to cool completely in the pan on a wire cooling rack.
step three: make the icing
Using a blender or food processor, blend the freeze-dried strawberries into a powder. You should have about a ¼ cup. Set aside.
In a large bowl, cream the butter using an electric mixer until smooth and creamy. Add the powdered sugar, strawberry powder, 2 teaspoon of milk, and vanilla. Mix slowly at first to incorporate the sugar, and then mix on medium-high for about 2-3 minutes, until smooth and creamy. If needed, add another 1-2 teaspoon of milk to get the right consistency.
step four: mix together and form pops
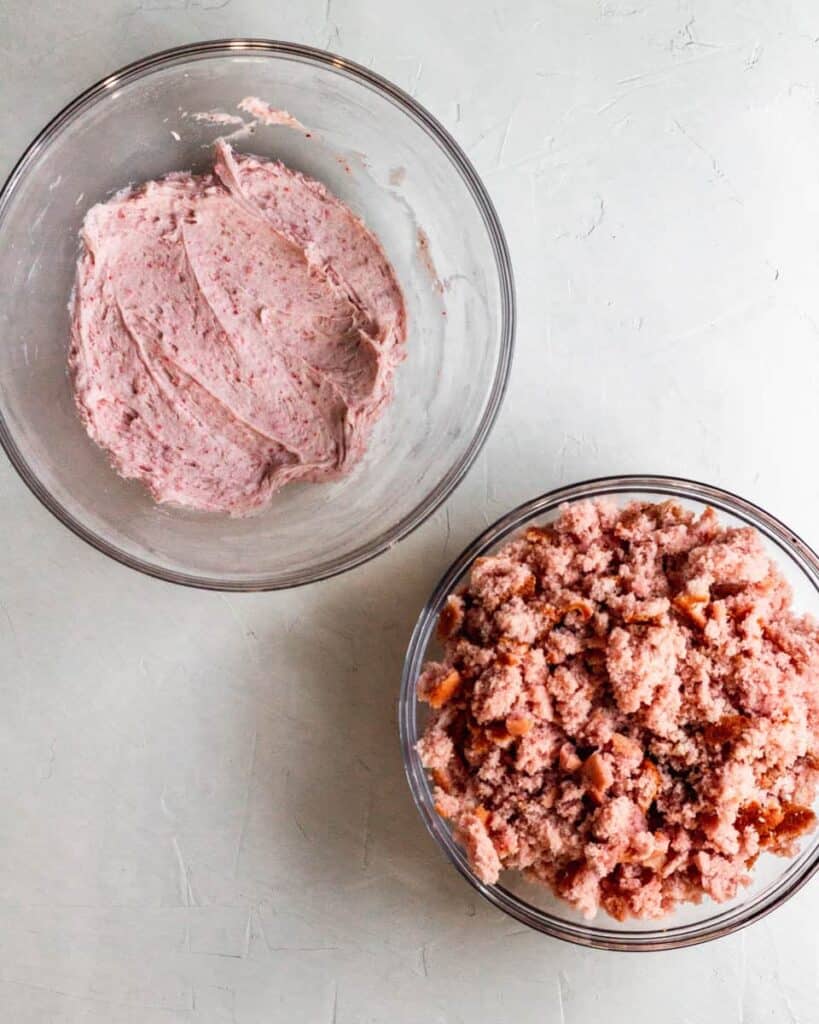
Once your cake is completely cooled, crumble the entire cake into the bowl of frosting, making sure there are no large lumps. If you had any hard/burnt pieces of cake, feel free to discard them. Turn the mixer on low until the cake and frosting combine.
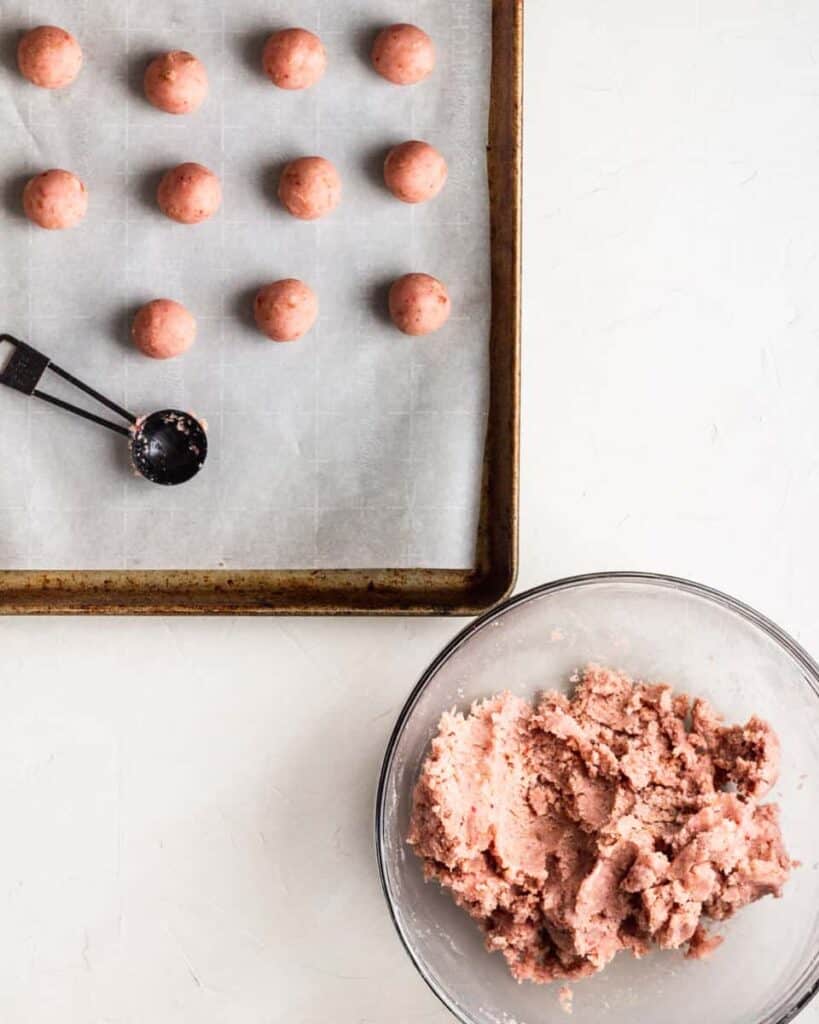
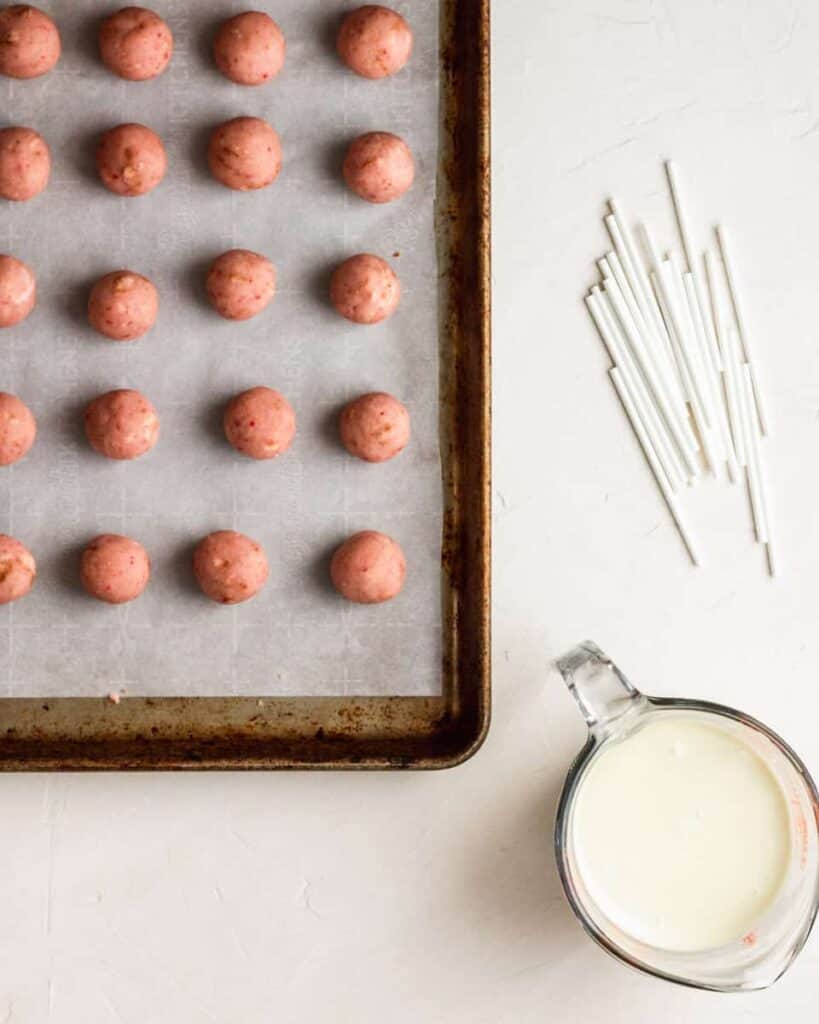
Measure 1 tablespoon of cake mix and roll into a ball, then place on a parchment paper-lined baking sheet. Place the sheet in the freezer for about 30 minutes, or the fridge for an hour. Cake pops come together easier when the cake balls are very cold.
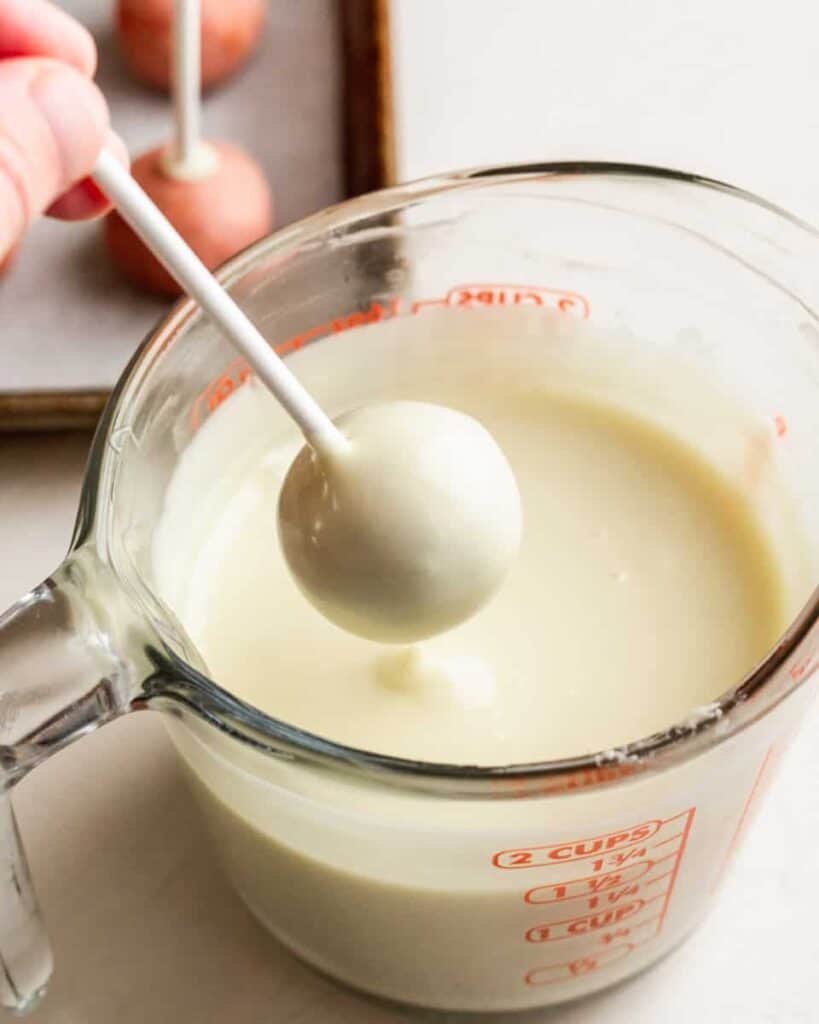
Once they are chilled, melt the chocolate melts or chips in a deep measuring cup (I use this 2-cup one). If using chocolate chips: a reminder to use ½ tablespoon oil for each cup of chocolate melted.
step five: dip and decorate
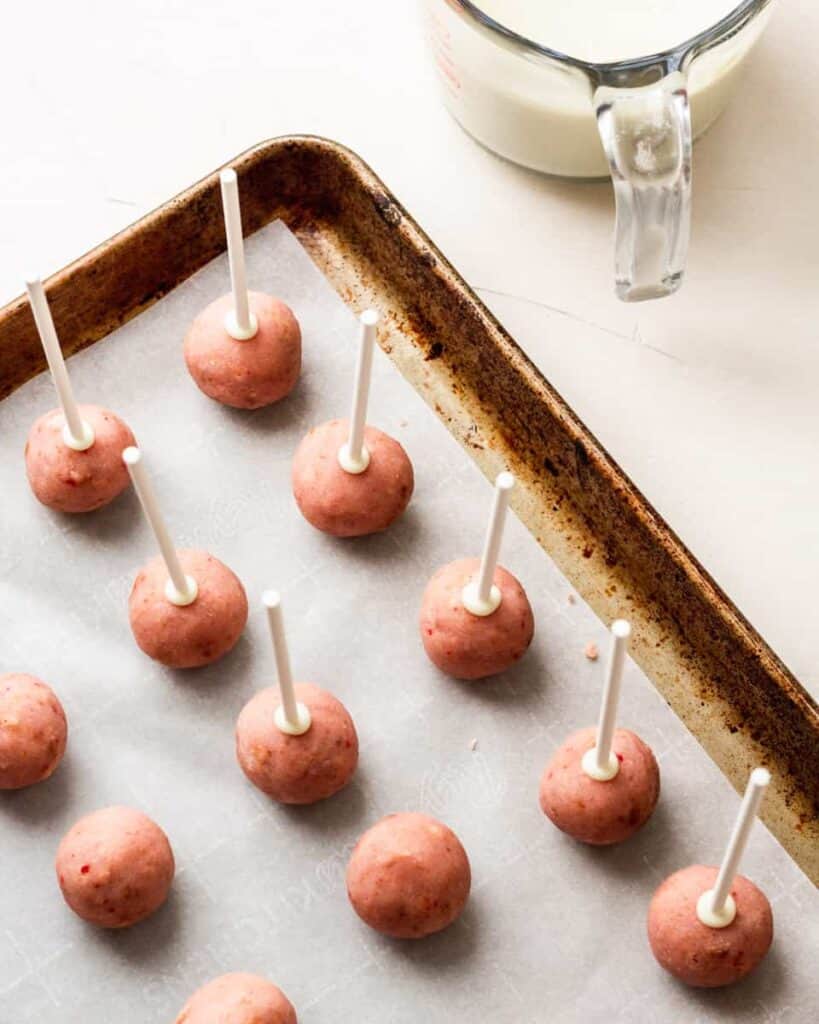
Dip the tip of a lollipop stick into the chocolate and press into the center of the cake ball, inserting about halfway through. Repeat for all the cake balls and place back into the freezer for another 10-15 minutes.
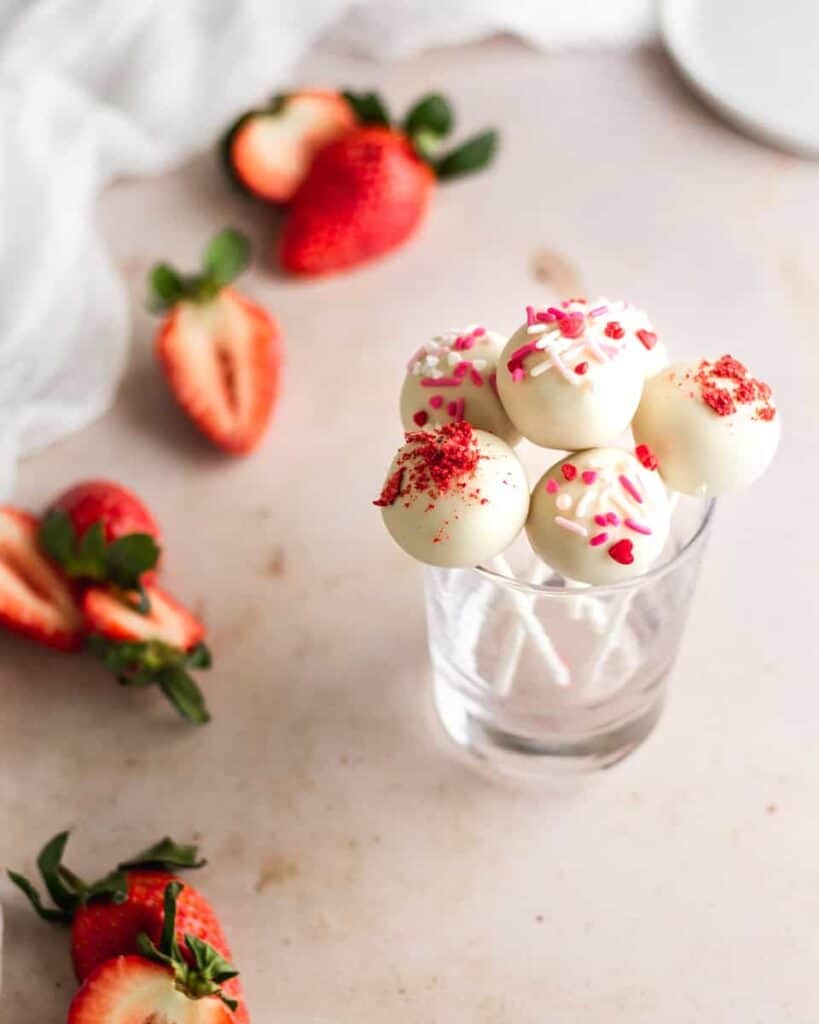
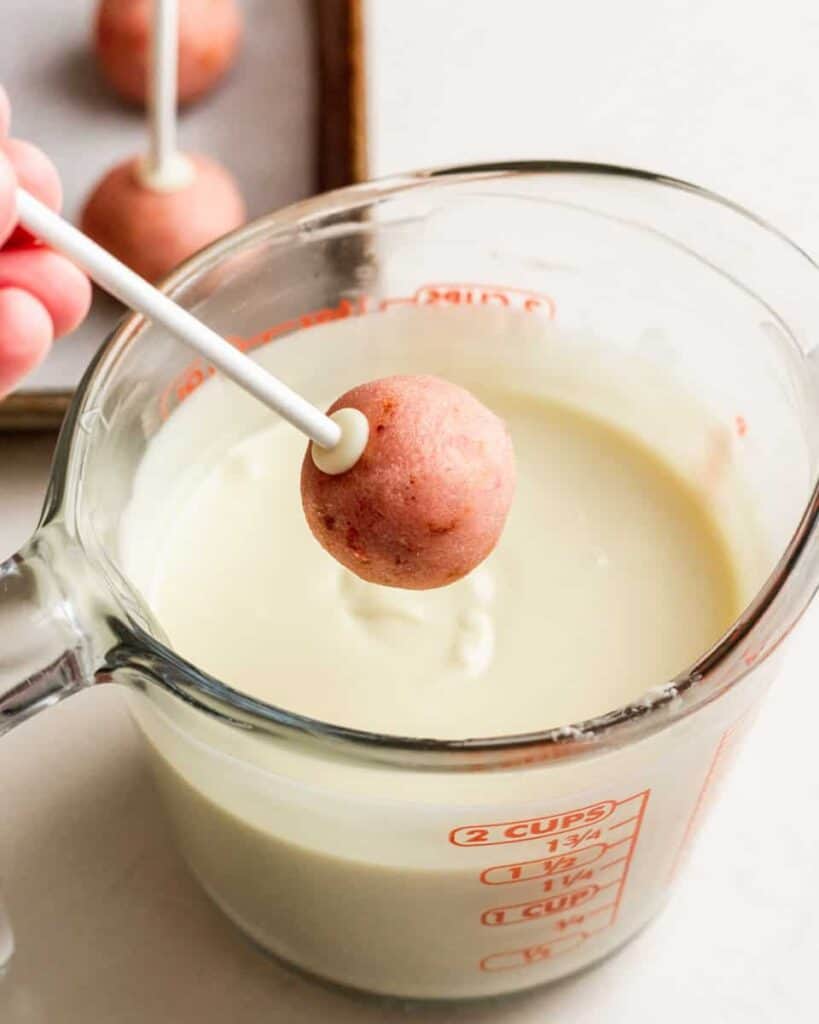
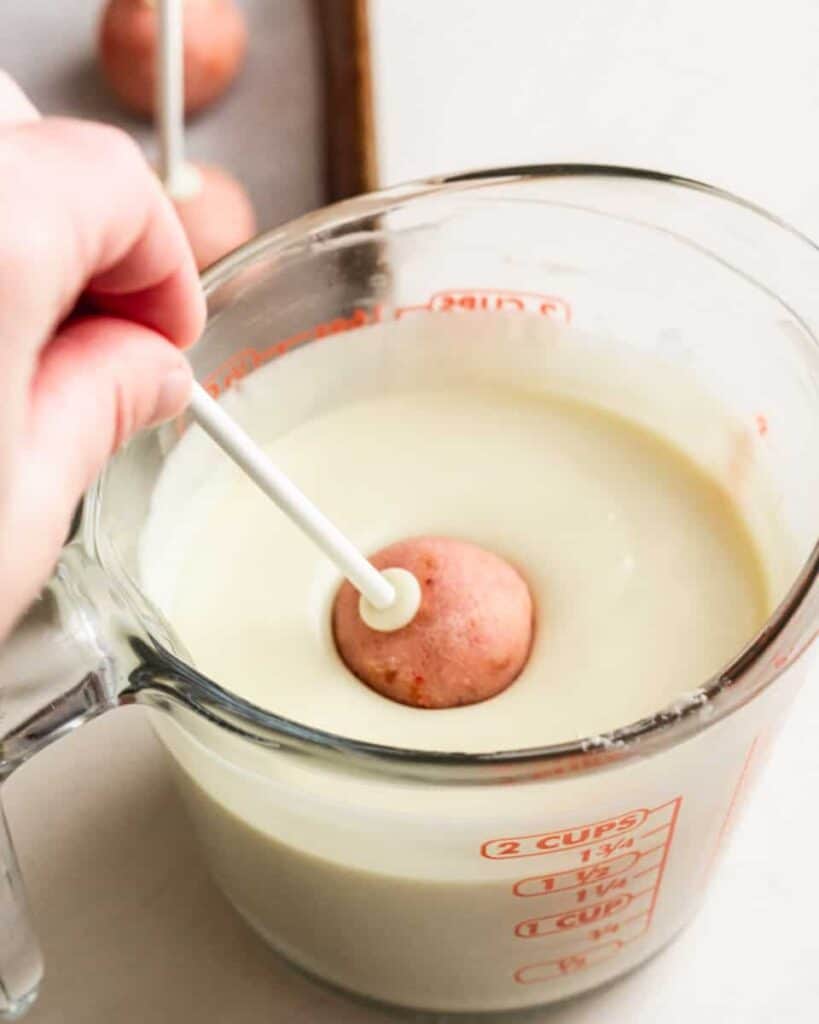
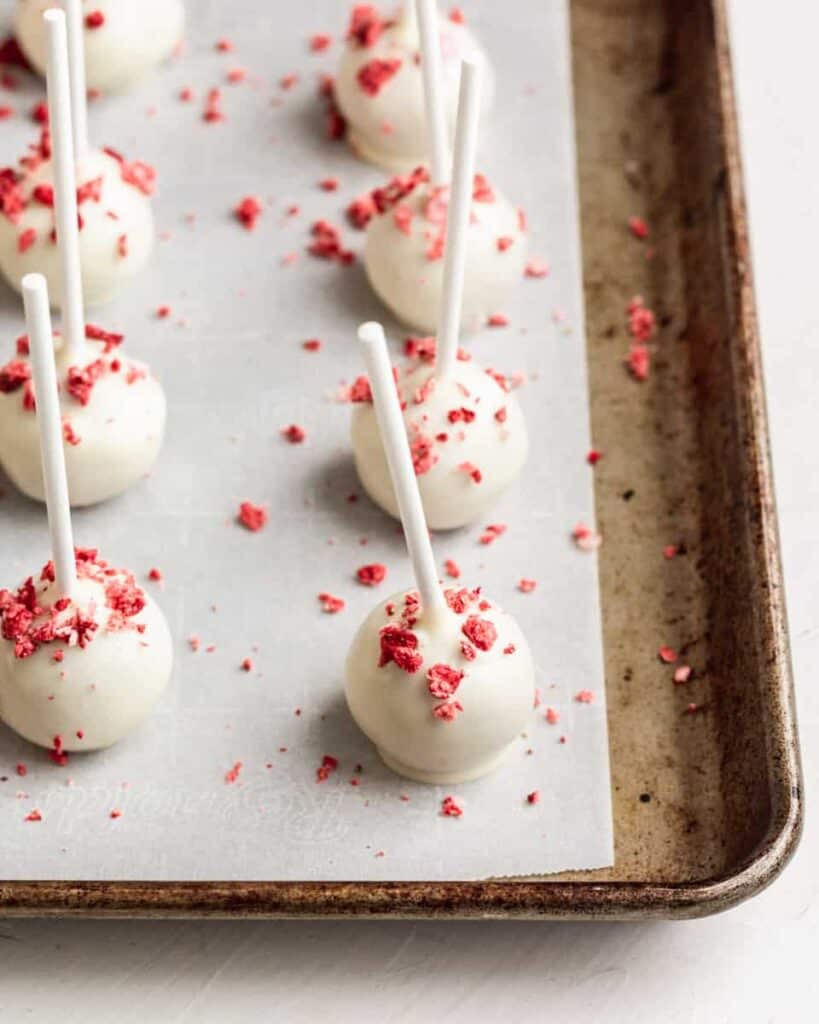
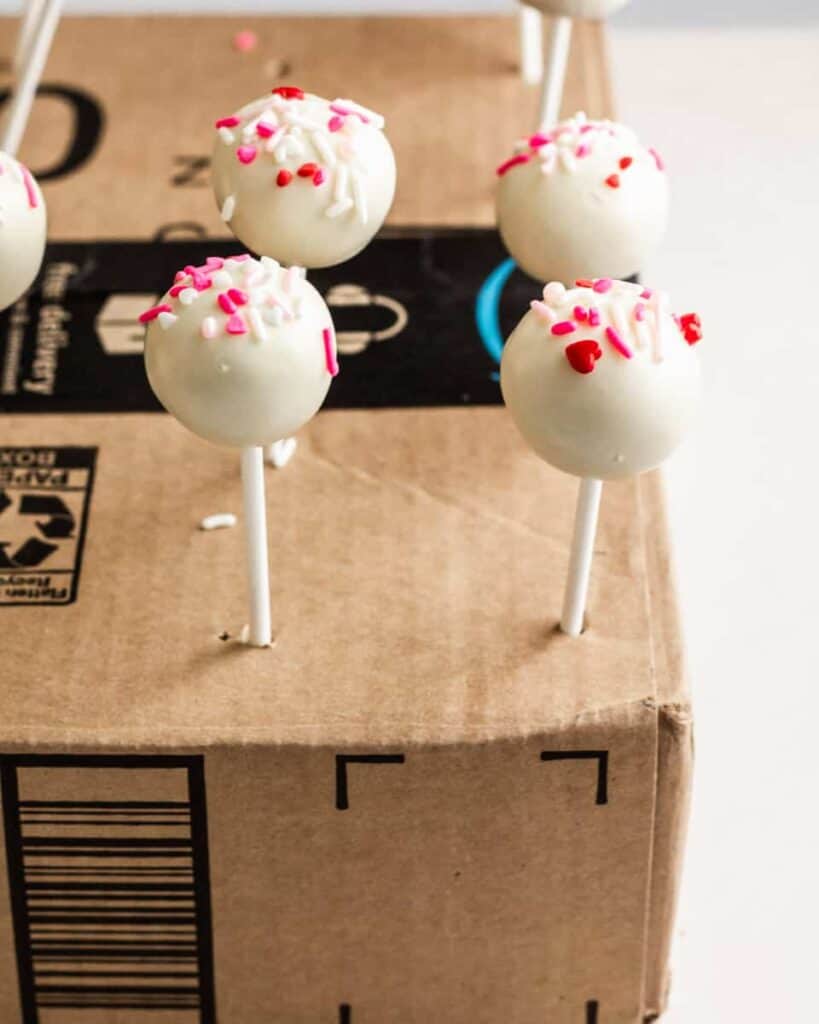
Taking about 3-4 cake pops out of the freezer at a time, dunk the cake pop into the chocolate coating fully, making sure to get all the way to the lollipop stick. Gently tap the stick on the side of the measuring cup to remove excess coating. Place your cake pop either upright in a styrofoam board or a box with small holes poked in it (see pictures above) or you could always place them down on another parchment paper-lined baking sheet. Decorate each one immediately as they dry pretty quickly since they are cold.
Cake pops should be completely dried within an hour. I like to keep mine in the fridge before serving.
Tips and tricks for making cake pops
- Cake pops are a long process. To make things easier, you cake prep and make the strawberry puree, cake, and icing the night before and assemble the cake pops the next day.
- To ensure that your cake pop doesn't fall off while dipping it, dip your lollipop stick in chocolate first, insert it into the cake ball, and then stick it back in the freezer for a bit so they harden.
- Cake pops are best if dipped when super cold!! I keep mine in the freezer and only take out a few at a time in order to make sure that each one is chilled when dipping into the melted chocolate.
- This 2 cup glass measuring cup is my favorite to use when dipping cake pops. I've tried using bowls and other things before, but this measuring cup is the perfect size to dunk your cake pop all the way in.
- Best ways to dry your cake pops: I've used styrofoam boards at a craft store before to hold my cake pops up to dry. Since everyone has boxes laying around, you could always use one of those (like the picture above) and poke tiny holes in it! So easy and cheap. Another option is to place the cake pops stick-side-up onto a baking sheet and decorate the other side as you can see in my pictures.
What can I use instead of candy melts?
Chocolate is your other option! Anytime I don't have access to candy melts I just use chocolate chips (or in this case, white chocolate chips). You'll need to add ½ tablespoon of vegetable or canola oil per each cup of chocolate used.
How to store
Your cake pops are best if stored in the fridge for up to 5 days. They can also be frozen for up to 2 months.
Want to try more recipes?
This post contains affiliate links which means if you purchase something off of one of those links I make a small commission at no extra cost to you. Thanks for supporting my blog!
📖 Recipe

Strawberry Cake Pops Recipe
Equipment
Ingredients
For the cake
- ¼ cup strawberry puree about ½ lb of strawberries
- 1¾ cup all-purpose flour spooned and leveled
- 1 teaspoon baking powder
- ¼ teaspoon baking soda
- ¼ teaspoon salt
- 8 tablespoon unsalted butter at room temperature
- 1 cup granulated sugar
- 3 egg whites at room temperature
- ¼ cup plain greek yogurt or sour cream, at room temperature
- 1½ teaspoon vanilla extract
- ⅓ cup whole milk at room temperature
- red or pink food coloring (optional)
For the frosting
- ½ cup freeze-dried strawberries
- ½ cup unsalted butter at room temperature
- 1¾ cup powdered sugar
- 3-4 teaspoon whole milk or heavy cream
- 1 teaspoon vanilla extract
For the coating
- 5 cups candy melts (40 oz). You can also use white chocolate chips (I used about 2 bags) + vegetable oil
- lollipop sticks
- sprinkles or extra freeze-dried strawberries
Instructions
Make the strawberry puree
- Put ½ lb of strawberries in a blender or food processor and make a puree, making about a ½ cup or a little over. Simmer this in a pot over low-medium heat, stirring occasionally, for about 20 minutes OR until you are left with about ¼ cup of puree left. Remove this from the heat and let cool completely. I put mine in the fridge/freezer to speed up the process. You can make this the day before to ensure that it cools completley in the fridge overnight.
Make the cake
- Preheat the oven to 350°. Grease a 9x9 round cake pan with non stick spray.
- In a medium bowl, combine the flour, baking powder, baking soda, and salt. Whisk until combined and set aside.
- Using an electric mixer, in a large bowl cream together the room temperature butter and sugar until smooth (about 2 minutes). Add in the egg white and beat on high speed until combined (about 2 minutes). Add in the vanilla and greek yogurt, mixing until combined. Slowly add in the dry ingredients until just incorporated. Slowly pour the milk in while your mixer is on low speed, just until it's combined. Be careful not to overmix! Mix in the completely cooled ¼ cup of strawberry puree until just incorporated. You can add a few drops of red or pink food coloring here as well if you would like to have a more pink cake.
- Pour batter into the greased cake pan. Bake for 30-35 minutes or until a toothpick inserted in the center comes out clean. If you notice your cake starting to brown a bit too much on top, you can cover it with tinfoil while baking.
- Allow the cake to cool completely in the pan on a wire cooling rack.
Make the frosting
- Using a blender or food processor, blend the freeze-dried strawberries into a powder. You should have about a ¼ cup. Set aside.
- In a large bowl, cream the butter using an electric mixer until smooth and creamy. Add the powdered sugar, strawberry powder, 2 teaspoon of milk, and vanilla. Mix on medium-high for about 2-3 mintues, until smooth and creamy. If needed, add another 1-2 teaspoon of milk to get the right consistency.
Make the cake pops
- Once your cake is completely cooled, crumble the entire cake into the bowl of frosting, making sure there are no large lumps. If you had any hard/burnt pieces of cake, feel free to discard them. Turn the mixer on low until the cake and frosting combine.
- Measure 1 tablespoon of cake mix and roll into a ball, then place on a parchment paper-lined baking sheet. Place the sheet in the freezer for about 30 minutes, or the fridge for an hour. Cake pops come together easier when the cake balls are very cold.
- Once they are chilled, melt the chocolate melts or chips in a deep measuring cup (I use a 2-cup one linked above). If using chocolate chips: reminder to use ½ tablespoon oil for each cup of chocolate melted.
Coat the cake pops
- Take your cake balls out of the freezer. Dip the tip of a lollipop stick into the chocolate and press into the center of the cake ball, inserting about halfway through. Repeat for all the cake balls and place back into the freezer for another 10-15 minutes.
- Taking about 3-4 cake pops out of the freezer at a time, dunk the cake pop into the chocolate coating fully, making sure to get all the way to the lollipop stick. Gently tap the stick on the side of the measuring cup to remove excess coating. Place your cake pop either upright in a styrofoam board or a box (see pictures above) or you could always place them down on another parchment paper-lined baking sheet. Decorate each one immediately as they dry pretty quickly since they are cold. Cake pops should be completely dried within an hour. I like to keep mine in the fridge before serving.
Notes
- Your cake pops are best if stored in the fridge for up to 5 days. They can also be frozen for up to 2 months.
- Cake pops are a long process. To make things easier, you cake prep and make the strawberry puree, cake, and icing the night before and assemble the cake pops the next day.
- To ensure that your cake pop doesn't fall off while dipping it, dip your lollipop stick in chocolate first, insert it into the cake ball, and then stick it back in the freezer for a bit so they harden.
- Cake pops are best if dipped when super cold!! I keep mine in the freezer and only take out a few at a time in order to make sure that each one is chilled when dipping into the melted chocolate.
- This 2 cup glass measuring cup is my favorite to use when dipping cake pops. I've tried using bowls and other things before, but this measuring cup is the perfect size to dunk your cake pop all the way in.
- Best ways to dry your cake pops: I've used styrofoam boards at a craft store before to hold my cake pops up to dry. Since everyone has boxes laying around, you could always use one of those (like the picture above) and poke tiny holes in it! So easy and cheap. Another option is to place the cake pops stick-side-up onto a baking sheet and decorate the other side as you can see in my pictures.


NancyM says
The recipe instructions and tips were very helpful. The cake pops were awesome. I also made a set of cake pops from cake mix (choc and rainbow) for two parties. These strawberry ones were everyone’s favorite. Thanks for an amazing recipe. Well worth all the work. We will be making again-had requests from two family members to be their birthday cakes this summer.
Kelly Hamilton says
Thank you so much for trying this recipe, Nancy! So happy to hear you and your family enjoyed it!