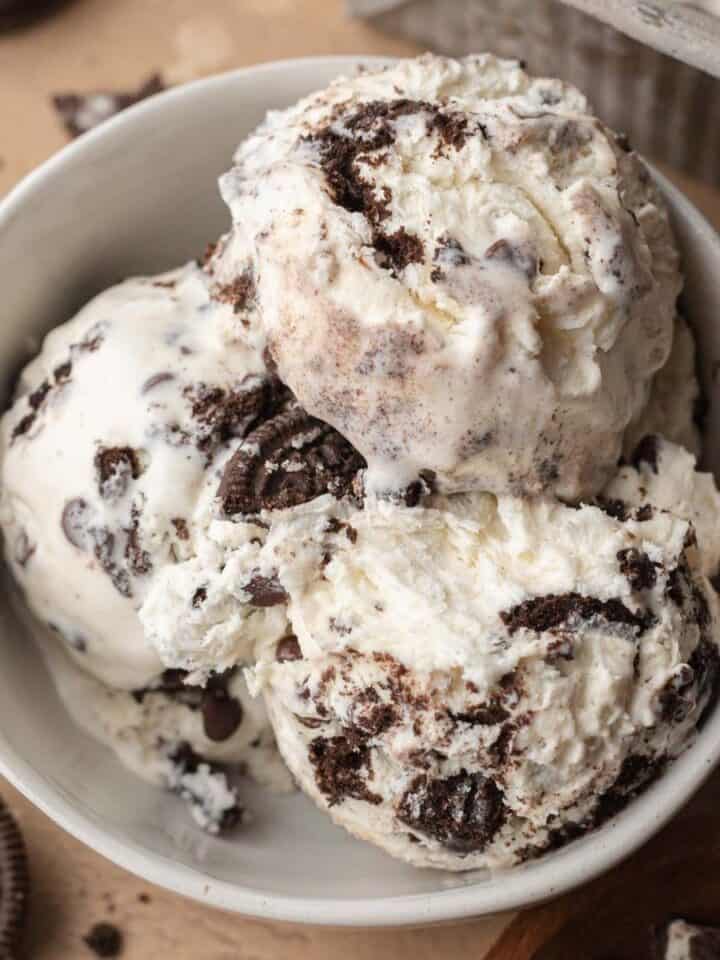
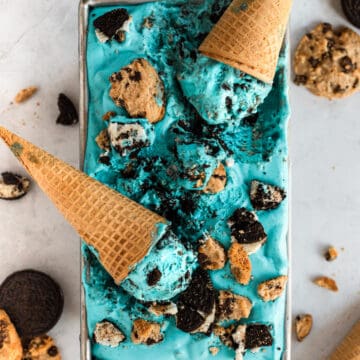
This creamy, no-churn cookie monster ice cream is made with rich vanilla ice cream and is stuffed with oreos and chocolate chips cookies. The easiest way to make amazing ice cream at home!
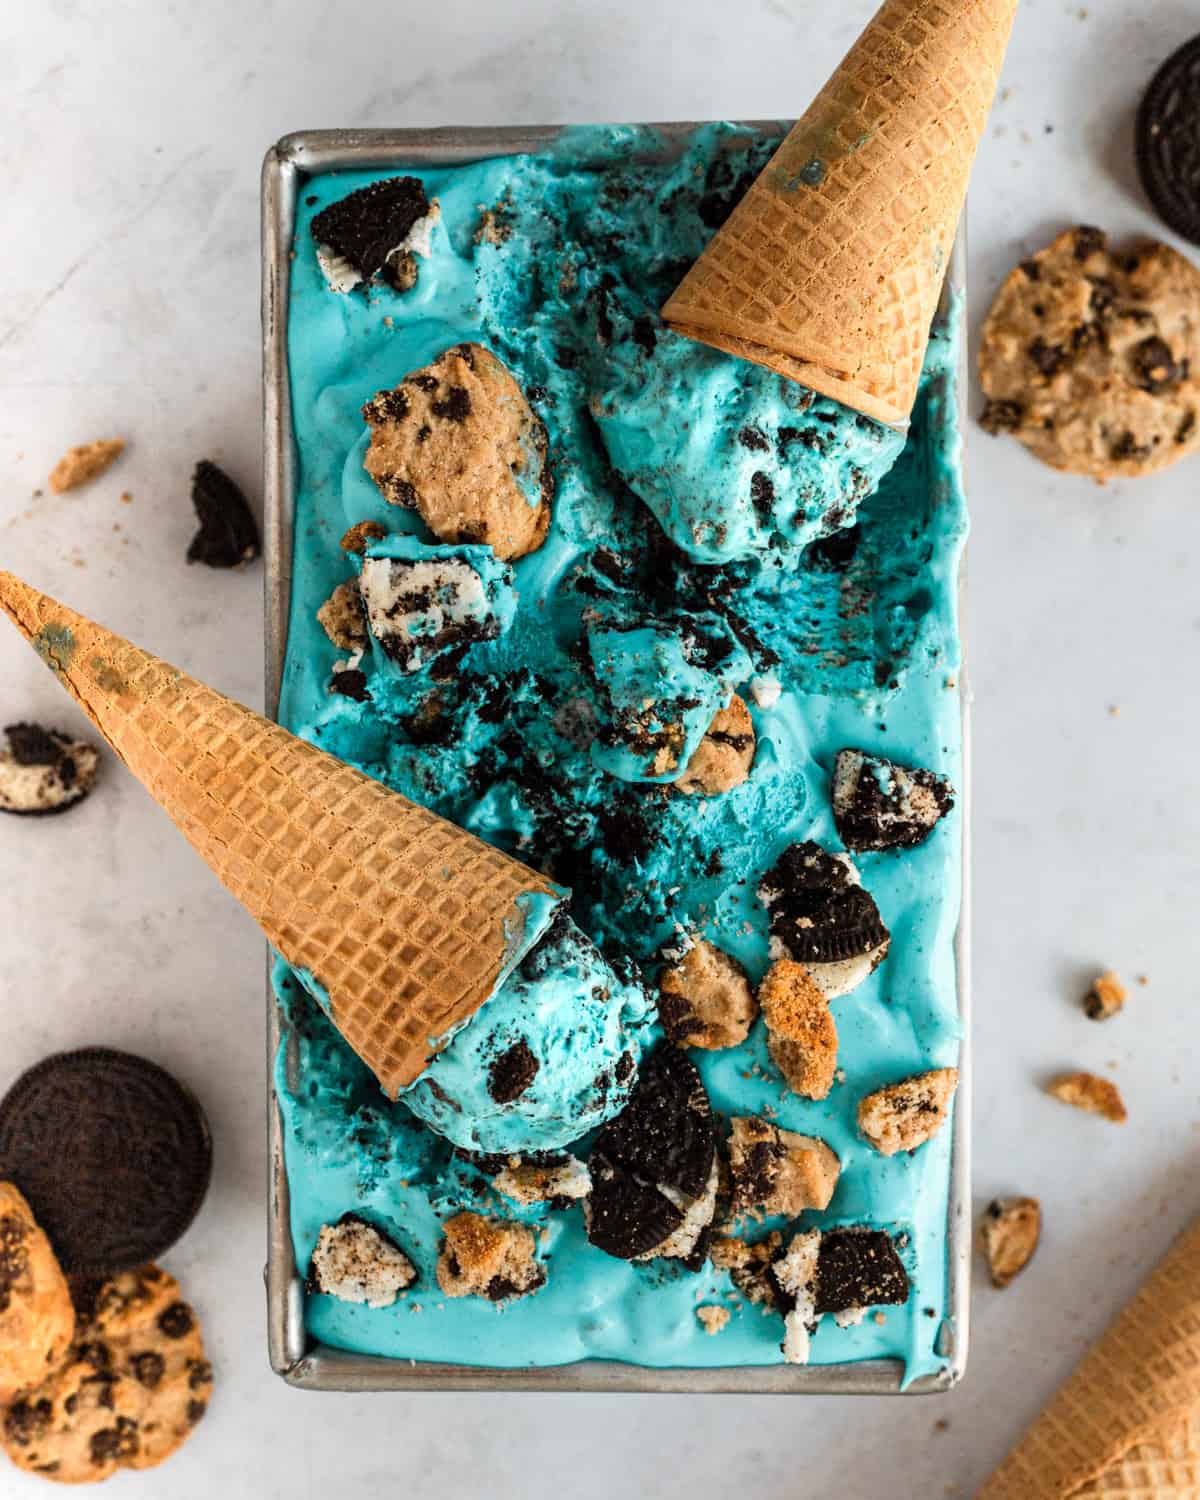
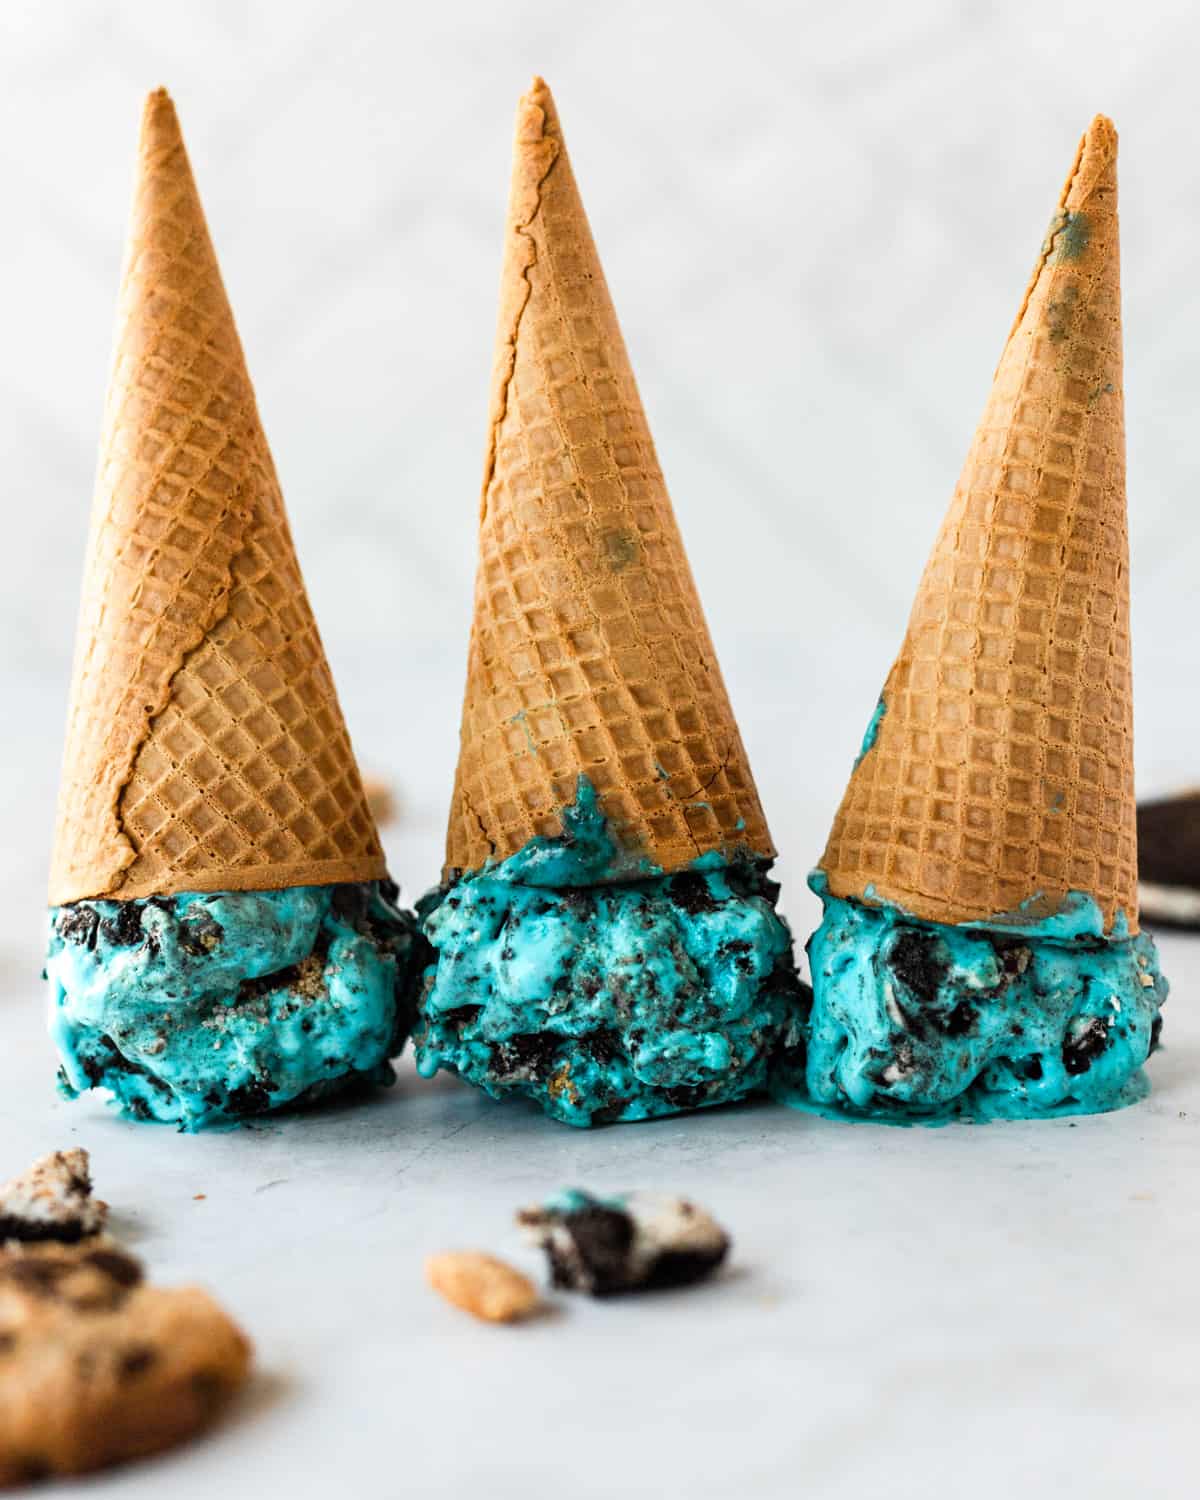
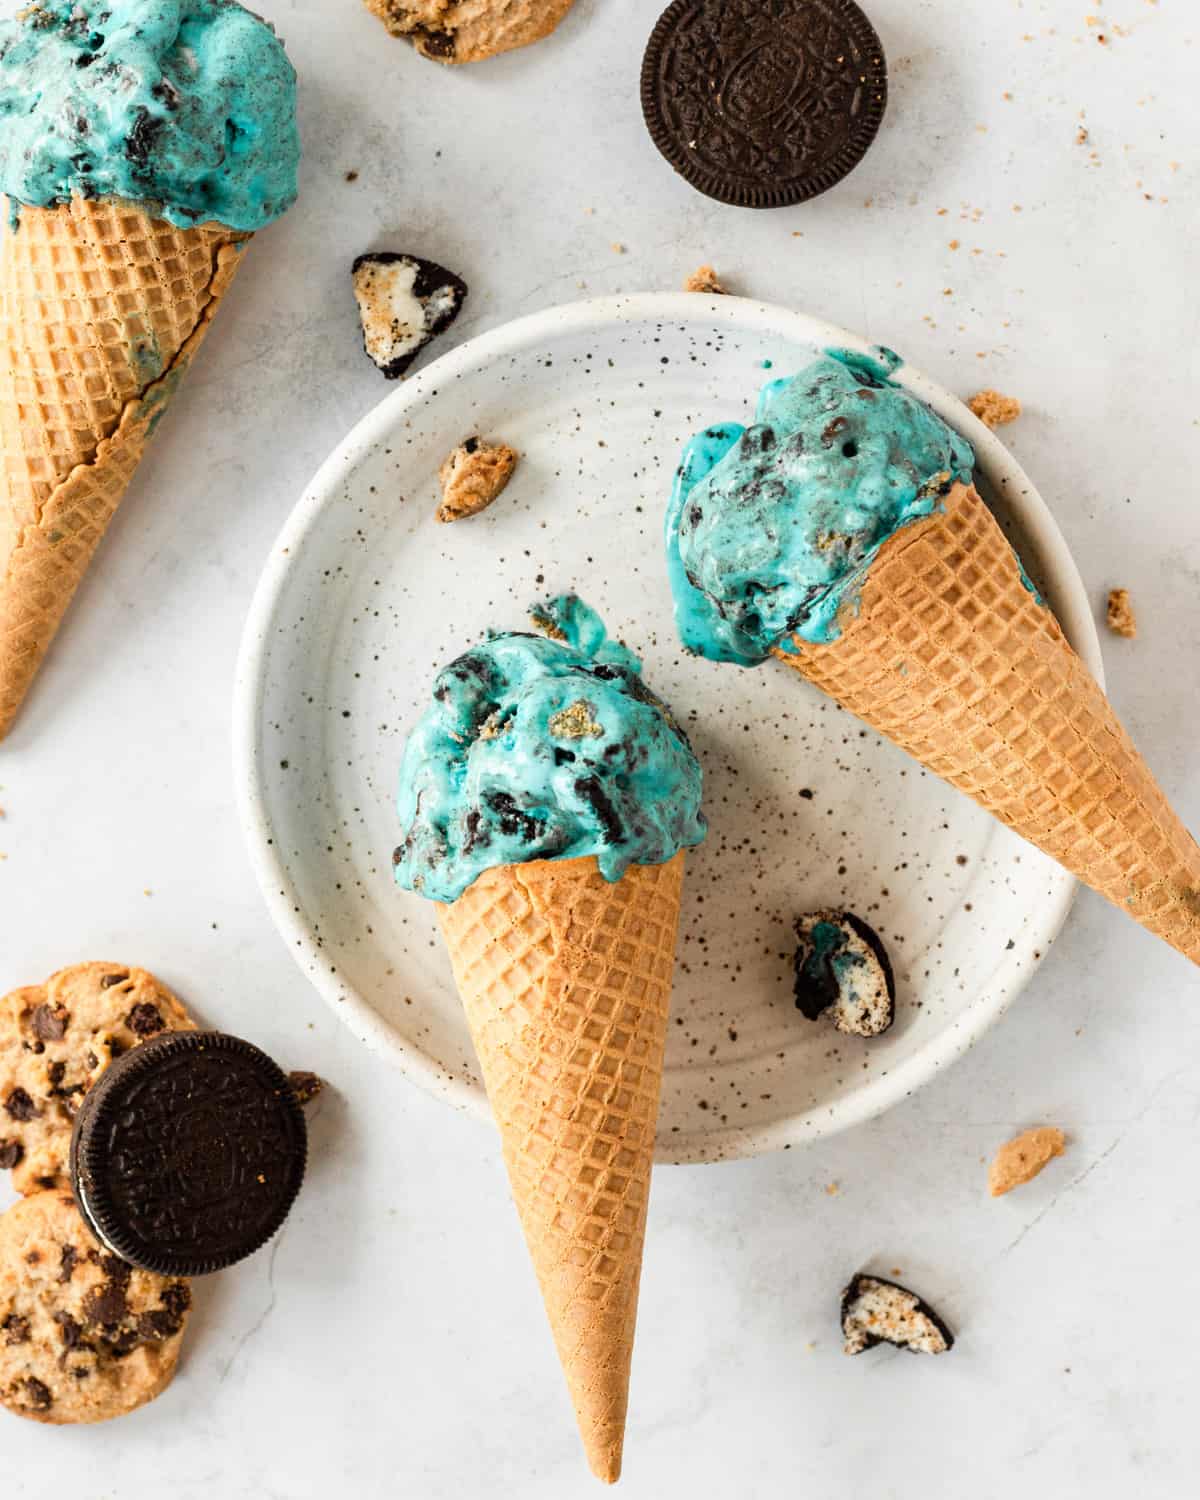
This cookie monster ice cream is my new favorite flavor of the summer! Vanilla ice cream that's turned blue and stuffed with oreos and chocolate chip cookies. Even better, it's a no-churn recipe which means you don't have to invest in a large ice cream maker! All you need is an electric mixer. This recipe is so easy it has me wondering why I haven't been making homemade no-churn ice cream my entire life!
I've ordered their cookie monster ice cream at the last few ice cream shops I've gone to this summer. I always go for a cookie flavor ice cream if they have it on the menu. At the last shop I went to, the kid working the register asked if I chose it because it had cookies in it, or because it was blue lol (obvi bc the cookies, but the blue is fun too).
After having it a few times I thought to myself, why not try and make my own cookie monster ice cream?
Ingredients needed for no-churn cookie monster ice cream:
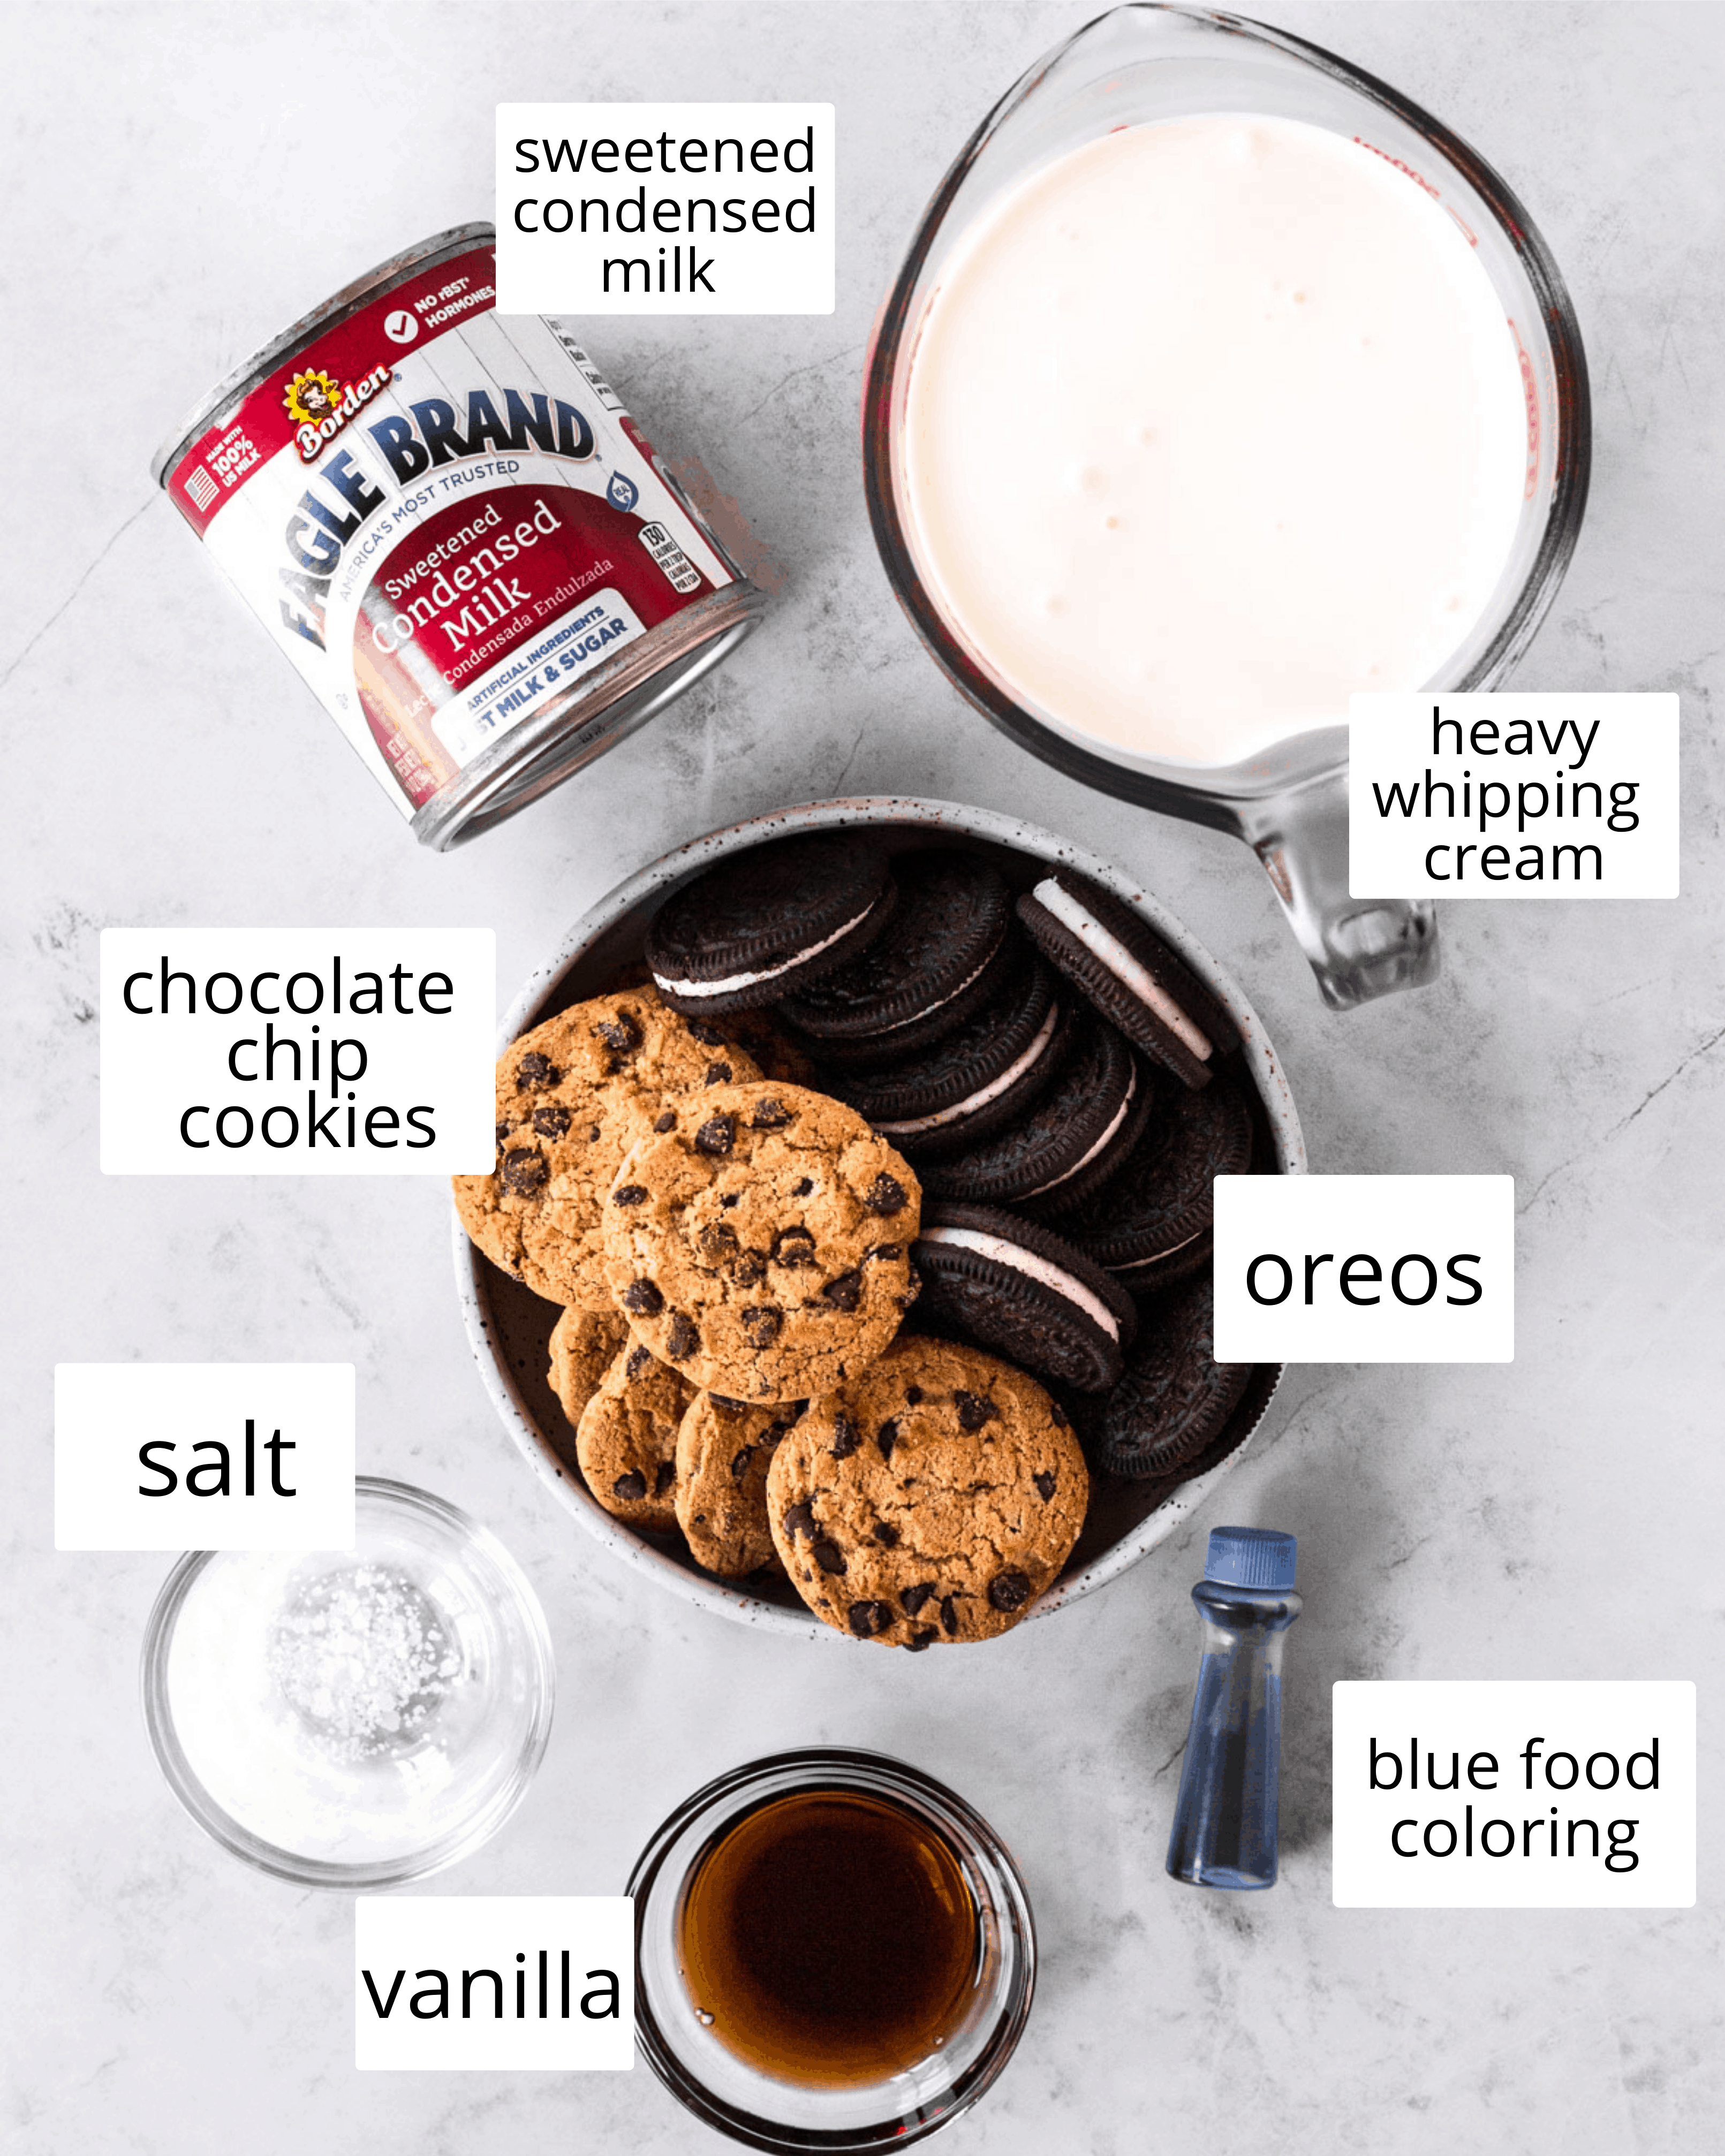
- heavy whipping cream- make sure to buy heavy whipping cream, not just whipping cream! They are different from one another in terms of fat content.
- sweetened condensed milk- This is usually found in the baking aisle, they come in 14 oz cans like the one below. See substitution notes below.
- blue food coloring- this is what makes cookie monster ice cream just that! You can definitely omit the food coloring if it's not your thing, you'll just have regular vanilla ice cream then. Also just a warning- this will turn your tongue/lips blue!
- cookies- you can use whatever kind of cookies you love for this recipe, I went with original chips ahoy chocolate chip and double stuffed oreos.
Step by Step Instructions
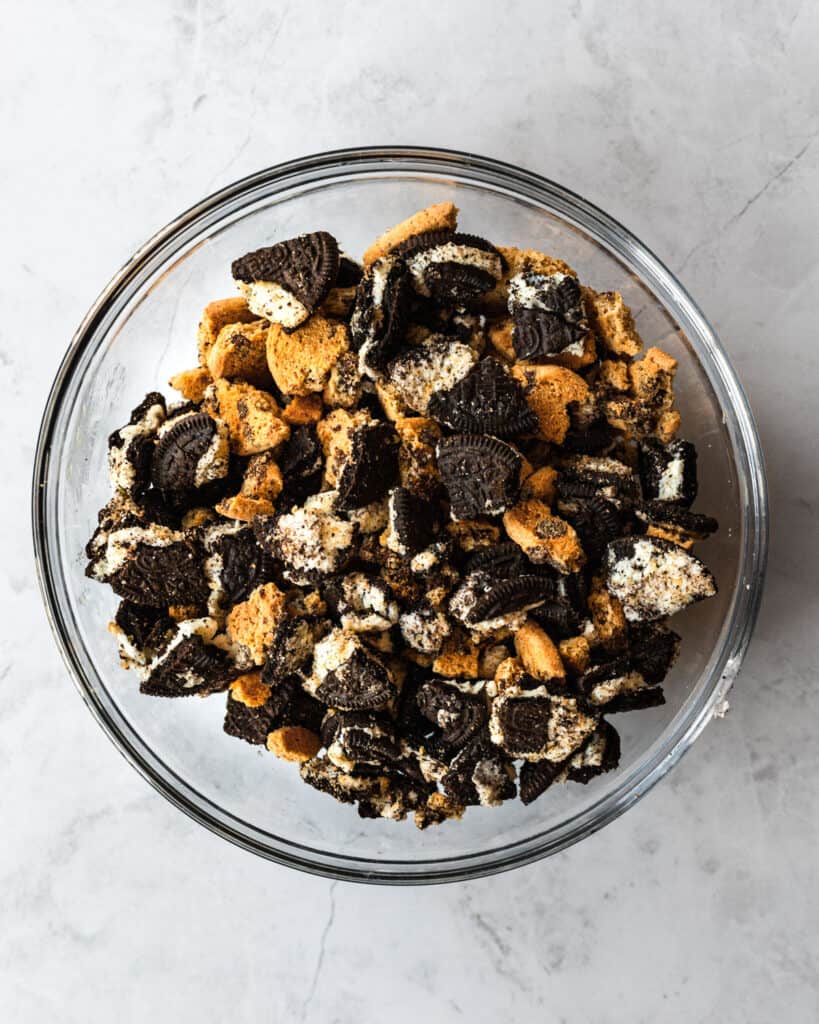
Step 1: Place cookies in a large baggie and crush using a rolling pin, a glass, or use your hands. You can crush the cookies as big or as small as you'd like.
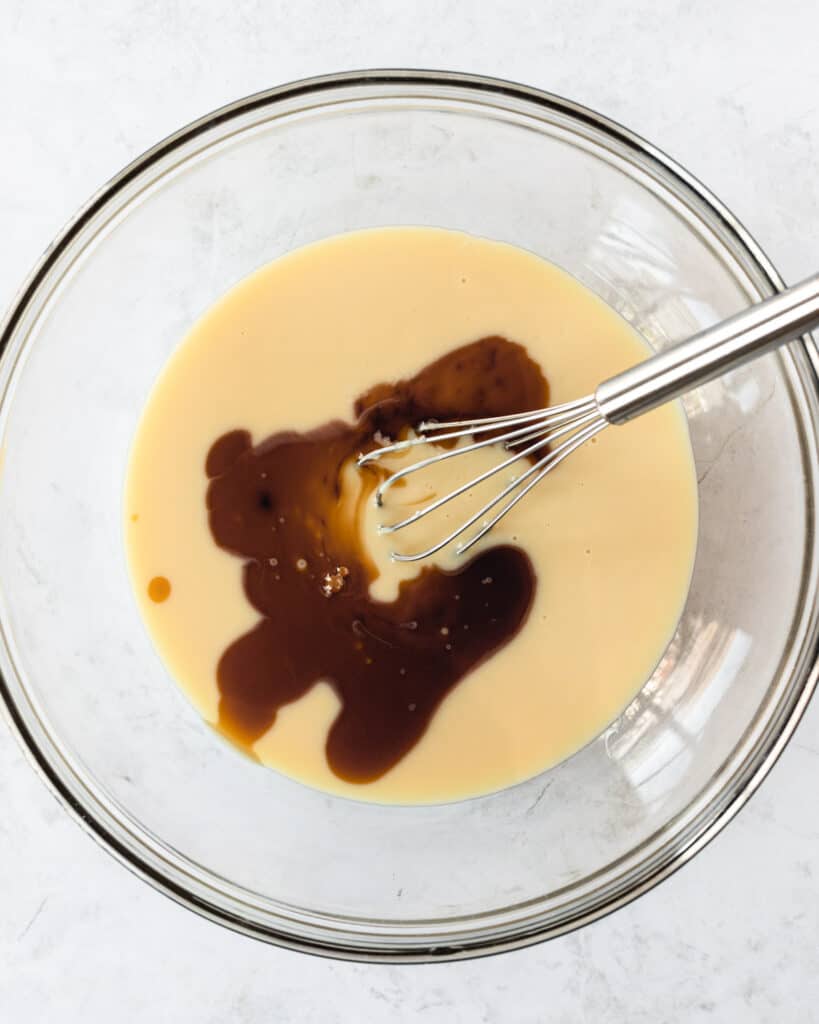
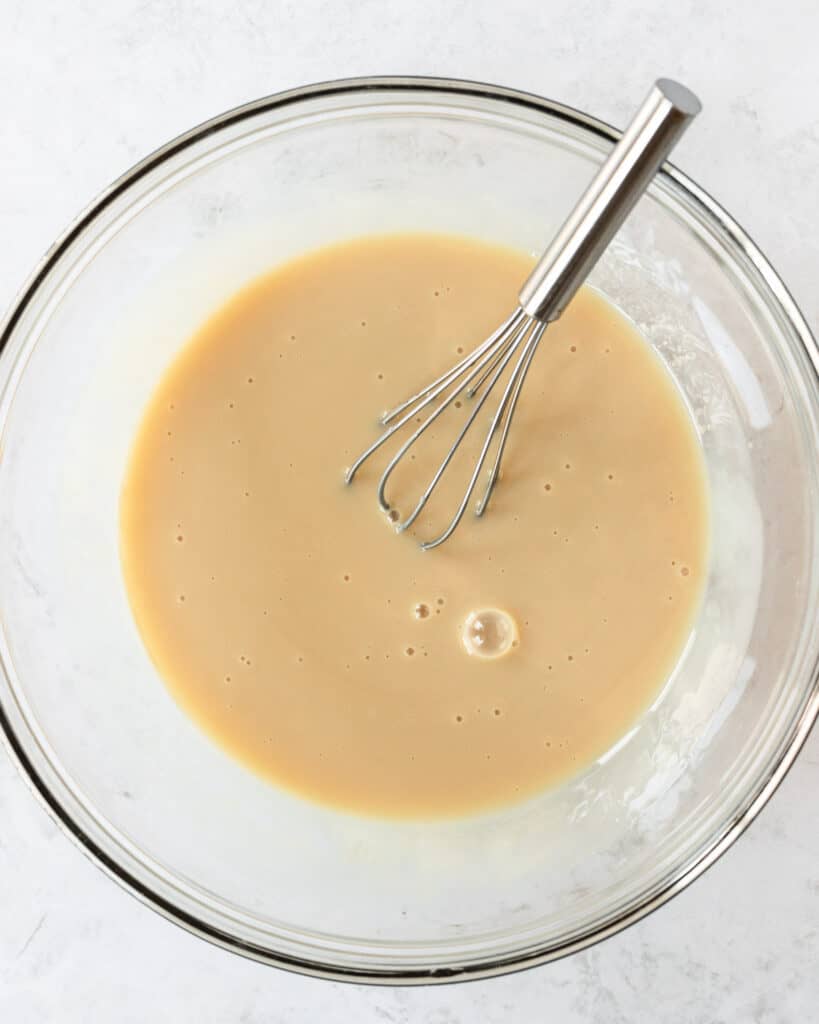
Step 2: In a medium-sized bowl, whisk together the sweetened condensed milk, vanilla, and salt. Set aside.
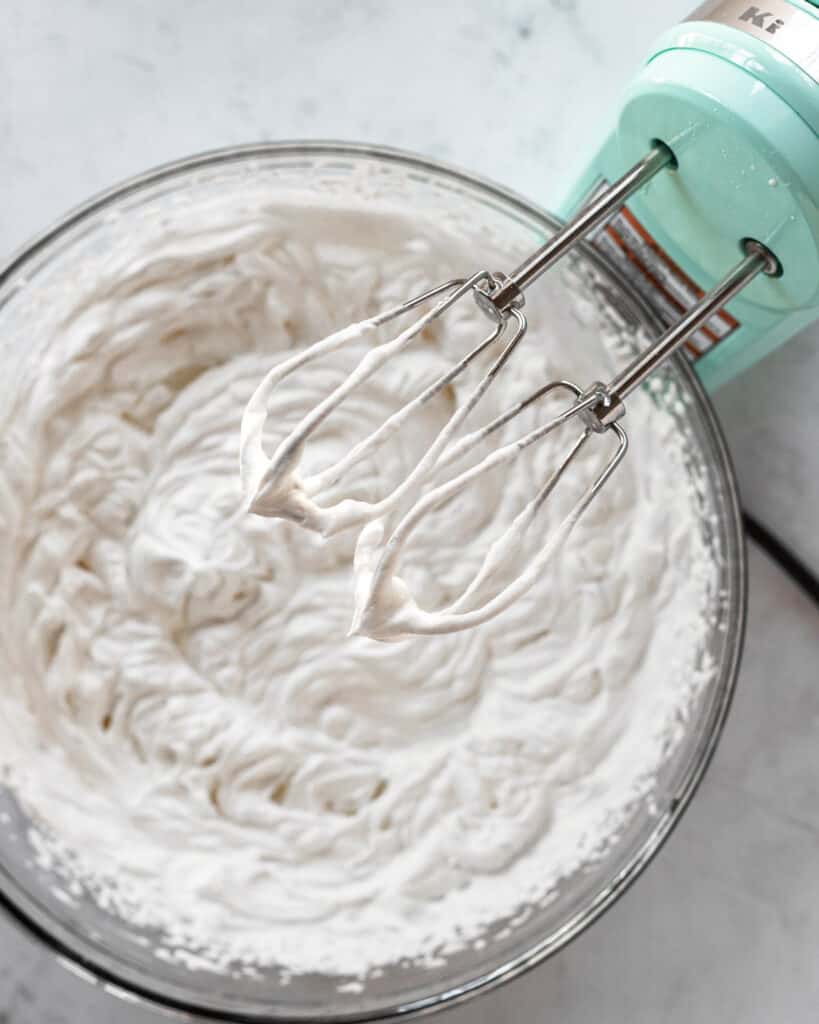
Step 3: In a separate large bowl, beat the cold heavy whipping cream on high speed until stiff peaks form, about 3 minutes.
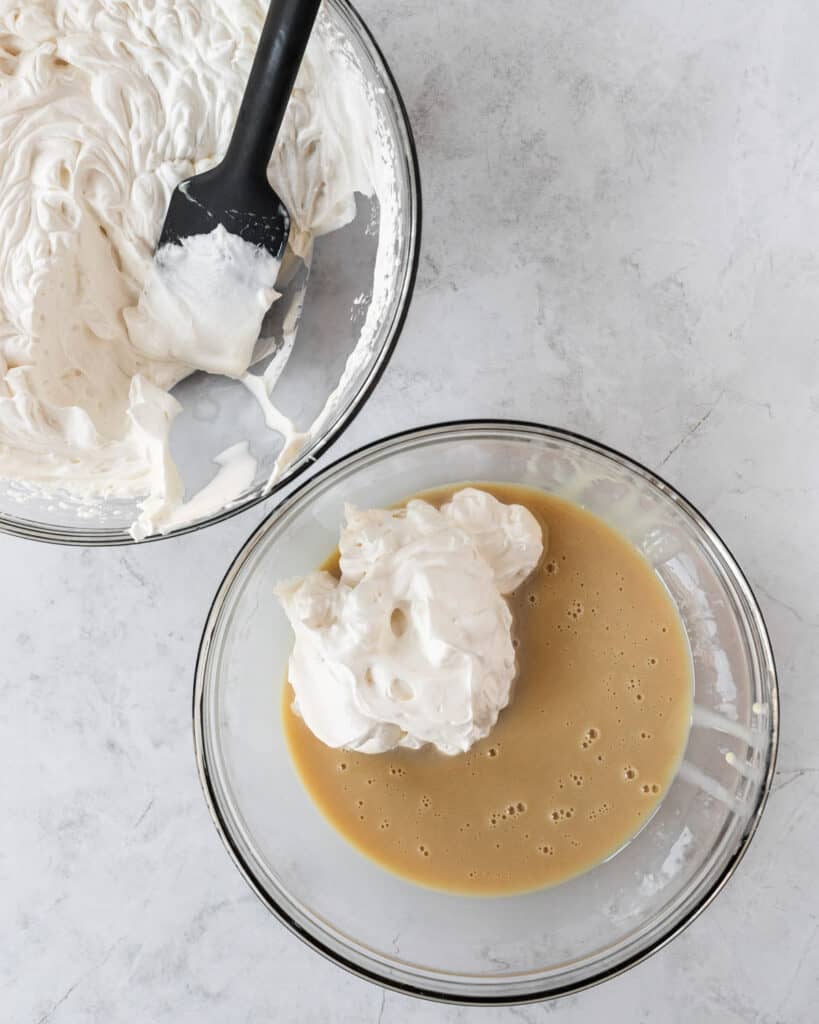
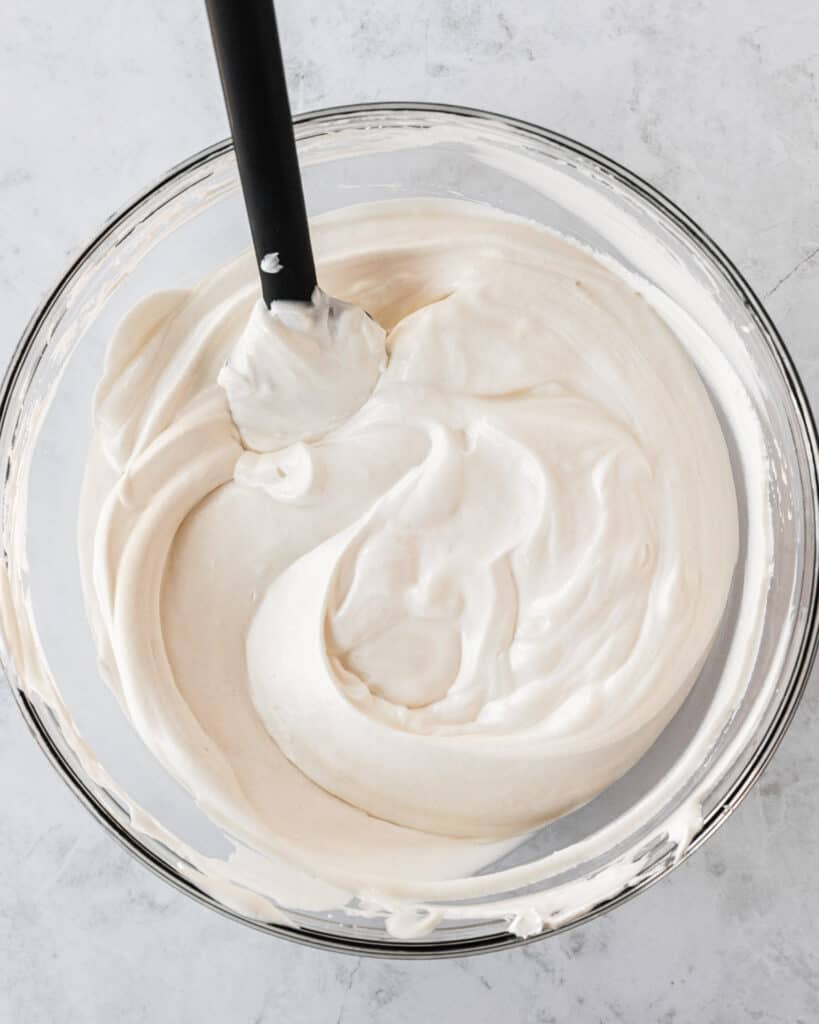
Step 4: Take about 1 cup of whipping cream and fold it into the sweetened condensed milk. Then take that mixture and pour it back into the remaining whipping cream. Fold until combined.
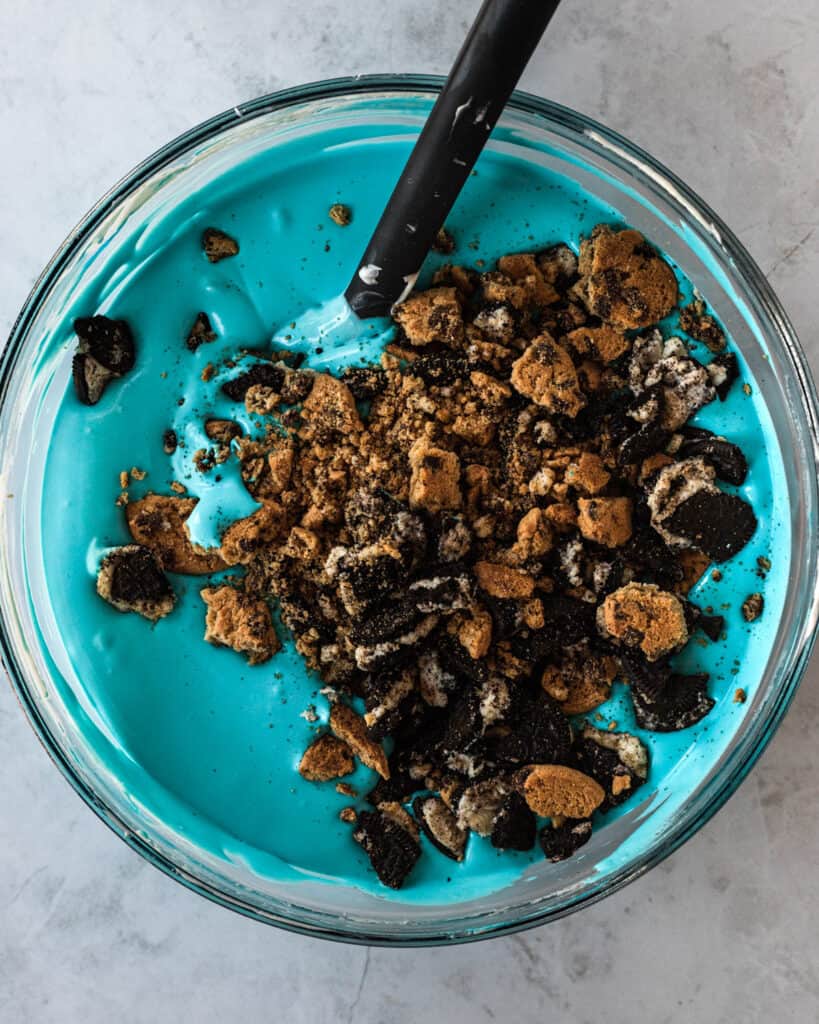
Step 5:Mix in the blue food coloring until the desired color is reached. Then fold in the cookies, leaving a few cookie pieces remaining to sprinkle on top.
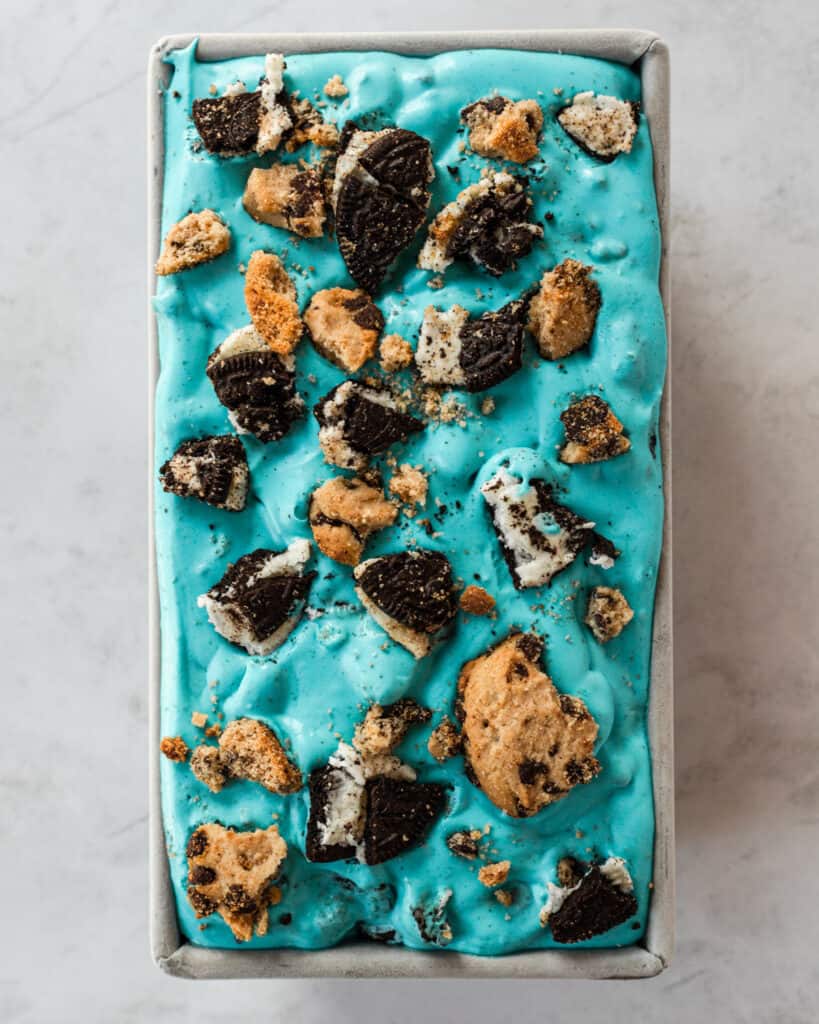
Step 6: Pour the mixture into a loaf pan or an 8x8/9x9 baking pan (you can line the pan with parchment paper first for easy clean-up). It will fill an entire loaf pan and you might have some extra depending on the size pan you use. Gently sprinkle the extra crumbled cookies on top
Place in the freezer for at least 5 hours to set, or overnight.
What can I substitute for sweetened condensed milk?
You can use canned cream of coconut (the same amount that the recipe calls for). It's a great dairy-free option, although it will leave you with a bit of a coconut taste.
Tips and tricks
- make sure you get stiff peaks- make sure you get stiff peaks when whipping up the heavy whipping cream. It should take you close to 3 minutes to achieve the stiff peaks like in the photos above.
- use different cookies- Not a fan of oreos or chocolate chip cookies? You can substitute them for cookies you love, like nilla wafers, nutter butter, different flavored oreos, graham crackers, etc. If you're feeling wild, adding edible chocolate chip cookie dough bites would be amazing!
- skip the blue- if food coloring isn't your thing (and neither is a blue tongue lol) then you can skip the blue coloring and leave it as is- after all, it's just vanilla ice cream. The blue is a fun twist though!
- give your ice cream time to freeze- make sure you allow time for the ice cream to fully freeze. I recommend at least 5 hours, but typically I like to let mine sit in the freezer overnight to ensure it's good to go!
Storing & freezing
Cookie monster ice cream should be stored in the freezer. I typically leave it in the pan it was made in and cover the top with plastic wrap or something similar.
Want to try more recipes?
If you made this recipe, I would love to know what you thought! Leave me a star rating and a comment below - I read them all! ⭐️ Your reviews not only help my business but other bakers as well!
Want an exclusive first look at all my recipes? Join my email newsletter which sends Bake & Bacon recipes straight to your inbox as soon as they go live, so you never miss a recipe!
Want to keep up with Bake & Bacon outside of the blog? Follow me on Instagram, Facebook, Twitter, Pinterest, and Youtube. Tag me on any social media and use the hashtag #bakeandbacon so I can see what you are baking!
Easy, No-Churn Cookie Monster Ice Cream
Ingredients
- 15 double stuffed oreos
- 15 chocolate chip cookies like chips ahoy
- 1 can (14oz) sweetened condensed milk
- 1 tablespoon vanilla extract
- pinch of salt
- 2 cups heavy whipping cream cold
- 1-2 teaspoon blue food coloring depending on how blue you want it to be
Instructions
- Place the cookies into a large ziploc bag and break them up into chunks. Set aside.
- In a medium bowl, whisk together the condensed milk, vanilla, and salt. Set aside.
- In a large bowl, beat the cold heavy whipping cream until stiff peaks form, for about 3 minutes.
- Fold 1 cup of the whipped cream into the condensed milk mixture, and then add all the lightened condensed milk mixture back into the whipped cream, folding until they are combined. Mix in the blue food coloring until the desired color is reached. Then fold in the cookies, leaving a few cookie pieces remaining to sprinkle on top.
- Pour the mixture into a loaf pan or an 8x8/9x9 baking pan (you can line the pan with parchment paper first for easy clean-up). It will fill an entire loaf pan and you might have some extra depending on the size pan you use. Gently sprinkle the extra crumbled cookies on topPlace in the freezer for at least 5 hours to set, or overnight.
Notes
- make sure you get stiff peaks- make sure you get stiff peaks when whipping up the heavy whipping cream. It should take you close to 3 minutes to achieve the stiff peaks like in the photos above.
- use different cookies- Not a fan of oreos or chocolate chip cookies? You can substitute them for cookies you love, like nilla wafers, nutter butter, different flavored oreos, graham crackers, etc. If you're feeling wild, adding edible chocolate chip cookie dough bites would be amazing!
- skip the blue- if food coloring isn't your thing (and neither is a blue tongue lol) then you can skip the blue coloring and leave it as is- after all, it's just vanilla ice cream. The blue is a fun twist though!
- give your ice cream time to freeze- make sure you allow time for the ice cream to fully freeze. I recommend at least 5 hours, but typically I like to let mine sit in the freezer overnight to ensure it's good to go!
Nutrition
This post contains affiliate links which means if you purchase something off of one of those links I make a small commission at no extra cost to you. Thanks for supporting my blog!
Lisa Nash says
So delicious and so easy to make!
Did not use the food coloring but, did devour it in true cookie monster fashion!!
Will definitely make this again!
Thank you 😁
Kelly Hamilton says
So happy to hear you loved this recipe, Lisa!
Shweta says
So absurdly easy to make and the color is so fun! Definitely a childhood favorite.
Kelly Hamilton says
Thanks so much, Shweta! So glad to hear it reminded you of your childhood 😊
Phil says
This looks amazing!
Kelly Hamilton says
Thank you, I hope you enjoyed it!
Jennie says
This recipe is so fun! Easy to make and my family loved the flavor. We are big cookies fans!
Kelly Hamilton says
Thanks for trying out this recipe, Jennie! So happy to hear you loved it!
Nica says
This ice cream was SO easy to make and my inner child was so happy. I love cookies and this ice cream tasted just like the ones you get at the ice cream shop except better! Thank you for the recipe, I will be making it again!
Kelly Hamilton says
Thank you so much for trying the recipe! So happy to hear you enjoyed it 😊