Skillet Apple Crisp
This post may contain affiliate links.
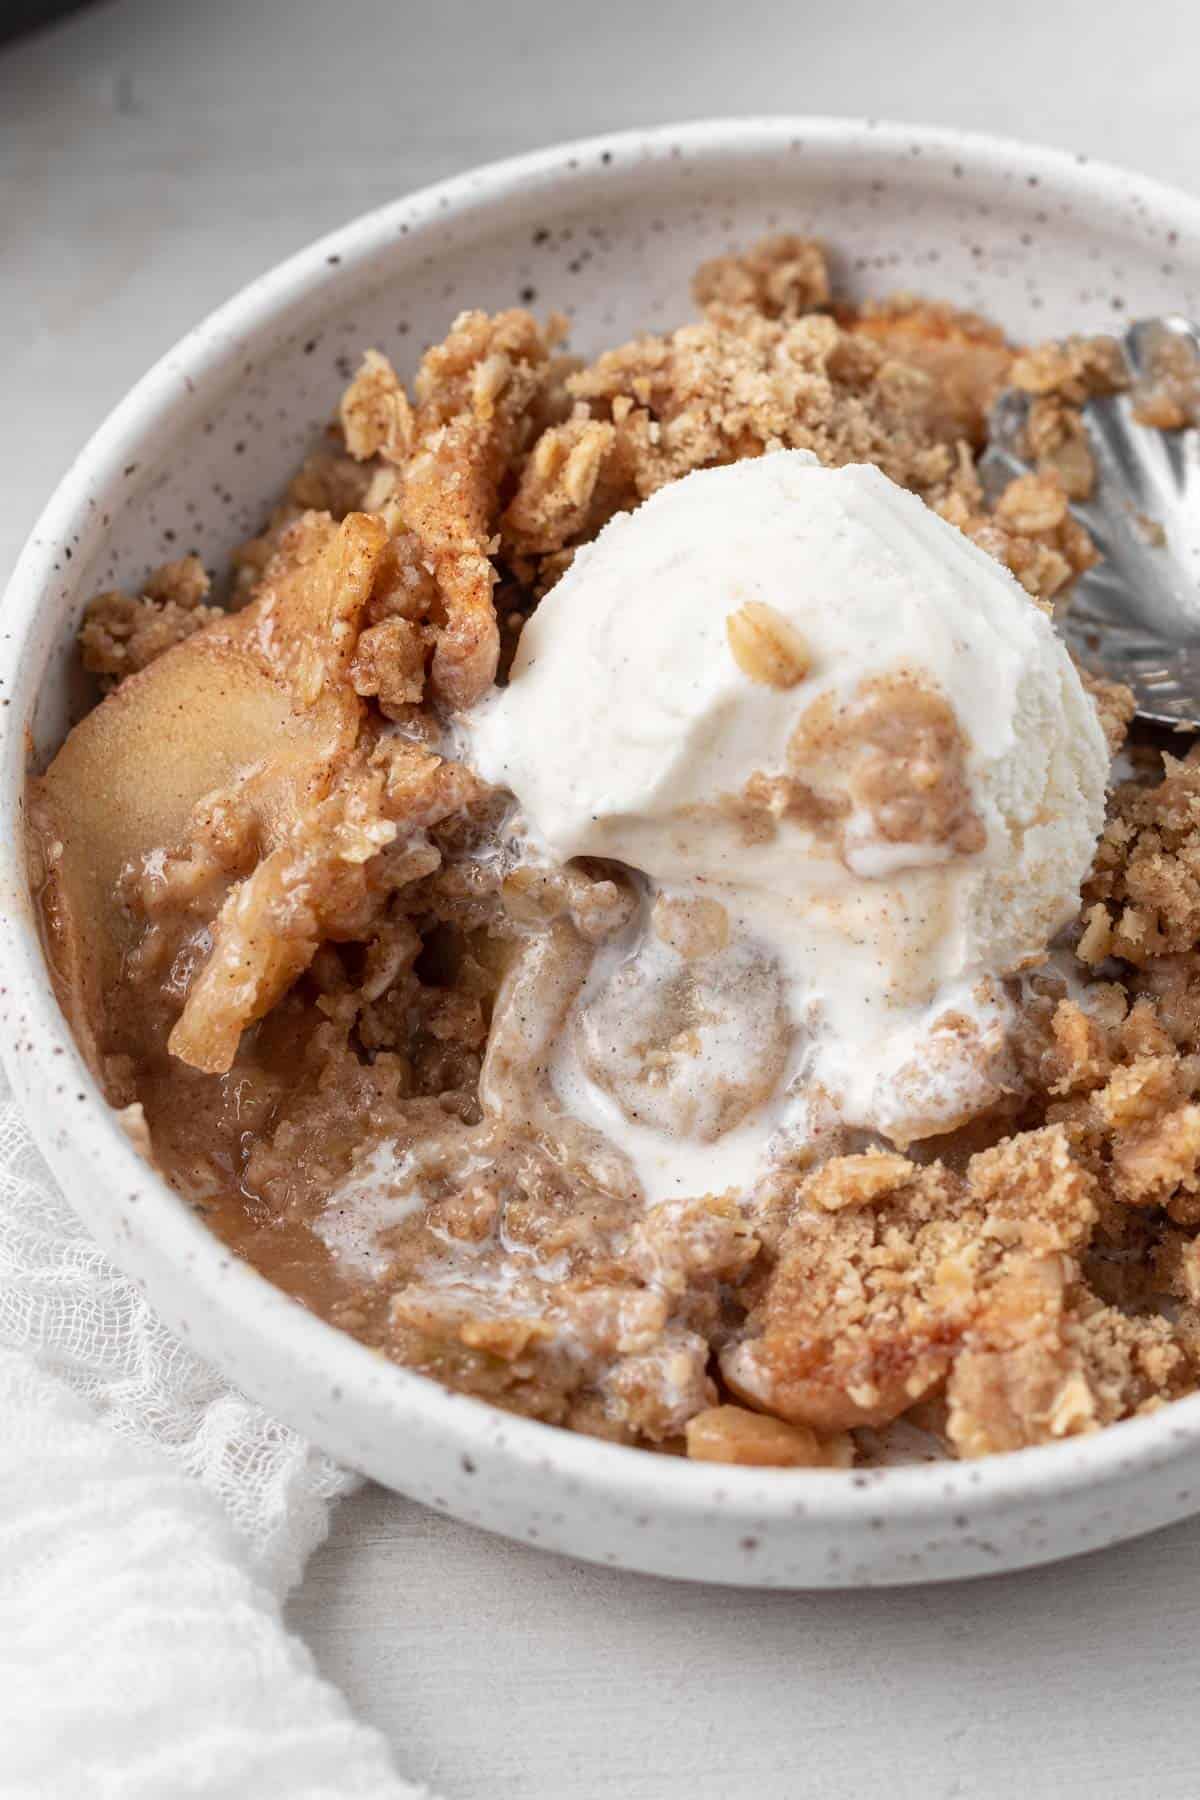
This easy Skillet Apple Crisp is loaded with juicy, tender apples that are coated in cinnamon sugar, topped with a buttery, crunchy crumble, and baked in a cast-iron skillet. Top it with ice cream for the ultimate cozy dessert!
This Skillet Apple Crisp is one of my new favorite recipes, mainly because of how easy it is to make. Slice up some apples, make the crumb topping, stick it all in the skillet, and bake- it’s that easy!
I love my cast iron skillet SO much. I feel as if people are either intimidated by cast iron skillets, or over the moon with them. Being the latter, I preach to anyone who will listen that they need to invest in their own cast-iron skillet.
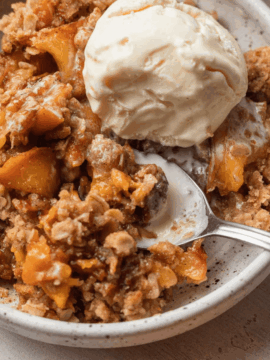
My other favorite recipes to use with my cast iron skillet are my skillet peach crisp and the s’mores skillet cookie.
Recipe Ingredients
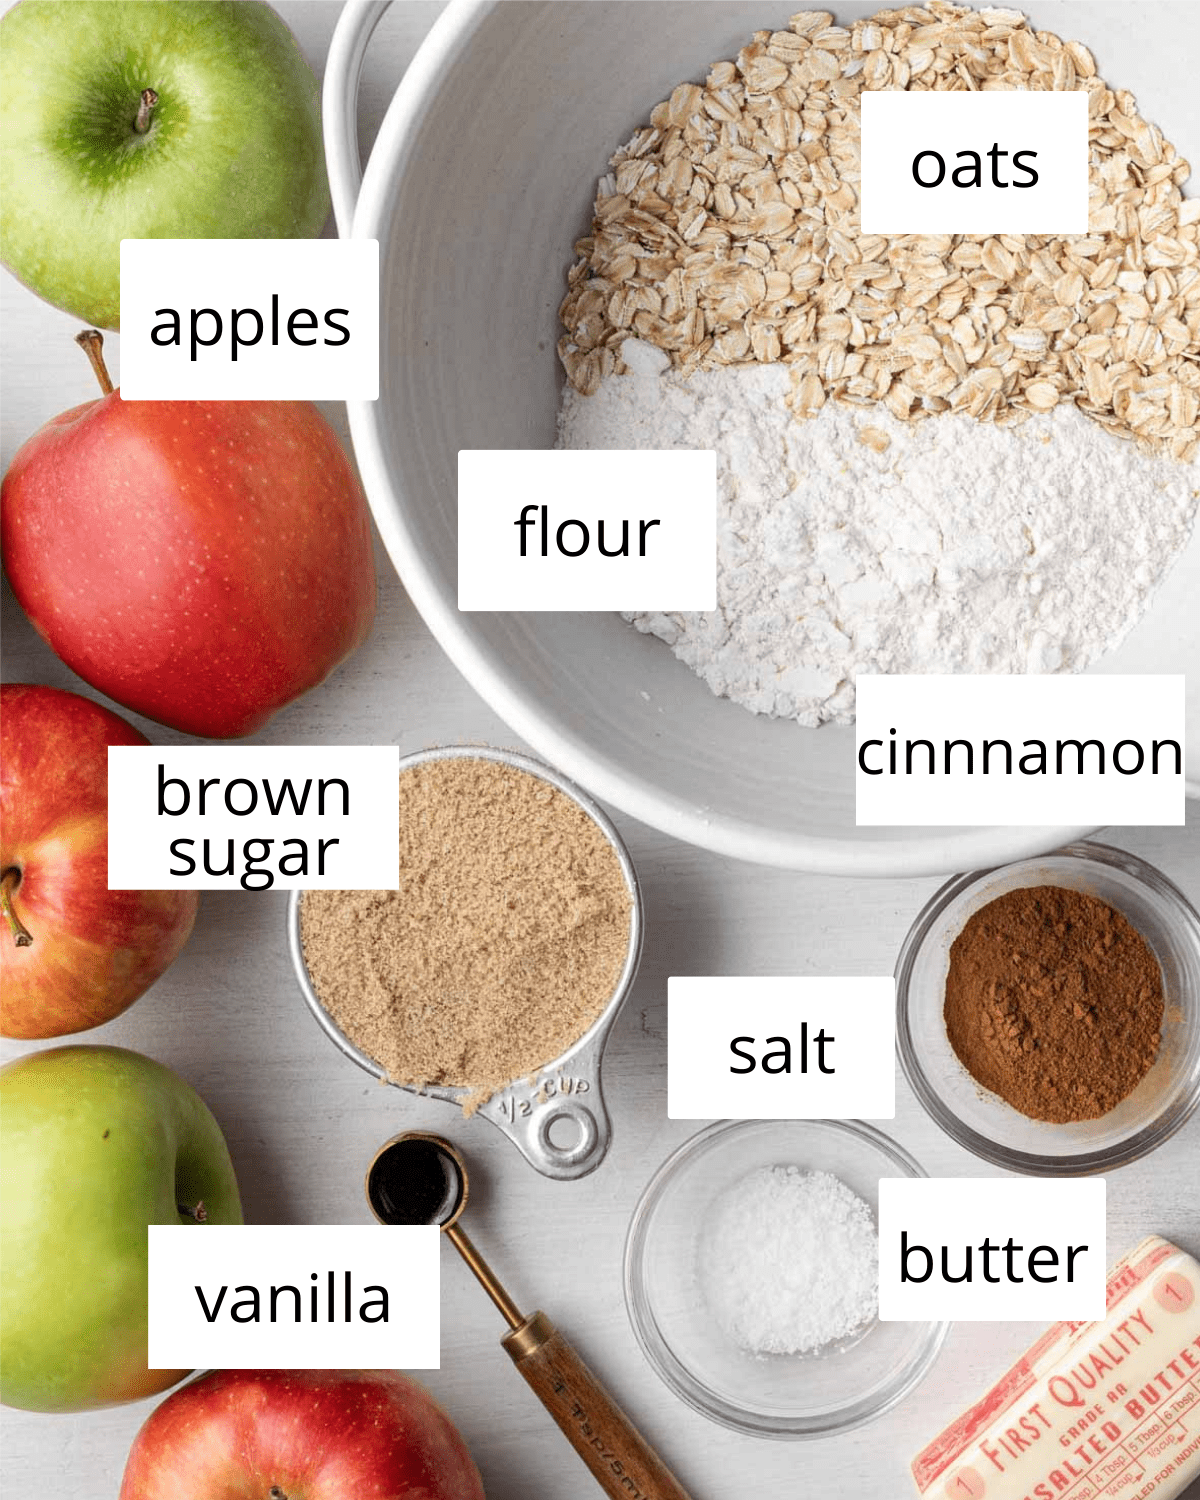
Here are some notes on a few ingredients- please see the full ingredient list in the recipe card below!
- Apples- Tart apples work best for an apple crisp. I like using a mix of gala and granny smith apples. It gives a good combo of sweet and tart. Other good apples to use that you can usually find in any grocery store are Honeycrisp, Pink Lady’s, or Braeburn.
- Brown Sugar- I use light brown sugar but you could easily swap for dark if you’d prefer
- Rolled Oats- you want to use rolled or old fashioned oats in this recipe. Quick oats won’t give you the same texture while baking.
Step by Step Instructions
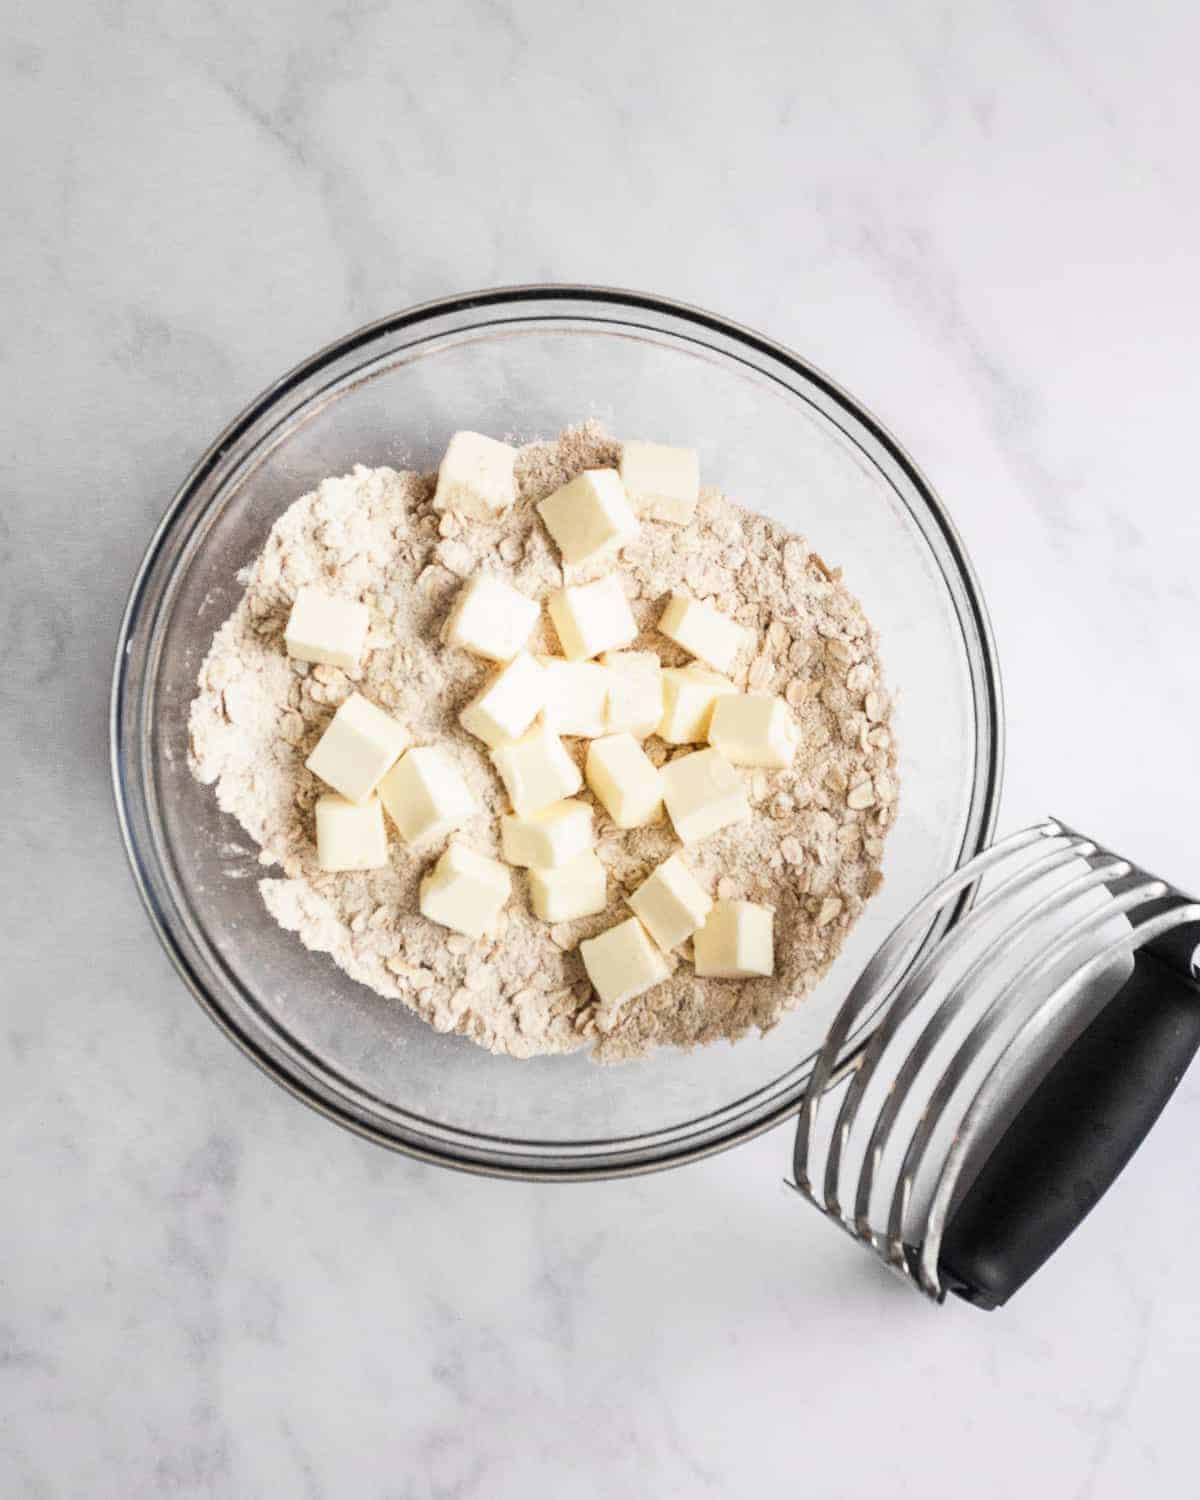
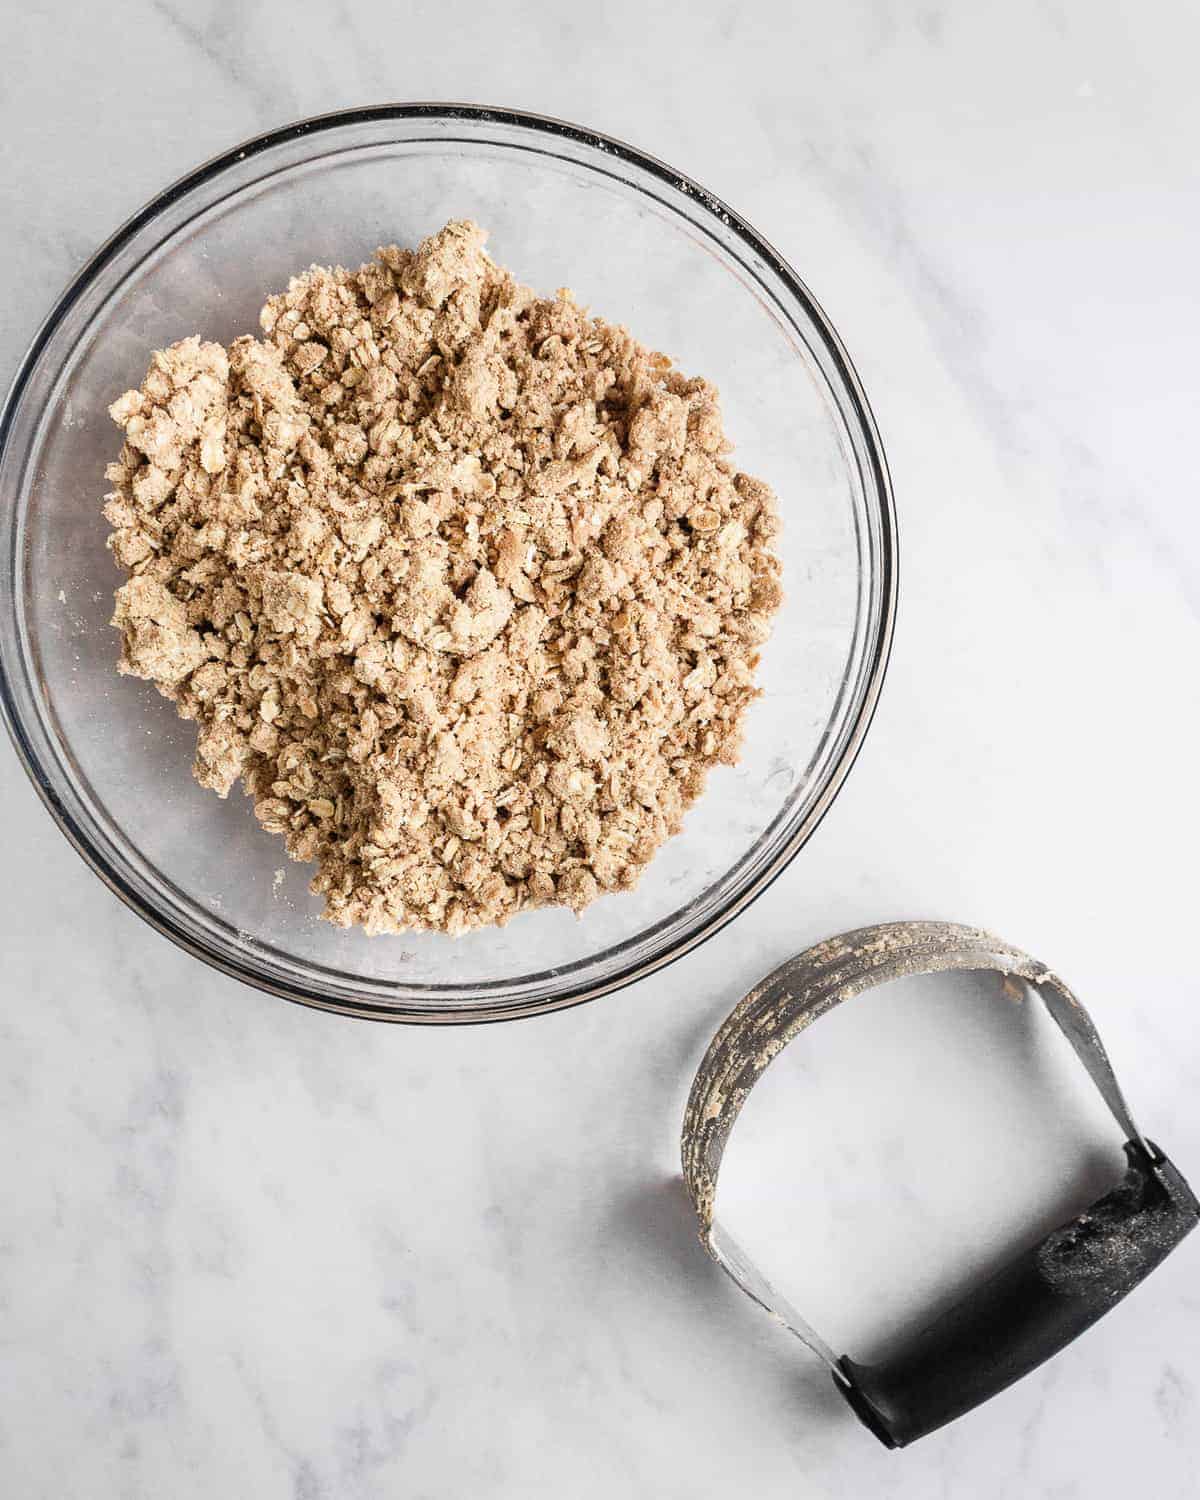
Step 1: Make the topping
In a medium-sized bowl, whisk together your flour, oats, brown sugar, salt, and cinnamon. Add in your chilled cubed butter and using a pastry cutter or two forks, cut the butter into the dry ingredients until you get small pea-sized bits. Your topping should be crumbly, but if you press it together it holds its shape. Put in the fridge until ready to use.

Step 2: Make the filling
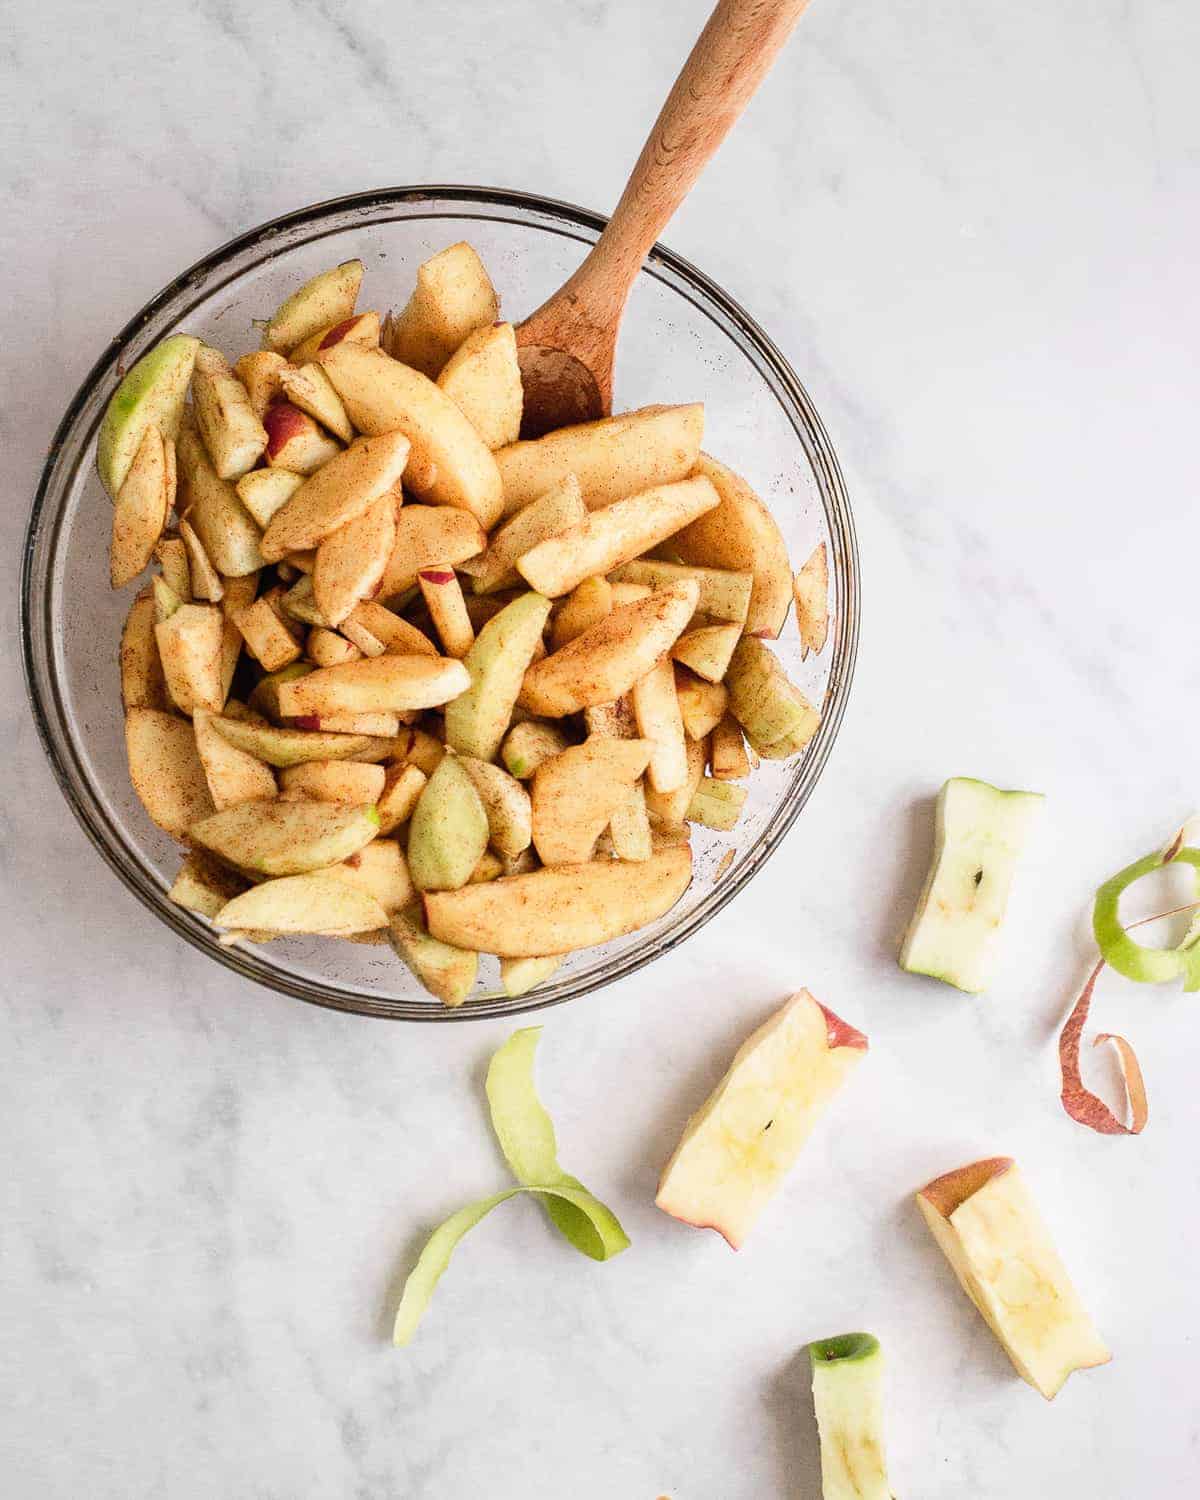
Peel and slice your apples into chunks. You don’t have to slice them super thin as you would for an apple pie, but try to have them all be close in size so they cook evenly. Place sliced apples in a large bowl and toss with brown sugar, cinnamon, vanilla, and salt.
Step 3: Assemble the crisp
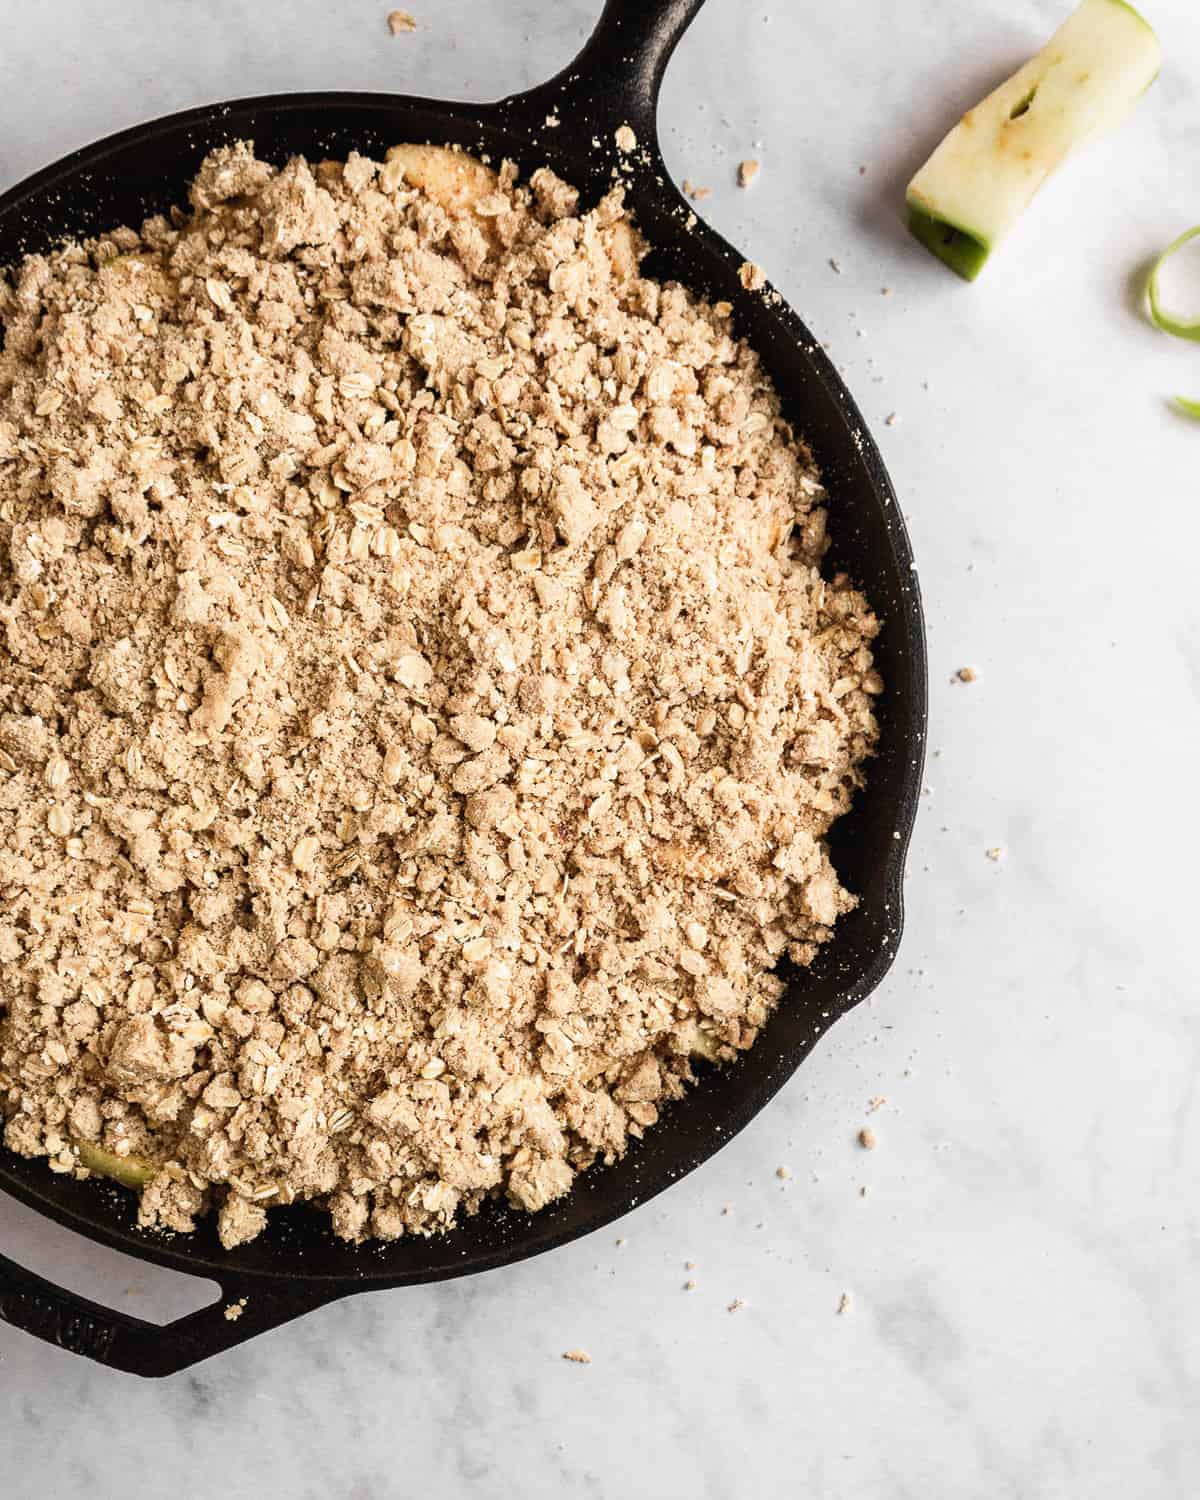
In your cast iron skillet, melt 2 tbsp of butter over medium heat. Once it’s completely melted and coating the bottom of the pan, remove it from the heat and dump the apples in. Spread evenly and then sprinkle the crumb topping all over.
Step 4: Bake & enjoy
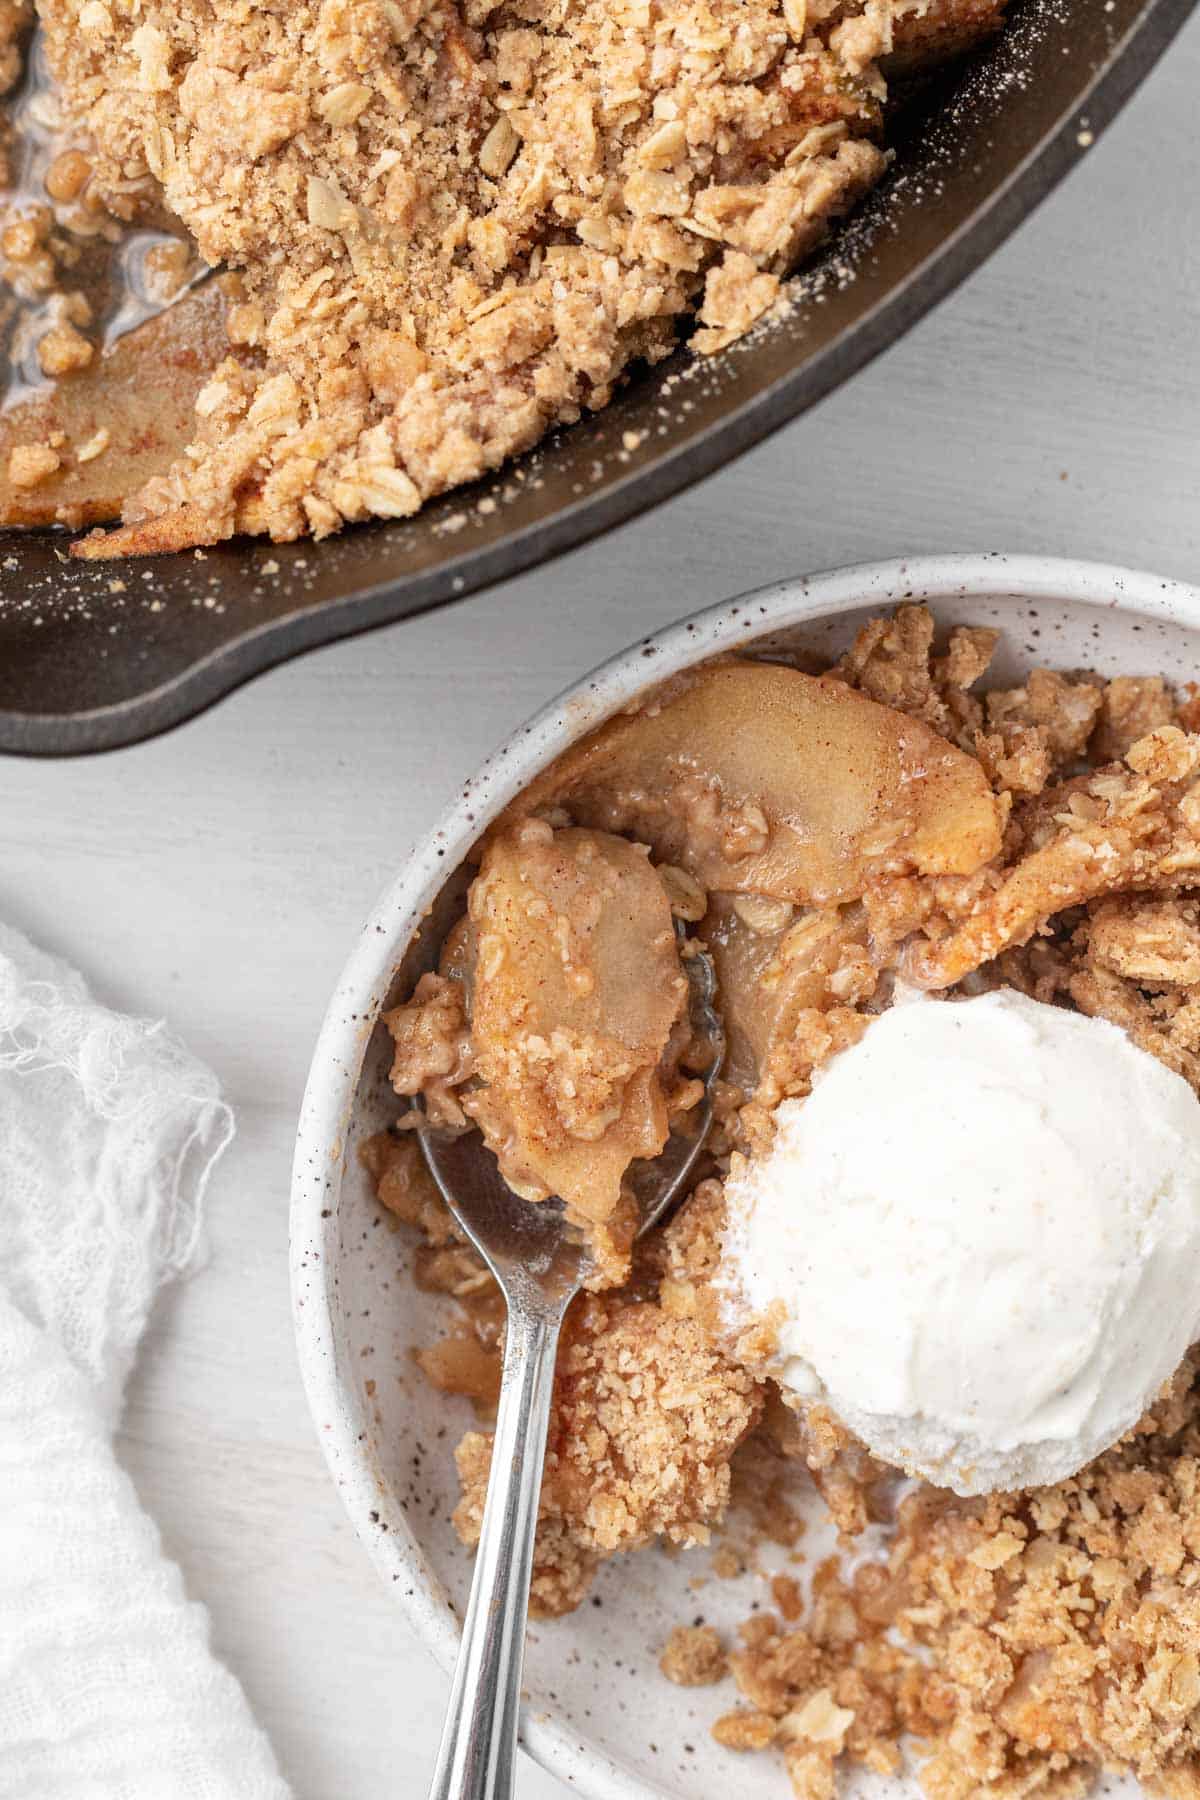
Place your cast iron skillet on a baking sheet (this helps in case it drips and it’s easier to remove) and then bake for 40-50 minutes. If you notice the topping is getting too brown while baking, you can top it with tinfoil.
Once done, remove from oven and let cool for 10 minutes. Be careful because your skillet will remain hot for a while. Serve with ice cream or whipped cream.
What if I don’t own a cast-iron skillet?
You can use a 13×9 pan or a 9×9 pan instead. The 9×9 pan will give you a thicker apple crisp, while the 13×9 will be thinner. You might need to add a few minutes to the baking time on the 9×9. I would also spray it with non-stick spray and line it with parchment paper to ensure it doesn’t stick.

Tips and Tricks
- You don’t have to peel the skin off the apples, but I recommend it. If you leave the skin on, it will take the apples a little longer to cook.
- Prep in advance: Peel and cut your apples into a large bowl, then add in 1/4 cup of lemon juice and cover with water. Keep this in the fridge until you are ready to make it, and then drain the apples before adding the brown sugar, cinnamon, vanilla, and salt. You can also prep the topping beforehand and keep it in the fridge until ready to use.
- Place a baking sheet under your skillet to catch any drippings in case your crisp bubbles over!
Storing & Freezing
If you don’t finish your apple crisp right out of the skillet after baking it, remove it from the skillet before storing it. Cast iron skillets are not meant to be storage containers.
Move it into a bowl and cover it with tinfoil or use a Tupperware container, and then store it in the fridge for a few days. You can re-heat the apple crisp in the microwave before eating.
Want to try more skillet recipes?

If you made this recipe, I would love to know what you thought! Leave me a star rating and a comment below – I read them all! ⭐️ Your reviews not only help my business but other bakers as well!
Want an exclusive first look at all my recipes? Join my email newsletter which sends Bake & Bacon recipes straight to your inbox as soon as they go live, so you never miss a recipe!
Want to keep up with Bake & Bacon outside of the blog? Follow me on Instagram, Facebook, Twitter, Pinterest, and Youtube. Tag me on any social media and use the hashtag #bakeandbacon so I can see what you are baking!

Skillet Apple Crisp
Ingredients
Topping:
- 1 cup all-purpose flour, , spooned and leveled
- 1 cup rolled oats, , or old fashioned oats
- ½ cup light brown sugar
- ½ tsp salt
- 1 tsp cinnamon
- ½ cup unsalted butter, , cold and cubed
Apple Filling:
- 6 apples, , peeled and sliced
- 3 tbsp light brown sugar
- 1 tsp cinnamon
- 1½ tsp vanilla extract
- pinch of salt
- 2 tbsp unsalted butter, , for skillet
Instructions
- Preheat your oven to 350° F.
- Make the topping: In a medium-sized bowl, whisk together your flour, oats, brown sugar, salt, and cinnamon. Add in your chilled cubed butter and using a pastry cutter or two forks, cut the butter into the dry ingredients until you get small pea-sized bits. Your topping should be crumbly, but if you press it together it holds its shape. Put in the fridge until ready to use.
- Make the apple filling: Place evenly sliced apples in a large bowl and toss with the brown sugar, cinnamon, vanilla, and salt.
- In your cast iron skillet, melt 2 tbsp of butter over medium heat. Once it's completely melted and coating the bottom of the pan, remove it from the heat and dump the apples in. Spread evenly and then sprinkle the crumb topping all over.
- Place your cast iron skillet on a baking sheet (this helps in case it drips and it's easier to remove) and then bake for 40-50 minutes. If you notice the topping is getting too brown while baking, you can top it with tinfoil.
- Once done, remove from oven and let cool for 10 minutes. Be careful because your skillet will remain hot for a while. Serve with ice cream or whipped cream.
Notes
- You can use a smaller skillet (like a 10 inch), your crisp will just be thicker!
- You can also use a 9×9 pan instead, just spray with non-stick spray or line with parchment paper before baking.
- You don’t have to peel the skin off the apples, but I recommend it. If you leave the skin on, it will take the apples a little longer to cook.
- Prep in advance: Peel and cut your apples into a large bowl, then add in 1/4 cup of lemon juice and cover with water. Keep this in the fridge until you are ready to make it, and then drain the apples before adding the brown sugar, cinnamon, vanilla, and salt. You can also prep the topping beforehand and keep it in the fridge.
- Storing: If you don’t finish your apple crisp right out of the skillet after baking it, remove it from the skillet before storing. I put it in a bowl and cover it with tinfoil or use a Tupperware container. Cast iron skillets are not meant to be storage containers.
This post contains affiliate links which means if you purchase something off of one of those links I make a small commission at no extra cost to you. Thanks for supporting my blog!
This post contains affiliate links which means if you purchase something off of one of those links I make a small commission at no extra cost to you. Thanks for supporting my blog!

I just made this recipe. My apple crisp
Looks to be a bit dark because of the cast iron skillet. I have used it several times before and I season it after each use. I hope it’s still ok to eat now?
Hi Kristina, thanks for trying this recipe! When you bake the apples they will definitely deepen in color from cooking + spices that are added, but they shouldn’t be black if that’s what you are seeing! If you use and season your cast iron regularly then it shouldn’t be a problem!